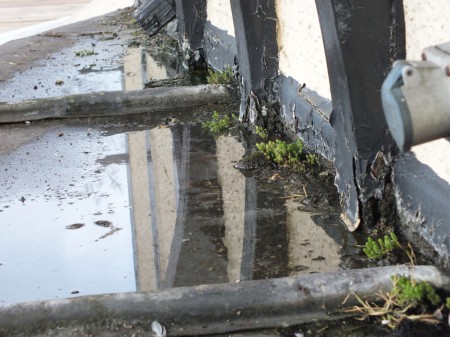
The problem with the Snug roof was it used to fall towards the house. Water would puddle until it was deep enough to overflow to the front. I think the roof was built with no fall, then started falling towards the house as the timber framed facade settled with the weight of all the brick infill This photo was taken April 2015.
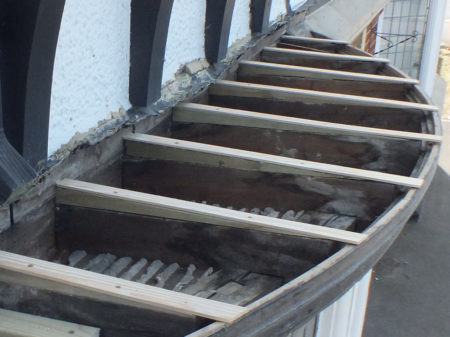
Setting up to make the roof fall away from the house turned out to be unreasonably complicated. If I made the rear of the roof straight it would end up 40mm too high at each end so I set up from the front of the curved bay. Wedges cut to fit on top of the existing joists are set to about a 1 in 50 fall which means the roof has ended up higher in the middle than at the ends. Fortunately It looks OK from across the road.
The way to do this is to clamp a new bit of wood to the side of the existing joist, set the new wood to the correct height and angle, then draw a pencil line from the existing joist for cutting. I’ve gone for a small ventilation gap under the front of the roof and added 100mm of insulation with an air space above before the roof went on.
The roof is made from redwood tongue in grove planks (which were cupped making them a real hassle to work with). John suggested using a circular saw to cut the curve and it worked a treat.
I’ve gone for an inch more overhang than before to make sure the roof drips past the stone sill below.
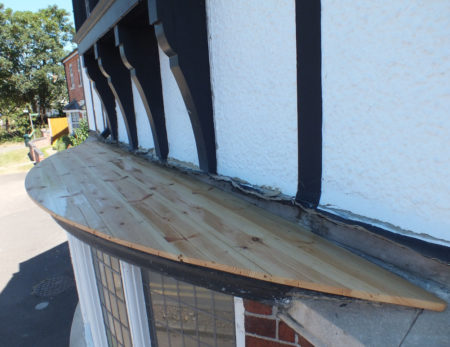
Hopefully it won’t rain too much before I get the leadworkers in.