Monthly Archives: November 2015

PassivPub

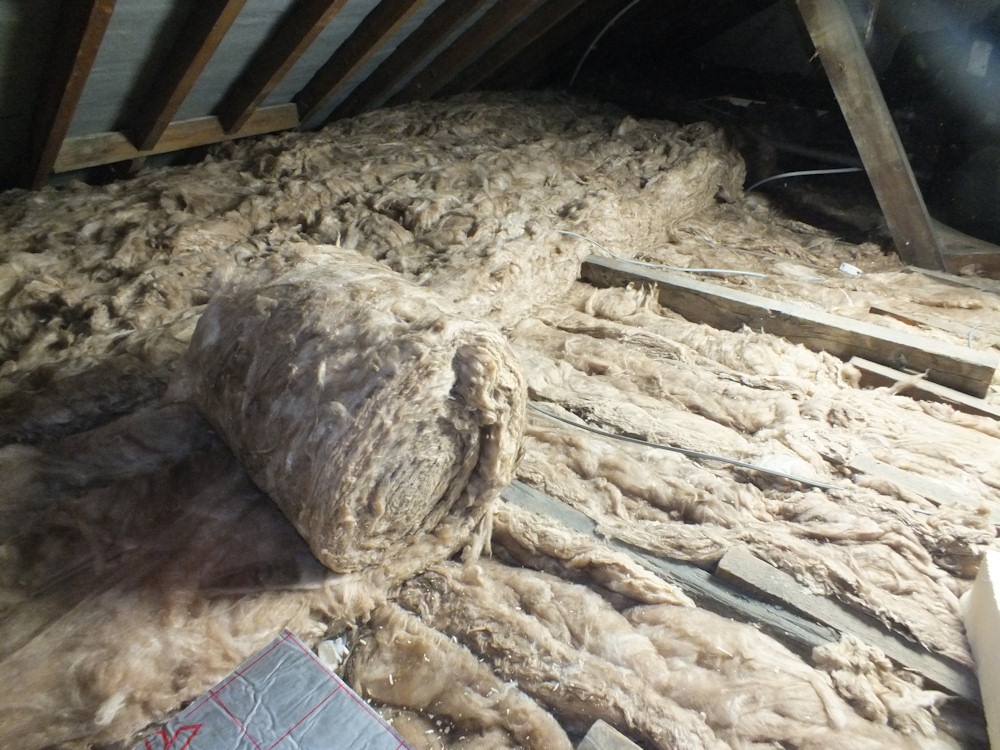
It’s taken a week to insulate the attic and the main loft space (and sort out water tank mountings).  I’ve used 300mm Earthwool which almost meets the 0.1 U-value required for a passive house.   There should be a good payback time insulating to that standard in the loft, and the insulation is unlikely to cause condensation problems as the loft is ventilated.

The first layer was laid at 100mm thickness between the joists and the second 200mm above the joists.

loft-roll

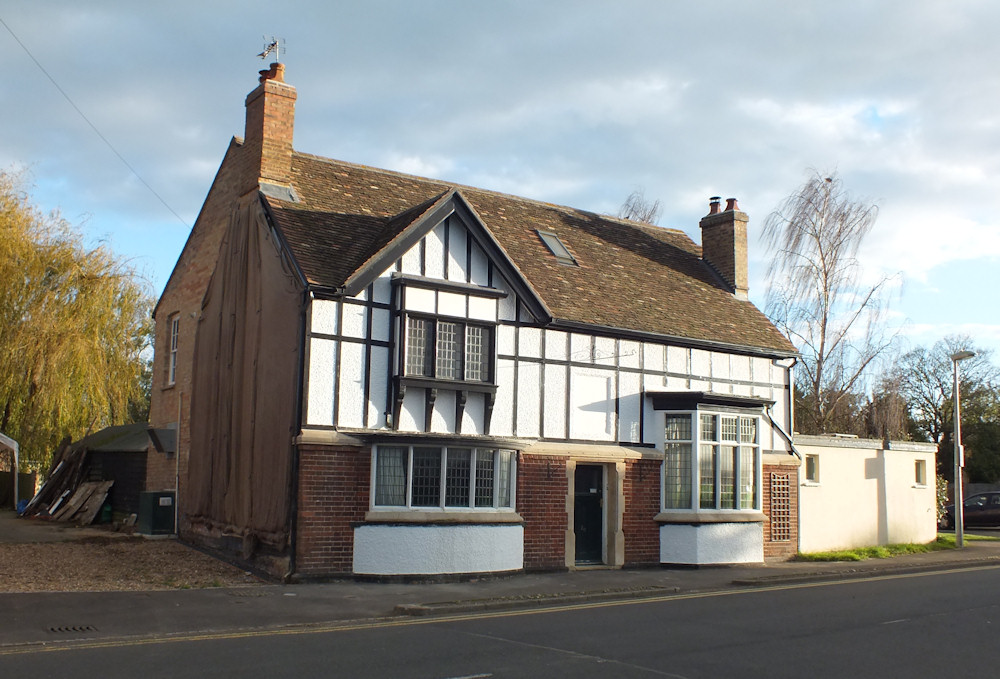
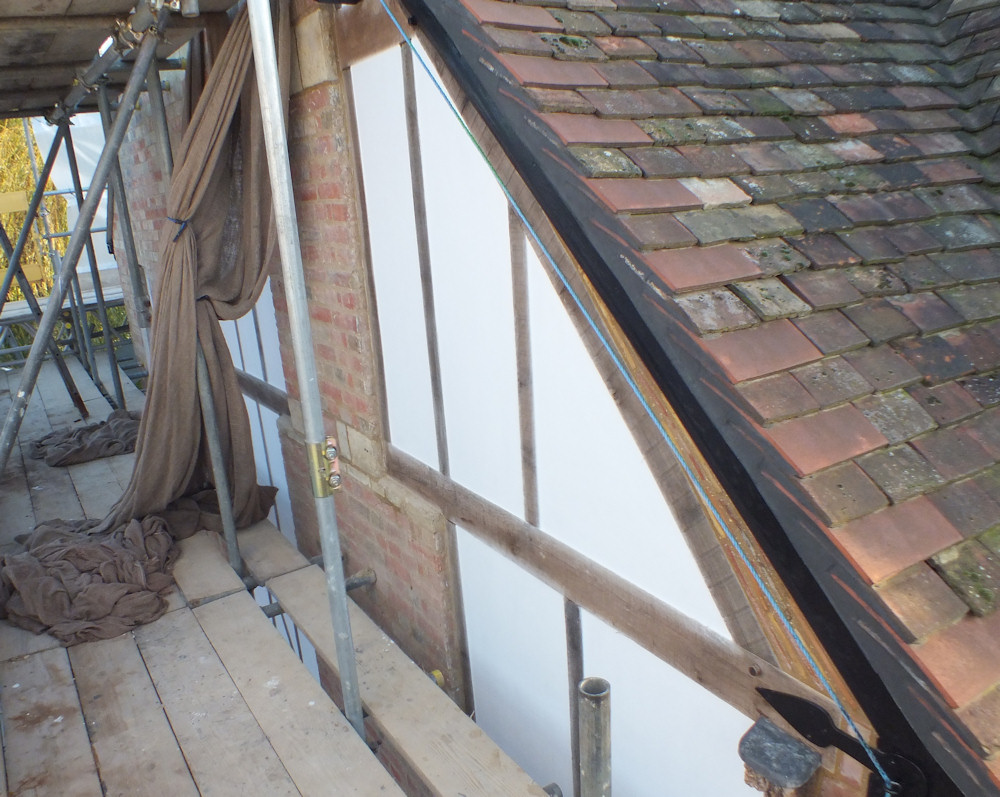
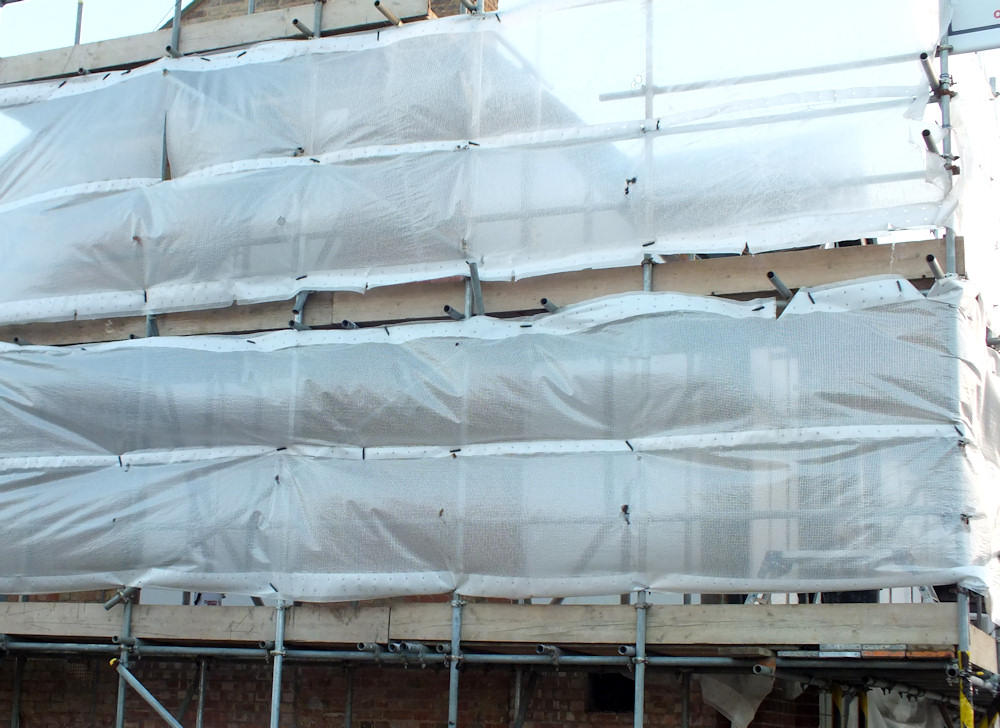
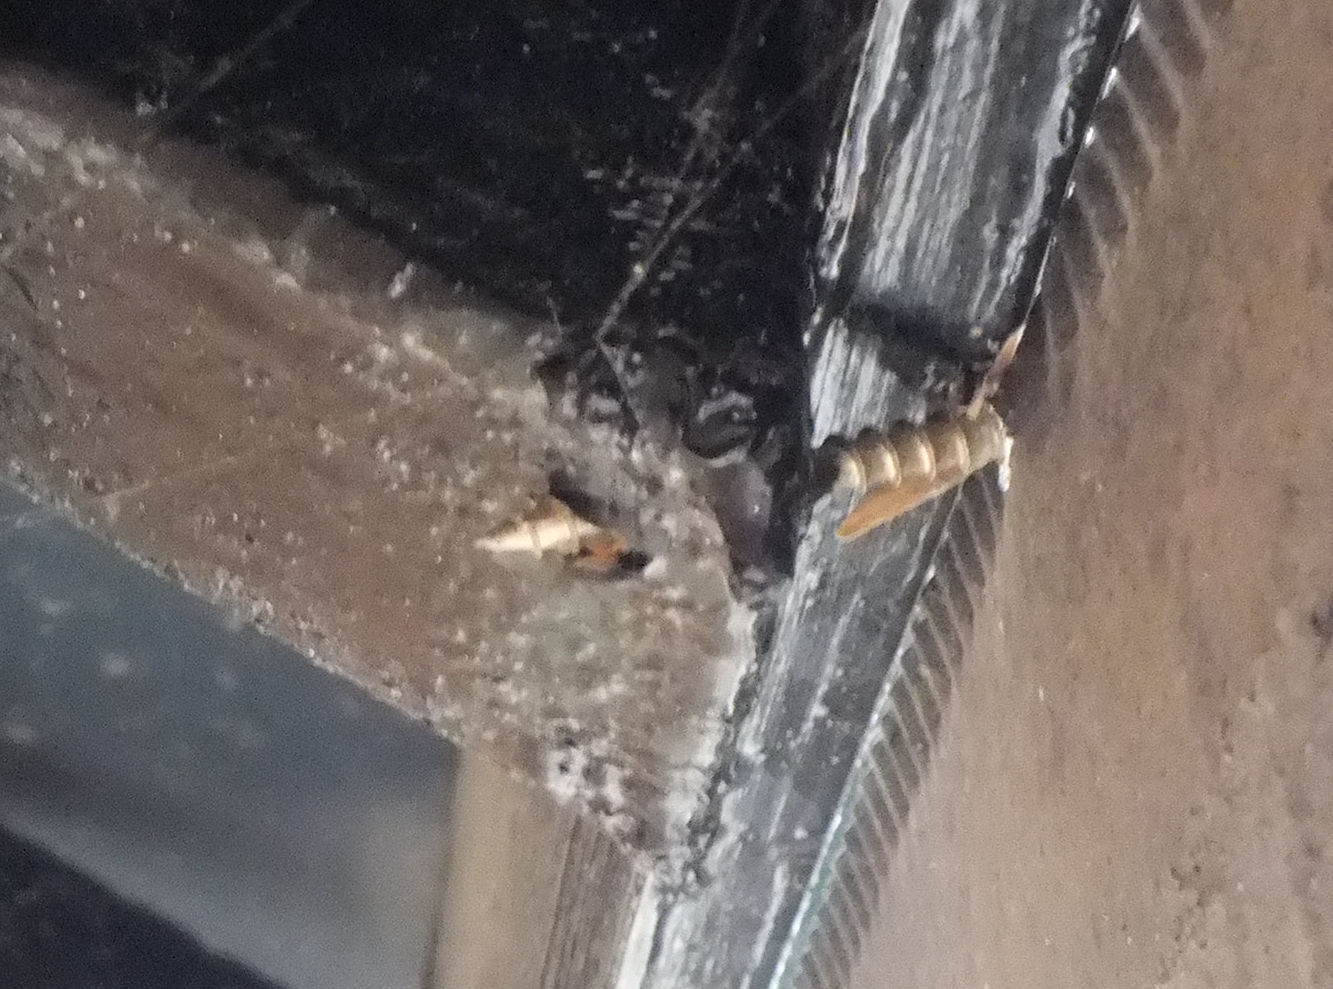
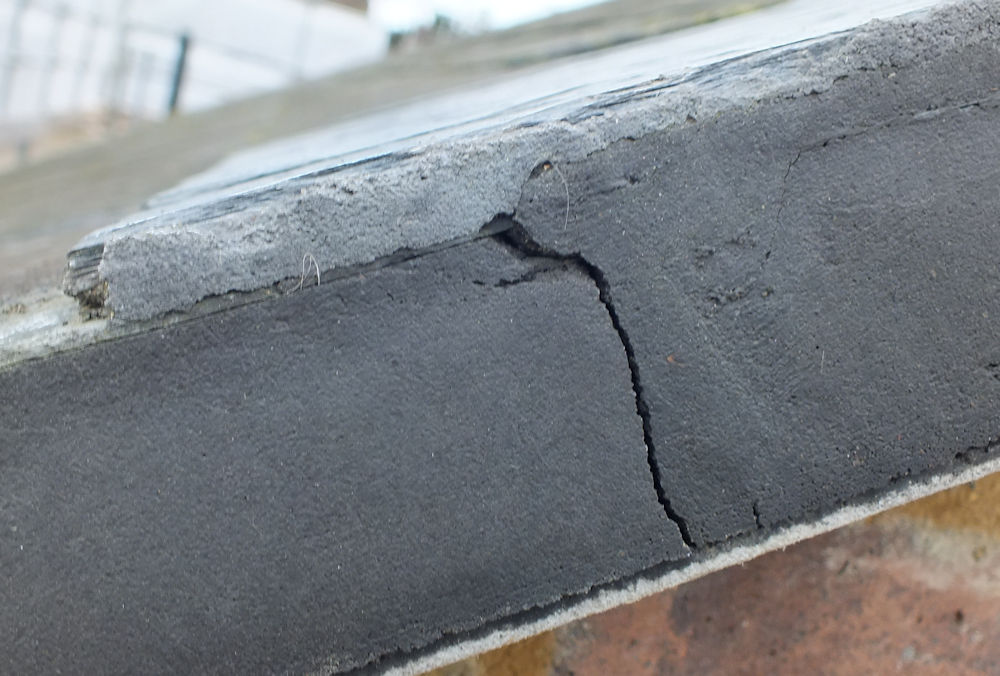
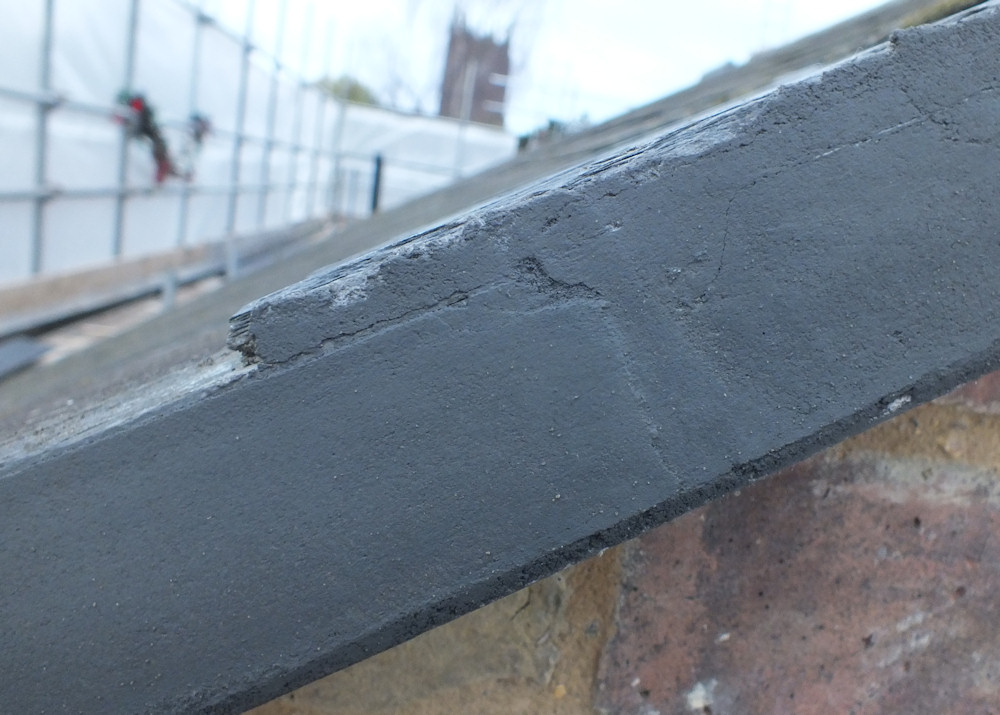
The walls of the attic are only 100mm so not quite to passive house standard.  The crawl space above the attic was horrible to insulate.   Insulation is horrible generally, and even with a good dust mask a lot of it must get into your lungs.   If I had the money I would have used sheeps wool (which is 4 times the price).

attic-wall

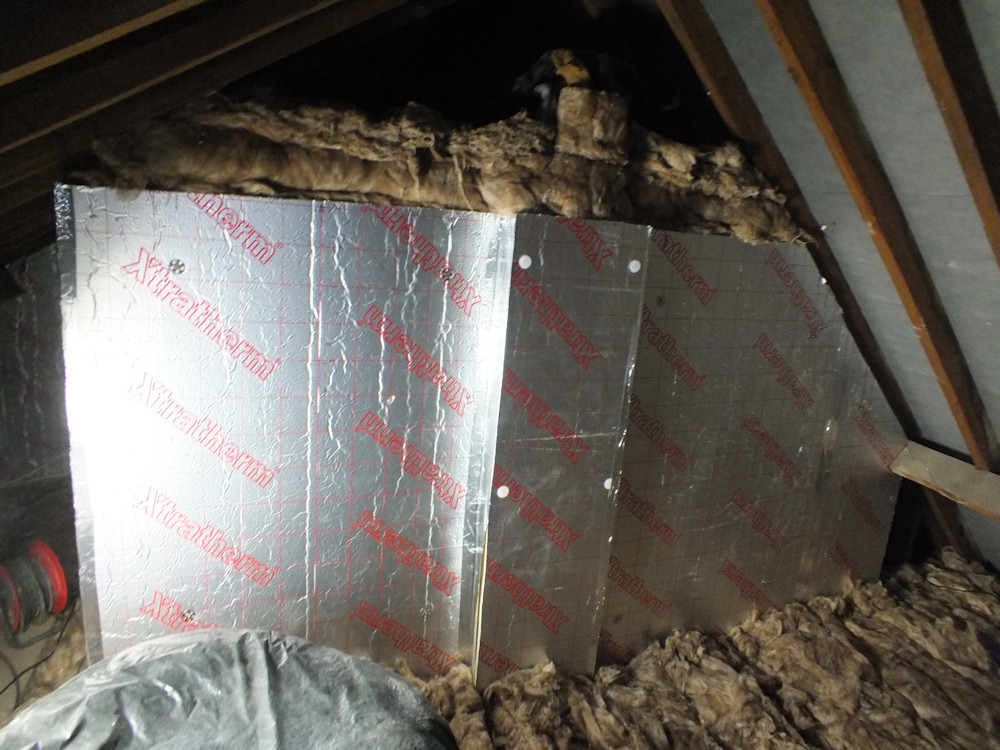
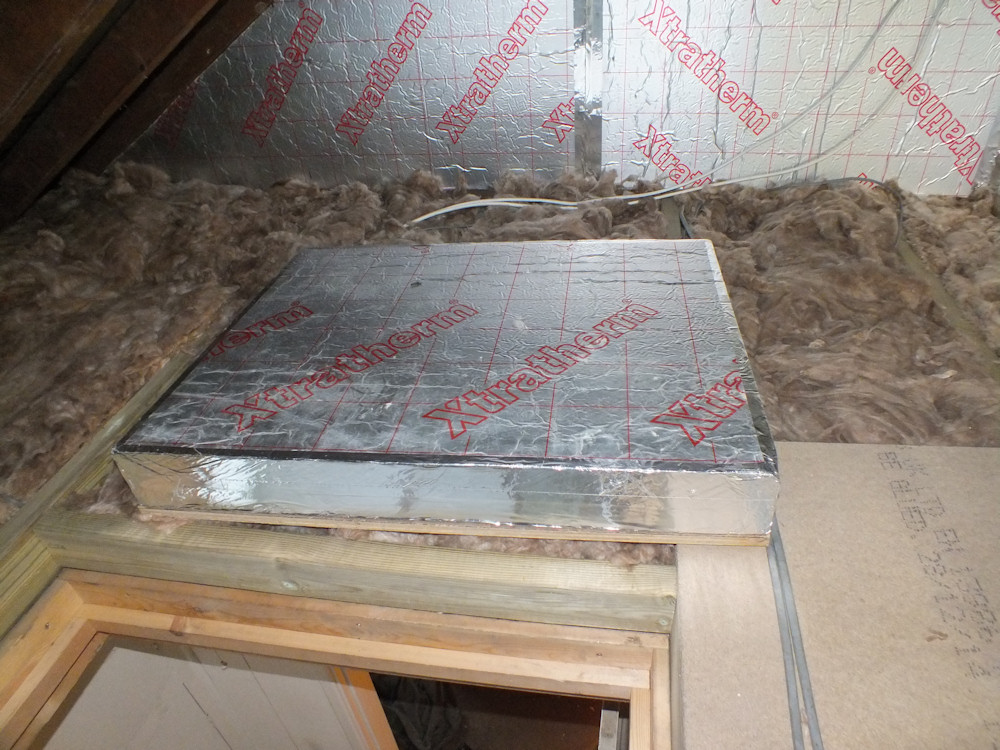
The ceiling beside the loft hatch was built by Georgians from quartered bits of small tree and is not very strong.  I’ve added a new independent structure above the loft hatch and added a section of loft flooring to make it safe to climb into the loft.  The loft hatch only has 100mm of insulation but that makes it heavy enough.

loft-hatch

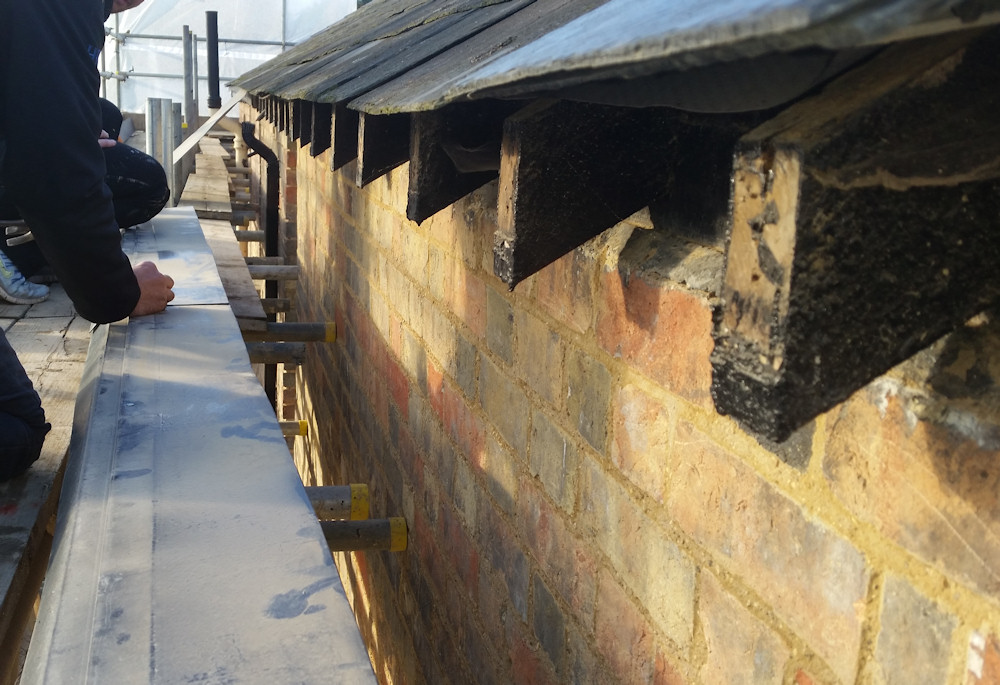
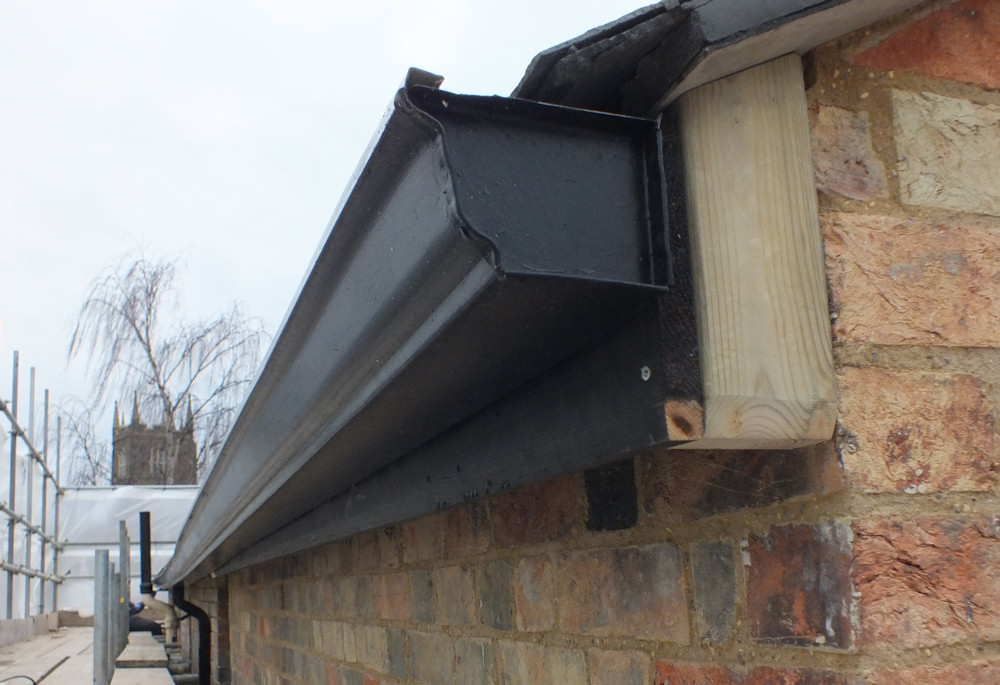
There is plenty more insulation to do around the house, but just a last section of eaves and the final attic wall remain in the roof space.

A proper passive house should have a heating energy usage of under 15kwh/m2 per year (measured). Before any insulation at all (apart from 100mm in part of the loft) this place was running at 110kwh/m2 (measured) and I should hopefully halve that.

Scaffolding Removed

The scaffolding was removed today.   It’s odd being able to see the whole thing (apart from the new bright white oak frame in the gable which will remain covered for the winter to protect the lime).  The ground floor isn’t finished as the scaffolding was in the way.

scaffolding-removed

I definitely need to do something about that flat roof extension.  It doesn’t look quite so bad with the magnolia paint removed from the gable.   Maybe I could clobber the render off and pretend it is a garden wall.

east

Though a bit more mock tudor wouldn’t go amiss.  (Photoshoping pictures is much easier than actually doing stuff.)  It would need good overhangs to work, and the gable would need to be angled in the middle as the wall below isn’t straight.

photoshop-flat-roof

The advantage in doing things very slowly is it gives time to think up better ideas.   This doesn’t work – too big and ugly.

Finished! (Almost)

I can only claim to have finished the exterior of the upper storeys of the main house and it only took 4 months longer than planned.  I’ve not really started on the building regs change of use stuff that I’m supposed to be doing.   A final coat of limewash on the north gable and some cleaning up are the only things left to do before the scaffolding comes down next Thursday.

I’m planning to keep the gable covered with hessian over winter to reduce the chance of frost damage to the new render, so this is a sneak preview of how it might look when it is revealed next spring.

limewash

The oak will darken over time and the frame will become black and white.

You can’t see a lot through the plastic sheeting, but from the road the timber frame in the gable looks like another part of the half timbering on the facade.  I think it will look interesting when it is finally uncovered.

view-through-sheeting

Snagging

The rear gutter wasn’t mounted well – some screws miss both the gutter brace and the the facia board and just manages to engage in the tip of the rafter. There is a long row of these.  I think I’ll have the gutter and facia board off and do it properly as it’s not a job that can be done later from a scaffold tower.

gutter-screw-rear

With the ends of the slates supported by the facia board there was a fair risk that we would break some.  We were lucky.  The new facia board is 2 inches taller than the old one.  The plastic eaves protector came out with the old facia board and needed to be nailed to the new one before fitting.

facia-removed

The north corner of the house is slightly lower than the south so there isn’t as much fall as there looks in the photo.   We placed a hosepipe at the end and adjusted the gutter height so there weren’t any puddles.  It was quite a fiddle to set accurately.

gutter-installed

This is probably the first time that water doesn’t puddle in the gutter – it had always followed the line of the roof which isn’t straight. The eaves protector has been trimmed at the gutter mounting points to avoid forcing the gutter down.

no-puddle

A few cracks had appeared in the verge caused by the cement being pushed past the battens.  Also the undercloak has separated from the cement.  I’m planning to seal the gaps with lime.

verge-cracks

I made up a 1:1 lime to soft sand mix with some black cement colour powder and worked it into the cracks.   Hopefully that will make it fail less quickly in the future.

filled-crack

The rest of the roof is OK – it doesn’t leak any more, there are no condensation problems inside, and nothing has fallen off.