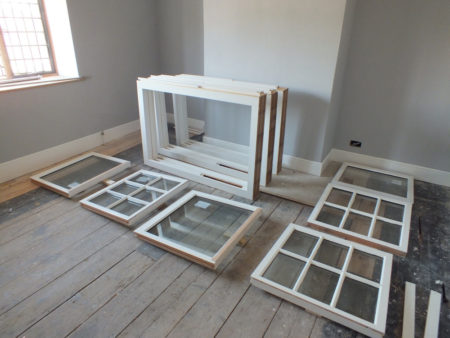
Finally a building regs change of use job unless I get distracted. They want me to replace a pretend sash window in a bedroom for fire egress. There are another couple of other late 20th century windows that would need secondary glazing and it’s only twice the price to just replace them to get all the windows to match.
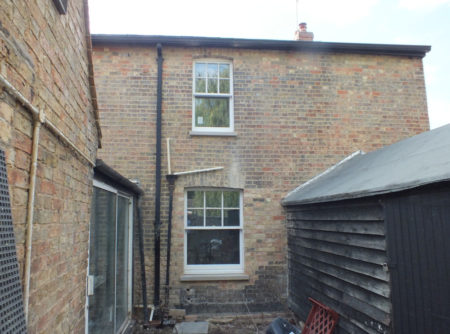
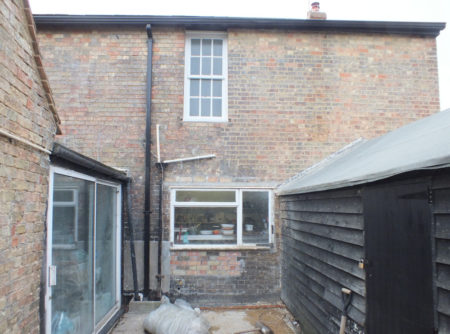
There is some prep work before the new windows can be fitted – I’m missing both the stone sill and the brick arch in the bathroom window, and want to replace a cracked stone sill which is falling towards the house in a bedroom.
The bathroom window may have been installed in 1996 (judging by the newspaper stuck into the gaps) but the wood sill was quite rotten. It came out very easily – fortunately the cement wasn’t stuck to the bricks! The new windows will look like the replacement kitchen window.
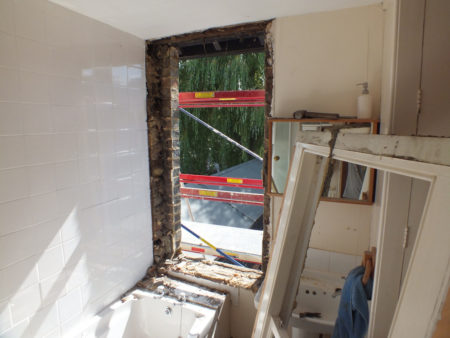
The new stone sill is now fitted in the bathroom window opening and I’ve trial fitted the new brick arch for the first time. It nearly fits, though the mortar gaps are still a little small. The Georgians never added an arch to this window so I’m copying the Edwardian arches further along the wall. The middle of the arches are all 1 1/2 inches higher than the edges whatever the width which simplifies things as every opening is a different width.
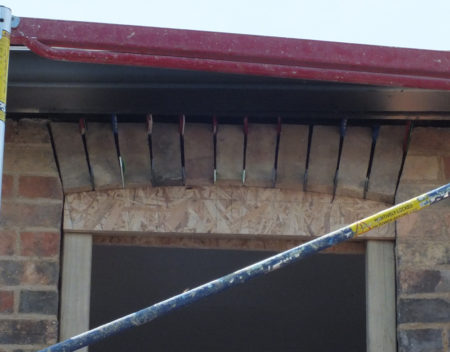
There is another heatwave at the moment which is very bad for lime mortar but great for linseed oil paint. I’ll get on with gloss work inside and finish the arch next week when the weather cools.
Linseed paint is a real pain – it is lovely to apply but takes well over a day to dry to the touch, then never really drys because it is oil not paint. But it’s fantastic stuff! It’s why you can still find original Geoirgian windows around. A 200 year life would be pushing it for modern paints which crack after 3 years and then trap the moisture needed to rot the wood.
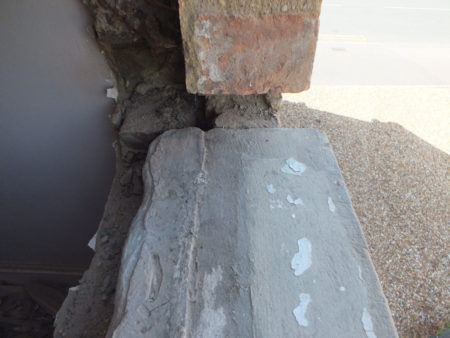
I’ve exposed an original stone window sill in the bedroom and have added a photo only because I couldn’t find a photo on the internet while researching my missing sills. The wall is maybe late Georgian or early Victorian, but (edit) I’m going to bet the sill is from 1920 and was re-purposed from the bricked up window in the other bathroom. I ordered a new sill to replace it, but the crack wasn’t that bad so I’ll save the sill for when I reinstate the window in the original location.
The sill is flat and 9 inches wide, same as the wall thickness, but set with a 2 inch overhang and also extends 2 or 3 inches either side of the outside opening. That leaves a bit extending inwards to support the sash window. I’m not sure mine ever had a fall to shed water, but the new ones are going in with roughly 1 in 25 fall.
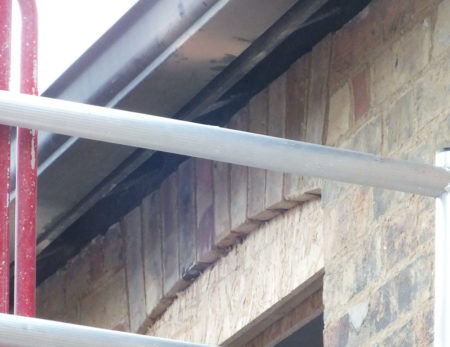
The arch is finished and I’m quite pleased that it looks like it has always been there. Must have been as it turns out to be nearly impossible to retrofit an arch directly under the roof.
Access was limited by the roof and guttering and no access from above made the last brick especially challenging requiring a gravity defying brick pointing finger (I use cut down table knives) to apply a very small amount of mortar at a time, then on edge to compress it down to the base of the arch. Much mortar ended up on the ground.
I messed up on the window height for the bedroom window. The sill had a fall back towards the house, and resetting it to fall away from the house reduced the space available for the window and now I’m 10mm short.
The lintel was squint and looked a bit loose so I’ve taken the opportunity to re-bed the lintel a little higher which gives most of the space I need. The sill might end up being a tiny bit low but I have some room to work with now and can at least get a little mortar underneath it.
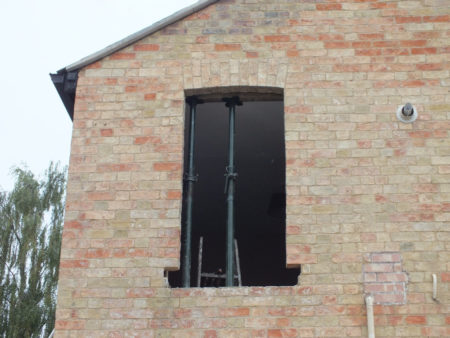
Of course as soon as I make a huge hole in the bedroom wall we have heavy rain and thunderstorms! The trick to sill fitting is to set out the sill on spacers and then push the mortar 3 inches underneath from each side and compress with the pointing finger.
The old window went quickly back in the opening after it started raining, and the new fall to the sill turns out to make it thunderstorm proof. Even with all the gaps no water got in at all despite the heavy rain bouncing off the glass. The two bricks above the sill are a job for tomorrow – the thunderstorm was quite unexpected as I hadn’t looked at the weather. Waterproofing seems to be more about falls than sealing everything up. I’m tempted to seal the new windows in with lime mortar which should allow the wood to dry after thunderstorms faster than burnt linseed sand. Not using silicone as that would rot the wood even when it isn’t raining.
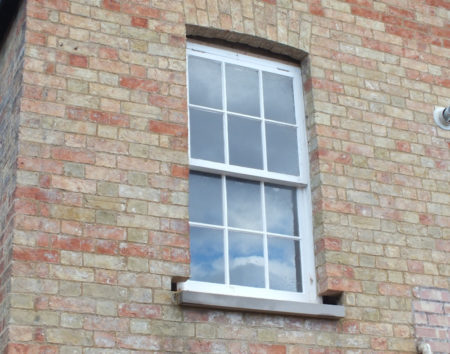
With the scaffold tower down it looks so cool to have an arch and a sill in the bathroom opening – they transform the window. The new window is loosely in place behind the arch former, but only the top sash is resting in there at the moment. I’ll post some before and after pictures after the new windows are fitted.
The same bricks were used in the photos below and above. I think the north wall is so clean because it was limewashed from new.
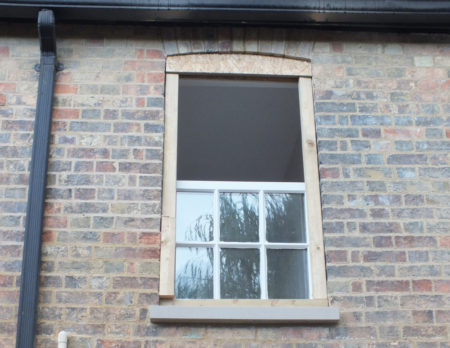
A photo of the new bathroom window here.
