Monthly Archives: June 2015

Crittall Frame Restoration

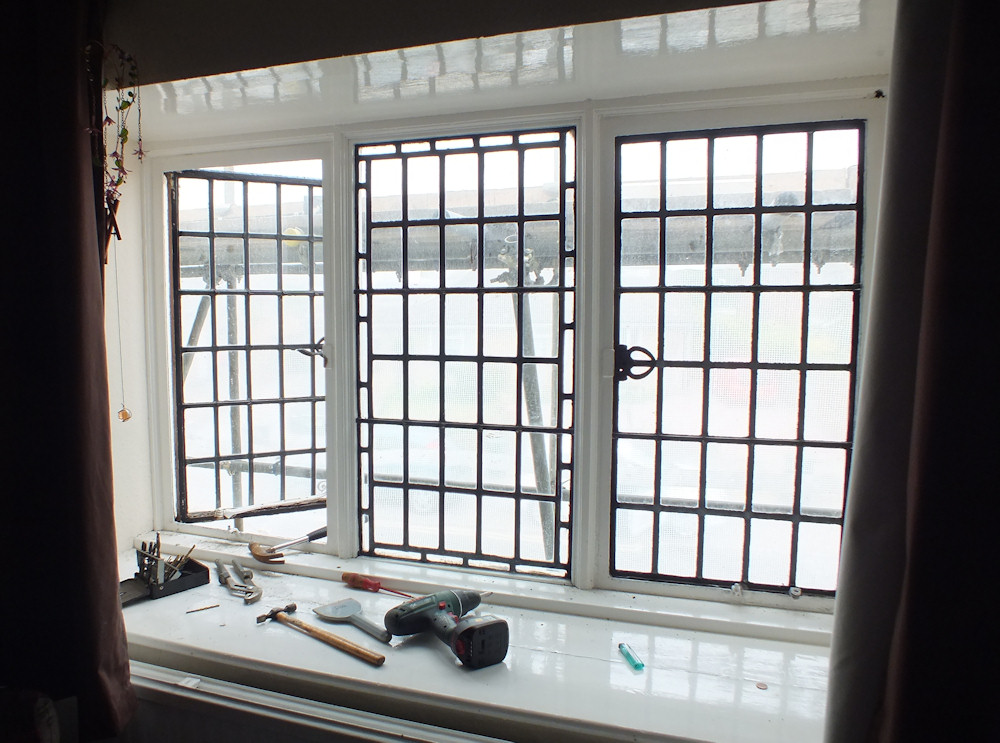
Following on from the last bay window post.  It seems a bit mad to be restoring Crittal windows in a building that isn’t listed and I don’t have to.   The reason is I like the faceted effect of the leaded glass and don’t want to replace it with double glazing.   I am under building regs instruction to improve thermal performance so will have to fit secondary glazing however I mount the leaded glass.

I’ve had the Crittall frames sandblasted.   BBS of Bedford did a super job.  Anyone planning to do this should first remove the handle first as it turns out to have brass fittings under the caked on paint.  The hinges are also brass.

shotblasted

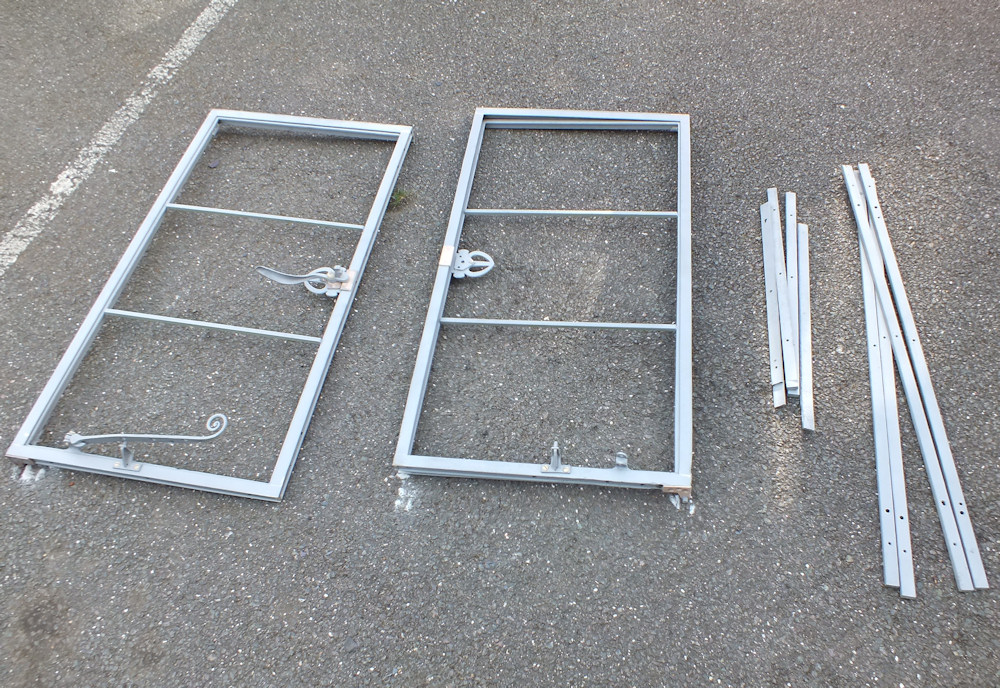
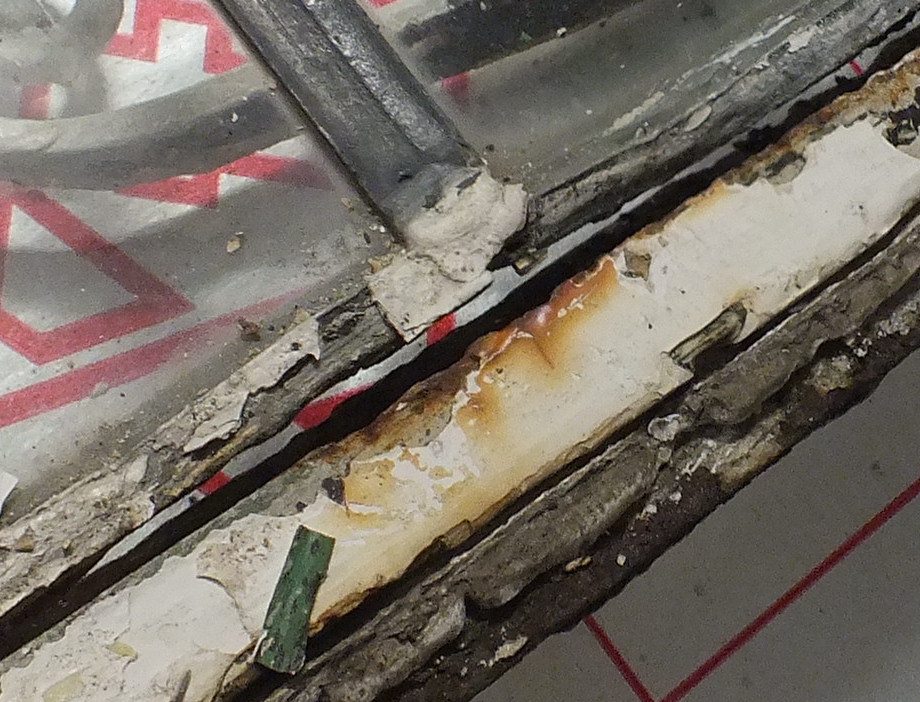
The windows have a fascinating construction.  The frames themselves are brazed together, then the brass hinges are screwed on, then the bars to the right of the photo which create a flat external mounting face screwed from the inside of the frame.

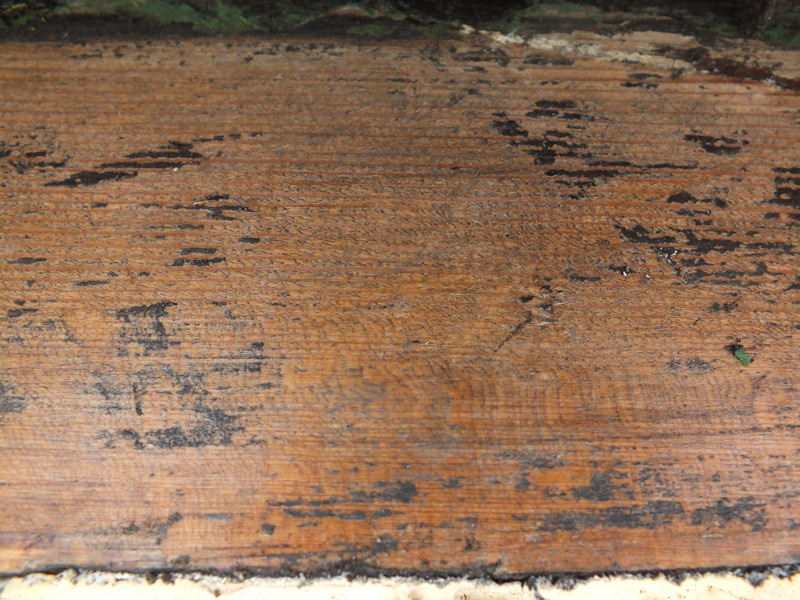
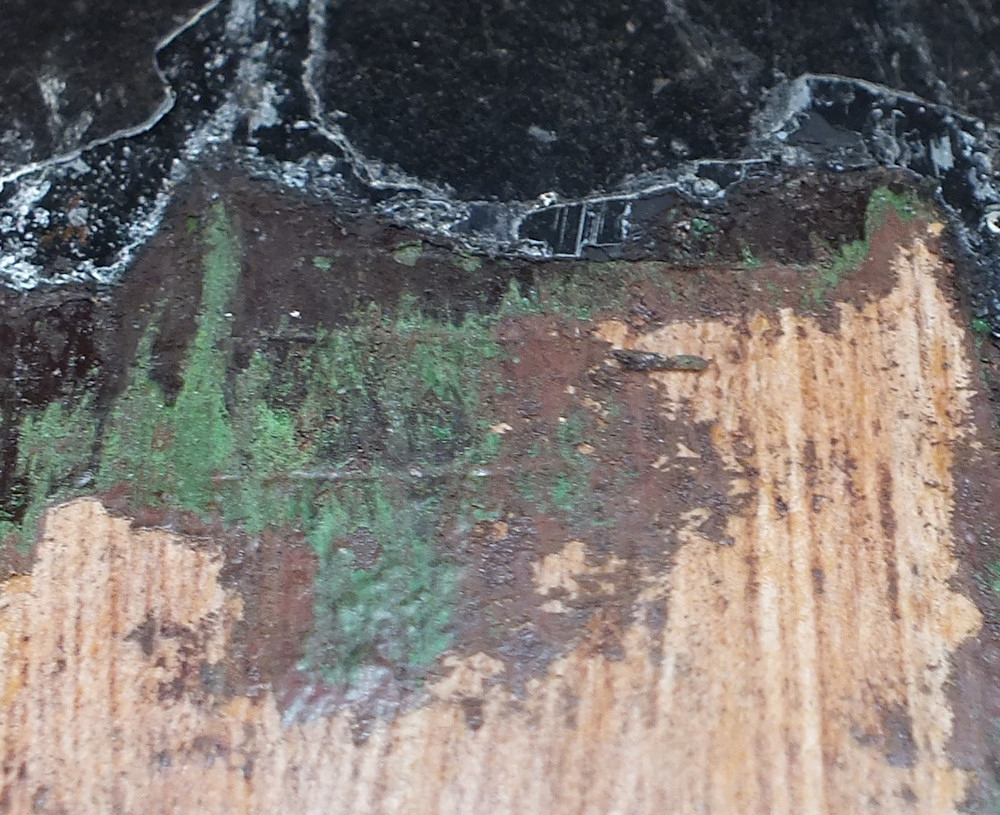
The frames weren’t that bad – only the bottom rails were starting to get a bit thin in places.

rust

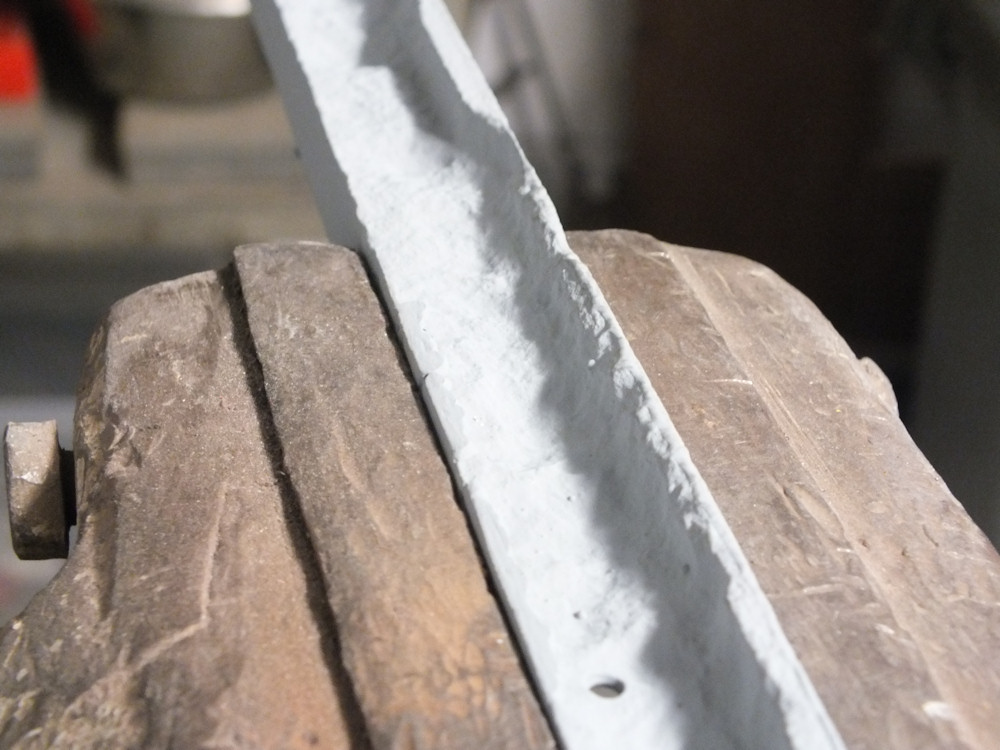
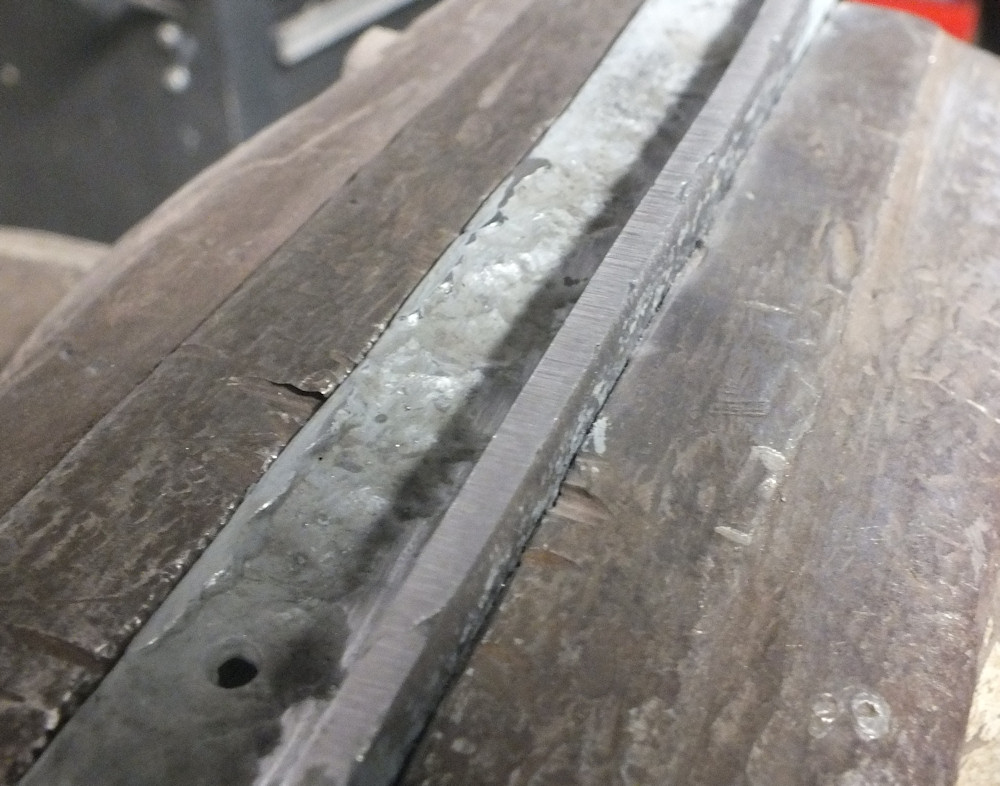
The frames from 1910 are mild steel so can be welded.  I built up the edges with MIG then ground down to create the original profile. I think the edges need to be welded as they will be sensitive to knocks, but everything else can be done in car bodyfiller.

I’m using Bilt Hamber Electrox primer which is 90% zinc by weight.  I keep nearly dropping the pot as it is unreasonably heavy.  It offers some cold galvanising protection which I have found to be very effective on previous car projects, but it does need the shot blasted surface to stick well.

welded

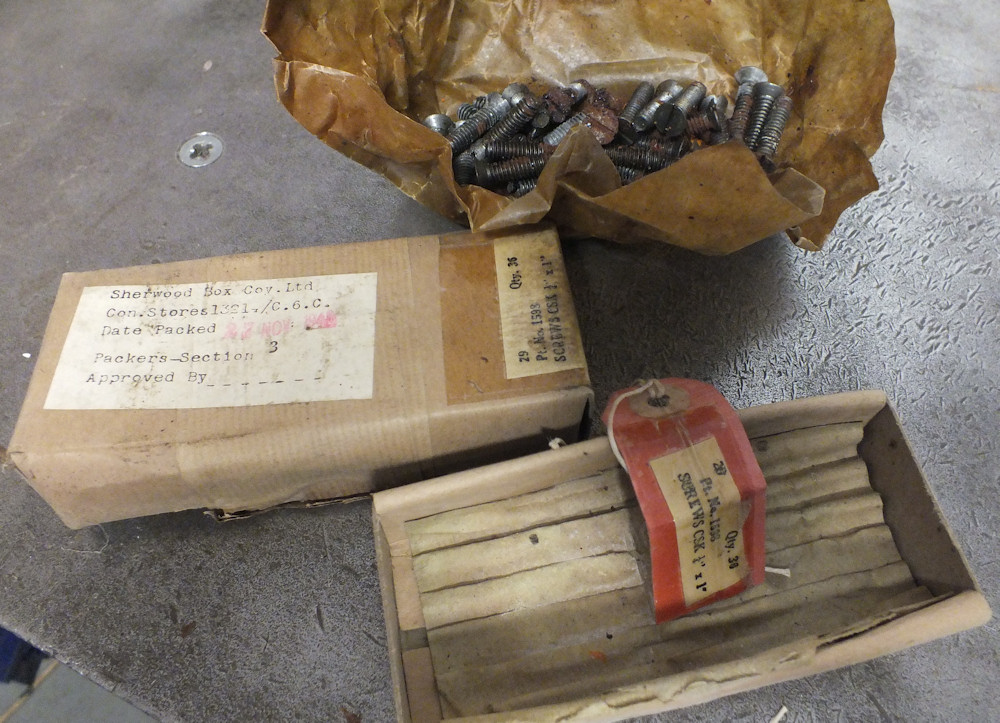
The screws holding the windows together are 1/4 inch Whitworth.I bought some old stock screws from eBay still sealed in 1945 packaging.   Some had become a little rusty but there were enough good ones for what I needed.

screws

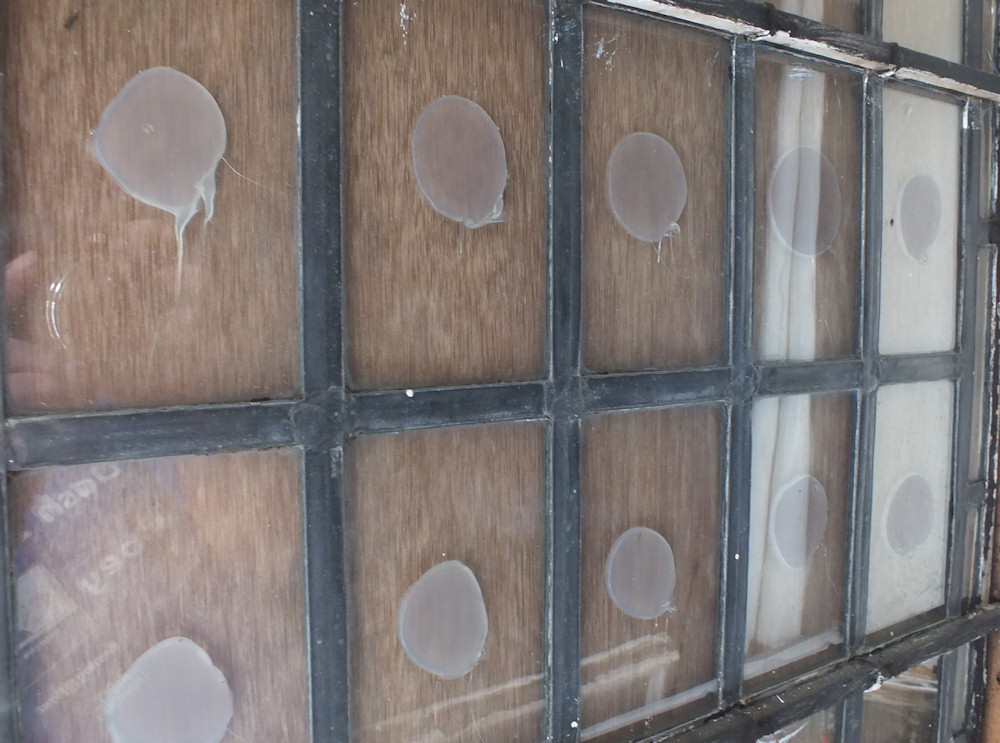
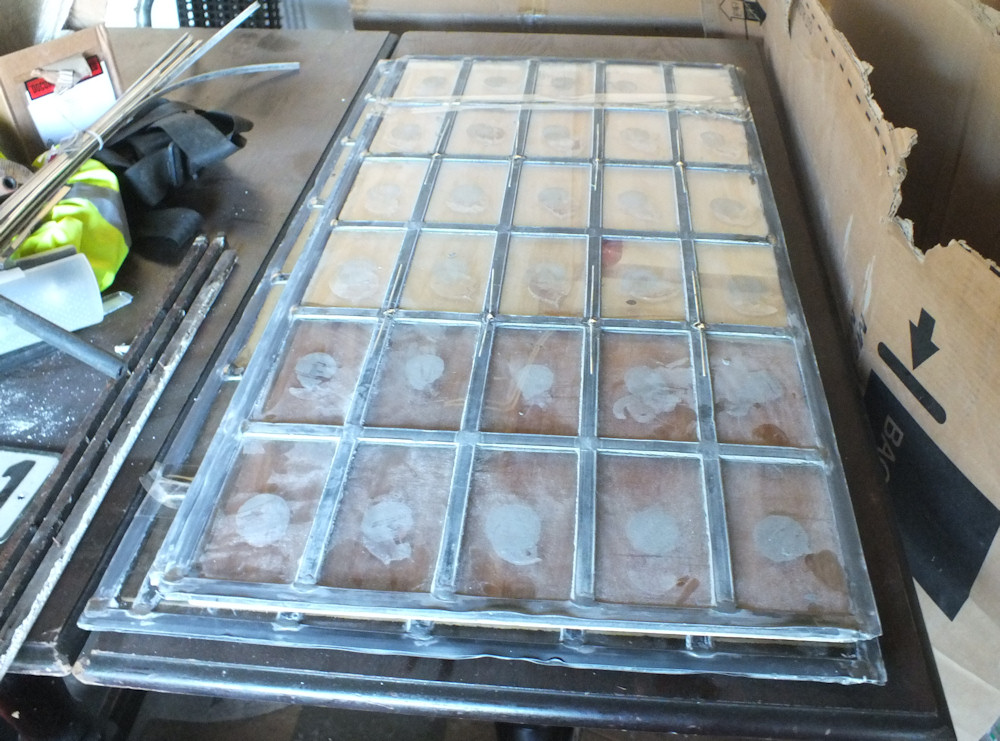
The leaded glass was rebuilt by Fraser of Tempsford Stained Glass who did a fantastic job.  Most of the edging needed to be replaced, a couple of glass panes were changed, and he soldered in some new wire ties to attach to the glazing bars.

glass

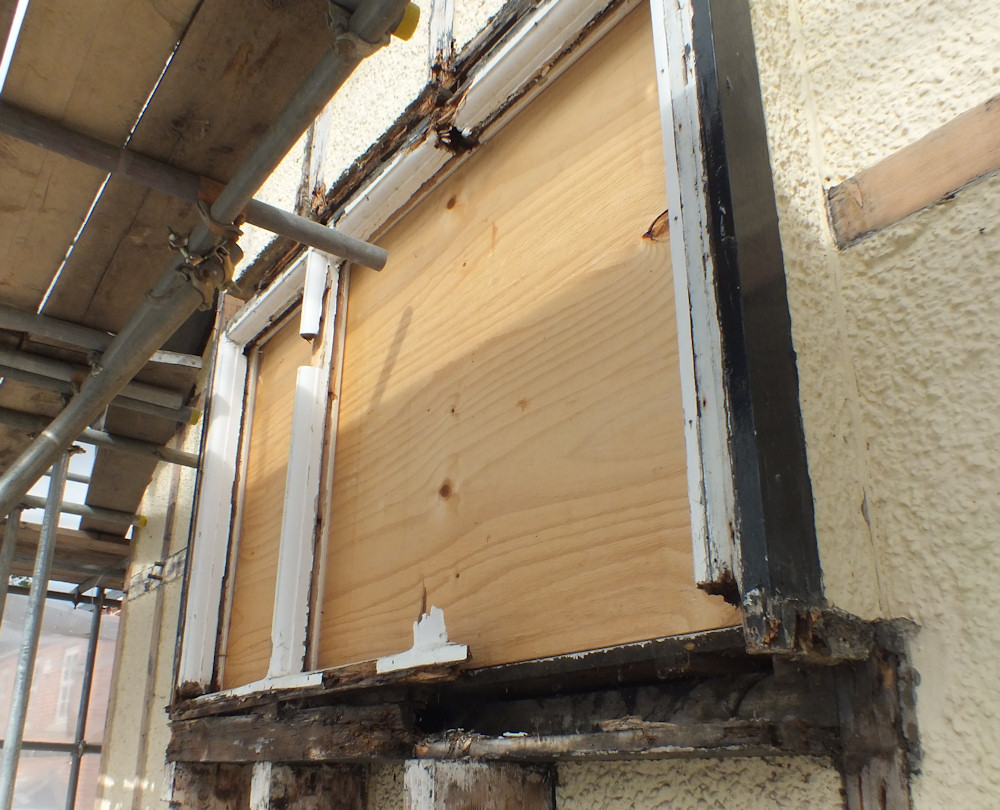
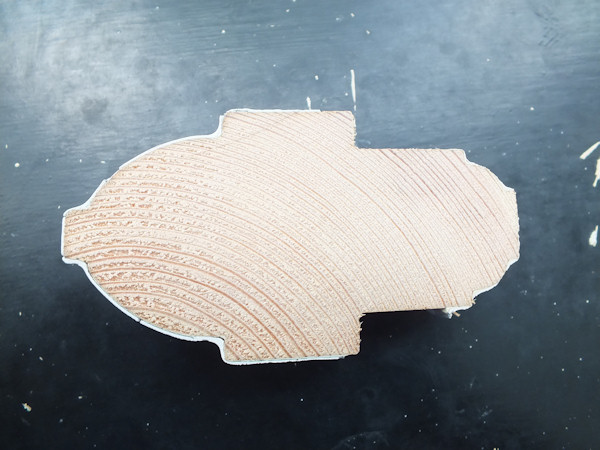
The frames and glass are going up to Sheffield and a replica wooden frame and bay window timbers will be built around them. (Because I liked the original frame profile too.)

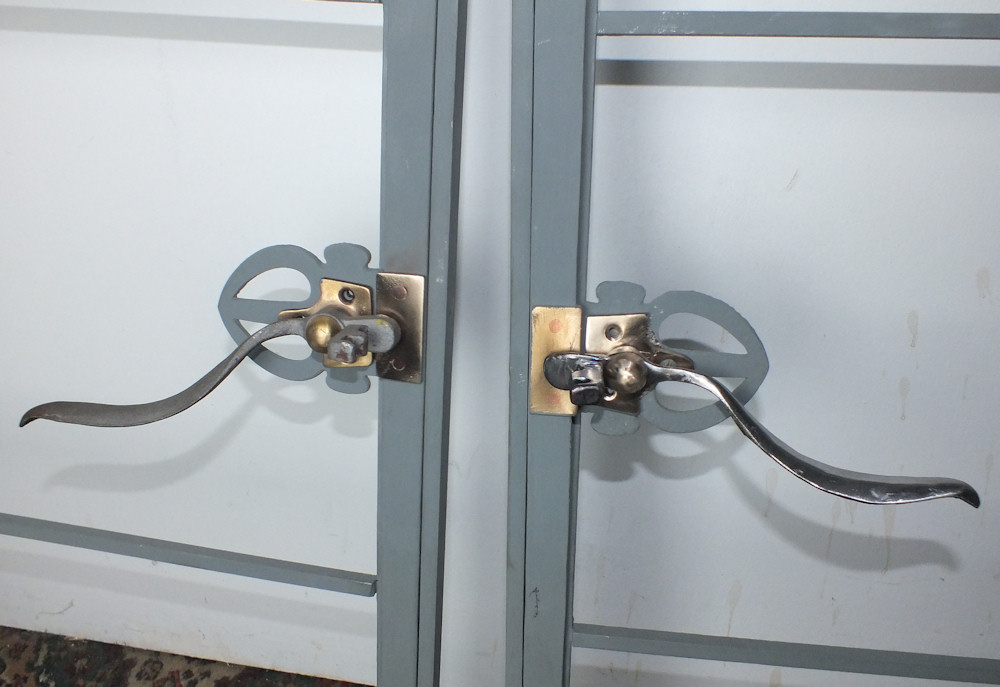
The handles and catches are nice too, but I was missing one of each.  Rather than do any lime on the hottest July day on record I’ve started to make up some new ones. The handle isn’t finished yet but I’ve done the tricky bit.

window-hardware

Later here is the (nearly) finished handle.   I’m quite pleased with it.

new-handle

Timber Frame Rot

The Salutation has the impression of a smaller building in the north gable.   There are probably parts of the original timber framed building probably dating from around 1650, though it turns out very little of the current frame is in the same place as it was first assembled.

It has been hidden by render since before cameras were invented so we don’t have any photos to show what it was like.

north-wall-render

I had been tidying up the edges but tidied a bit too much and knocked some of the render off.   Underneath a lot of brown dust came out revealing wood in very poor condition.   A little more knocking and some of the original frame was exposed complete with wattle and daub infill panels on the first floor. (The frame has brick infill above and has been completely replaced with bricks on the ground floor).

Thee timber frame passes right through the chimney.  I think the frame was modified to accept a chimney which was added later.  Structurally it seems a poor idea to hold the chimney up with beetle infested wood.

initial-explore-timber-frame

In for a penny, in for a pound.   It isn’t the neatest frame in the world and would probably never have been exposed.   The wattle and daub infill is flush with the frame and there is no sign of whitewash so it was probably rendered from new.

The earliest layer of render we found was lime on lath, but the Edwardians appear to have added a layer of cement render which prevented the wood from drying, then more recent muppets added waterproof paint.

timber-frame

I haven’t uncovered the whole of the top of the frame yet as the render appears to be performing a structural role.  The other side of the frame can be seen in the attic photos.

top-frame-stripped

The whole frame is completely rotten (apart from a single post and the beam above the first floor which are merely half rotten).   The frame has been soaking wet for a very long time and a screwdriver can easily be poked all the way through any of the timbers.  The wattle has rotten away completely and the infill panels are loose.  There is very little that can be saved.

rot

The frame has little structural importance as the rest of the house seems to have already learned not to rely upon it.   This is going to be one of those tricky decisions, and possibly an opportunity to tidy up the north wall which has long been very ugly.

Further examination of the frame reveals there is nothing left.  Even the solid looking timbers bend remarkably easily and can be poked away with a screwdriver.  Concrete block and render would be the quickest way to sort it, but I’m toying with the idea of dramatic reconstruction with the timber exposed.

failed-joint

Waterproof Paint Causes Even More Damage

Most of the stuff I’ve been doing on the house has involved removing waterproof paint.  That’s not for eco or idealogical reasons but because waterproof paint has caused some very expensive damage very quickly.

The problem is it is waterproof.  When it cracks water will get in but can’t get out again (because the paint is waterproof).  This isn’t just an old house problem – it’s also the reason why wooden windows don’t last more than 20 years any more, where previously they were good for hundreds of years.

For some reason I have the ends of oak beams sticking out of the north wall.   The ends were clearly fairly flat before they were gummed up with cement and waterproof paint maybe 20 years ago.  The paint was still flat on the outside until I prodded with a screwdriver and made a hole.

painted-beam-end

Underneath the paint the oak has rotten.   Fortunately it’s only the outer inch that has gone.  Oak is a wonderful material and resistant to abuse.  But even oak can’t stand up to being sodden wet for 20 years.

rotten-beam-end

Let’s just be thankful I don’t also have a 17th century timber frame under the modern paint (which was rendered in 1910 in an early use of cement just for good measure).

Oh wait,  hold on – it turns out I did have one.

rotten-oak-post

I wonder if the people who peddle waterproof paint as the solve all for preserving your building will offer to pay for the repairs.   Of course they won’t – the guarantee on the most posh ones is only for 6 years, and that only covers the paint not what it damages underneath.

The building did perfectly well for the previous 400 years using breathable materials like lime and linseed oil.  Modern paints and cement have turned the original wood to dust.

Crittall Windows

All of the windows in the front of the house are leaded and the slightly different angles of the glass reflect light in a wonderfully faceted way outside.  They all match, and they are all 105 years old.  How mad is that in this day and age for a window to last for over 100 years?

I’ve mentioned some issues with the upstairs bay window.  Due mostly to ill treatment and lack of maintenance the rot is only held together with paint and there isn’t enough wood left to save.  But I’m not going to be the one to get rid of the windows.

upstairs-bay-inside

Some maintenance is necessary though. The opening windows at either side were made by Crittall and are steel framed.  They were screwed to the wood frame by 2 screws through each edge of the frame plus several more screws all around holding a spacer bar.  We’ll need to add secondary glazing for building regs as they aren’t great thermally.

All of the glass needs to come out of the frames for maintenance.   I have been advised to stick some ply to the glass with silicone sealant to support the leaded light when it is removed from it’s frame.   However the leaded glass repair guy has suggested next time I want to get windows out I should get him to do it.  Presumably there is a better way.

ply-glued

Only the bottom of one of the opening windows has any real damage to the metal frame.   Condensation running down the inside of the glass has rotted the frame and caused the glass to push outwards and upwards.  The lead will need a little repair but I think the metal frame might be OK.  Condensation won’t be a problem again with secondary glazing.

I think there were once similar opening Crittall windows on each side of the big bays.  Those have since been replaced with plain glass with stick-on lead.

window-corrosion

More later!   My cousin John will be making a new wooden window frame to match the original profile together with a new bay to put it in.  My job is to fix the Crittall windows and send him some dimensions. More likely I’ll sub out the fixing of windows and get back to pointing.

With the windows removed and some of the frame fallen off the window is not at it’s best.

boarded-window

I’ve taken a section from the bit that fell out to send to John who will try to make the new frame look similar,

section

Next – restoring the metal frames and leaded glass.

Re-building a Window Arch

I’ve not posted much for a week as I’ve been doing boring stuff, mostly pointing.  I want to get most of the scaffolding down soon and it’s mostly pointing holding that up.  I can manage about two square metres a day of pointing when it’s just wall, but tidying up 20th century bodging (cement or carnage from the boiler installing muppet) slows progress,

Today I was sorting out Georgian bodging and a loose arch above the north window. It is a very shallow arch and the pointing had eroded badly on the vertical joins causing it to come loose.

failing-arch

The wood board is a former for the new arch supported from the window sill by 2×2.   It’s set at a lower level to catch any bricks that might fall when I remove the arch.  After raising I screwed it to the window frame to hold it in place.

I did a trial fit of the bricks to figure out the spacing, then marked the joint positions on the board to make sure I had enough room for a brick when I got to the middle.

starting-arch

The arch only really holds itself up.  There is a wooden lintel holding up the inner wall, then a course of header bricks bridging over the arch to help support the outer wall.

The joints are tight at the bottom of the arch.  I built the arch with a finer sharp sand and have recessed the joints a little to allow pointing with sand that matches the rest of the gable.

first-course-arch

The arch is finished bar pointing.  Another photo soon unless the wall falls down or I get distracted and start doing something else.

Several weeks later it looks like it has always been there.   I’ve also replaced the silicone sealant around the window with lime mortar, though I will also need to replace the window with a sash for building regs fire egress.

finished-arch

Timber Frame Stripping

The front of the house is half timbered with a timber frame on the first floor.  1930s semi detached house builders adopted this feature along with many other Edwardian features, however this frame is structural and holds the roof up.

The timber frame has been poorly maintained and repairs like replacement lead on the snug bay window have caused issues.  I’ve been removing the paint to assess the condition of the wood.  The layers of modern gloss paint had cracked and were allowing water in.   Of course the paint was waterproof so the water couldn’t get out again.

puddle-on-bay

The wood appears to be a slow grown softwood similar to Scandinavian redwood.  The finish is generally very well preserved without UV damage which suggests it was painted from new.

The first 3 coats of paint were linseed which has preserved the wood perfectly under the later coats of horrid cracking modern paints.

wood-1

Photos of the original paint finish are only available in black and white.  Most of the original paint has been stripped previously, but there is some left higher up the building. The white was the original finish to the windows.  It was a linseed oil paint with a lead pigment.  The next coat was green.

original-front

The rest of the timber was also re-painted green but below that is a very thin mid brown coating with the grain of the wood visible through the pigment.  Below that (and visible through the brown) are brush marks and I wonder if they aren’t a faux wood grain.  It is possible the original finish was linseed paint with a brown pigment and a wood grain effect to make the softwood look like hardwood.

original-paint

The timber frame isn’t as bad as I feared.   In many places what looked like rot turned out only to be cracking and peeling gloss paint.

Figuring out how to re-finish the wood will be a challenge.   The Edwardians left the lime render (which turned out to be cement) unpainted which would have aided drying of the wood.  I can’t remove the modern waterproof paint from the render without also removing the rough cast pebble finish.  I’m guessing a linseed oil based finish to the wood, maybe with some pigment to keep the UV out will be the answer.

stripping-front