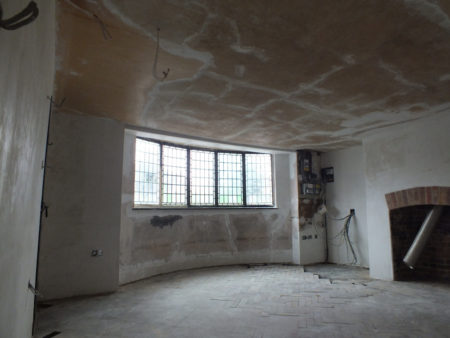
I’m sweating away in the heatwave doing plaster repair in the snug. There is not much to see in the photo – a lot of the snug was back to brickwork behind the late 20th century wood paneling and the leak from the bay window and the electricians took a bit more off. I’ve patched that all back to level, but the Georgian plaster on the other walls is in poor condition having been messed with and will likely need a skim.
The ceiling is remarkable. It has an inch of plaster with straw reinforcement. It is probably the oldest and most bendy bit of plaster left exposed in the building so I’ll not mess with it apart from filling in some of the larger gaps and then lots of lining paper.
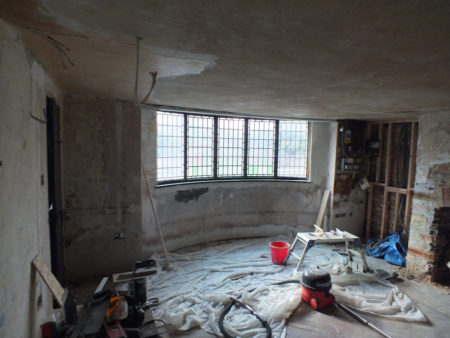
I ran out of lime plaster and took a break to paint the upstairs bedroom. After the new plaster arrived I skimmed 2 walls and have a nice flat and smooth finish. I used Ecomortar R50 ultra fine plaster – it is lime based with some additives to help it stick to different backgrounds and something to make it set in a couple of hours to avoid shrinkage cracking, but it still seems reasonably breathable. Turns out to be a lot quicker to skim than to patch.
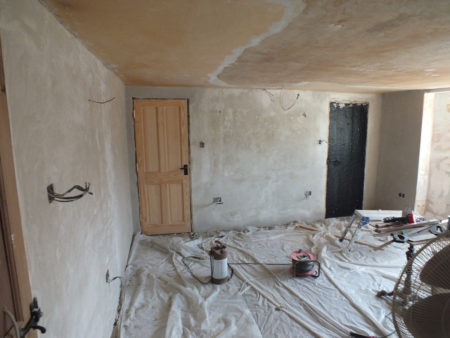
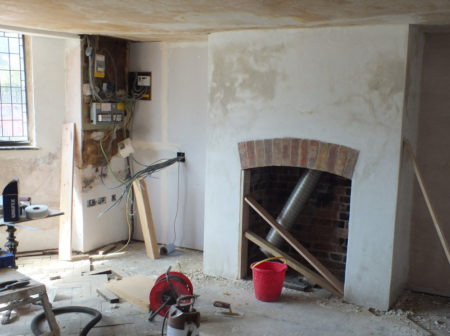
Working around the room the fireplace is next. The original plaster was quite thick so the scratch coat will take a few days to dry before I can skim over the whole fireplace. Next is figuring out how to plasterboard the stud wall with the electrics in the way.
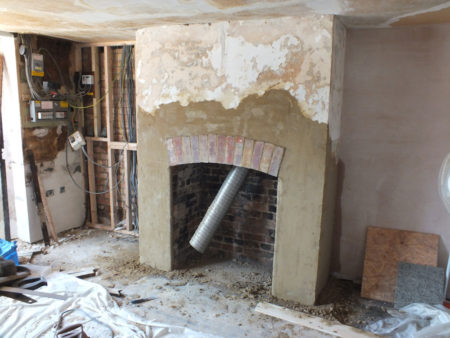
This is a bit more like it. I didn’t quite get the curved edge for the front of the fireplace while plastering (I have a cunning plan for a bit of apparent craftsmanship in the snug). The latest idea is using a guide propped up by bits of wood together with a concrete edging trowel with some spacers glued to the edge.
To the left of the fireplace the wires in the cable entry for the new consumer unit are propped up while glue for the slate insert dries. I’ll wrap some intumescent pipe wrap around the wires. I don’t want any electrical fires getting into the void behind the plasterboard as it is ventilated to the roof space to keep the external timber frame dry, but the inside stud walls are all filled with the horribly combustible insulation they insist on these days. The stud wall is there for the same reason as the upstairs stud wall – I want to be able to replace the common bricks used outside to replace the bottom of the timber frame with some nicer ones.
Finally looking in the same direction as the first photo and almost ready for decorating (apart from to the right of the window where the old electrics will have to remain until the other side of the house has been rewired). I’ll paint directly on the plaster behind the new electrics – it is mean to wallpaper behind consumer units!