It is late October and it is madness to be considering lime rendering at this time of year. Normally you would get your exterior lime work out of the way by the end of September. The trouble is the lime will take a month to dry in cold weather and will be damaged by any frost before it is dry. I’m gambling against a frost in November else I might have to do it all again next year.
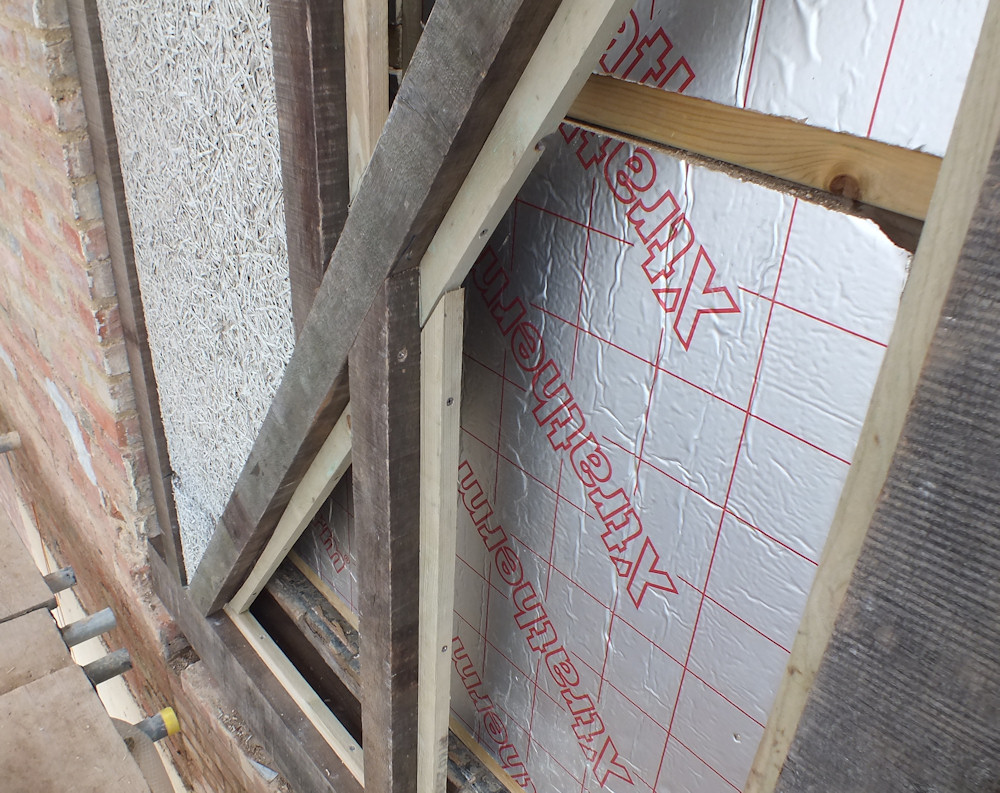
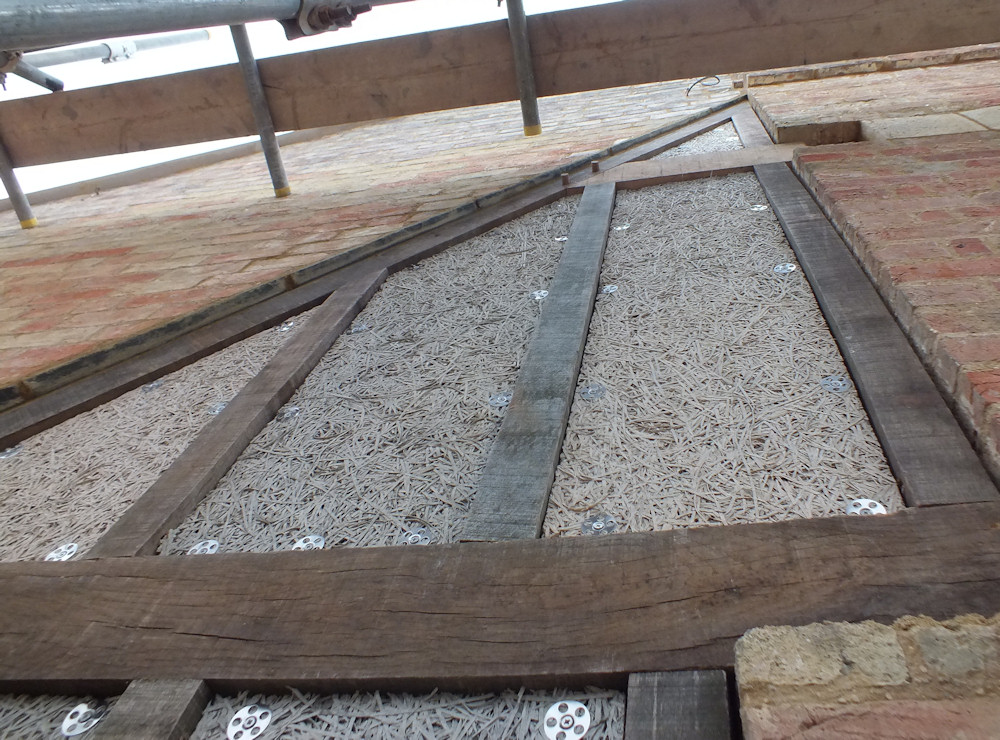
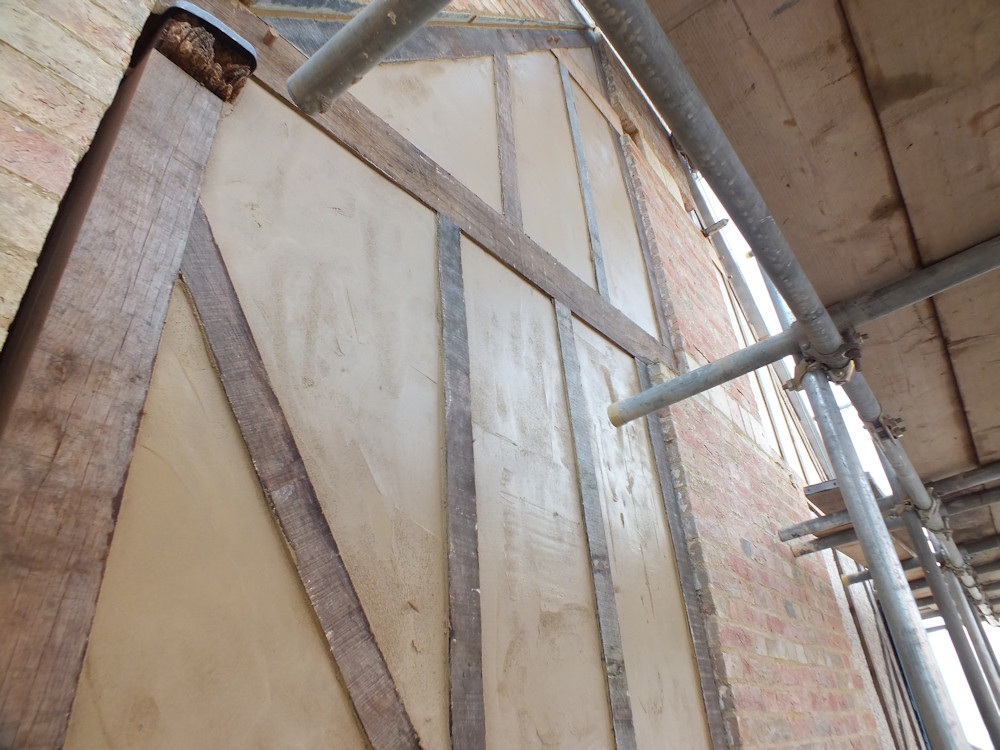
The render will be applied onto woodwool boards which are fixed onto roofing battens screwed to the oak frame.
Both oak and lime require stainless screws. The tannins in oak corrode normal screws and electroplating doesn’t like lime. The holes need to be pre-drilled and a steel screw driven in and then removed to reduce the chance of the stainless screw breaking as it goes in. There is no chance of removing the stainless screw from oak.
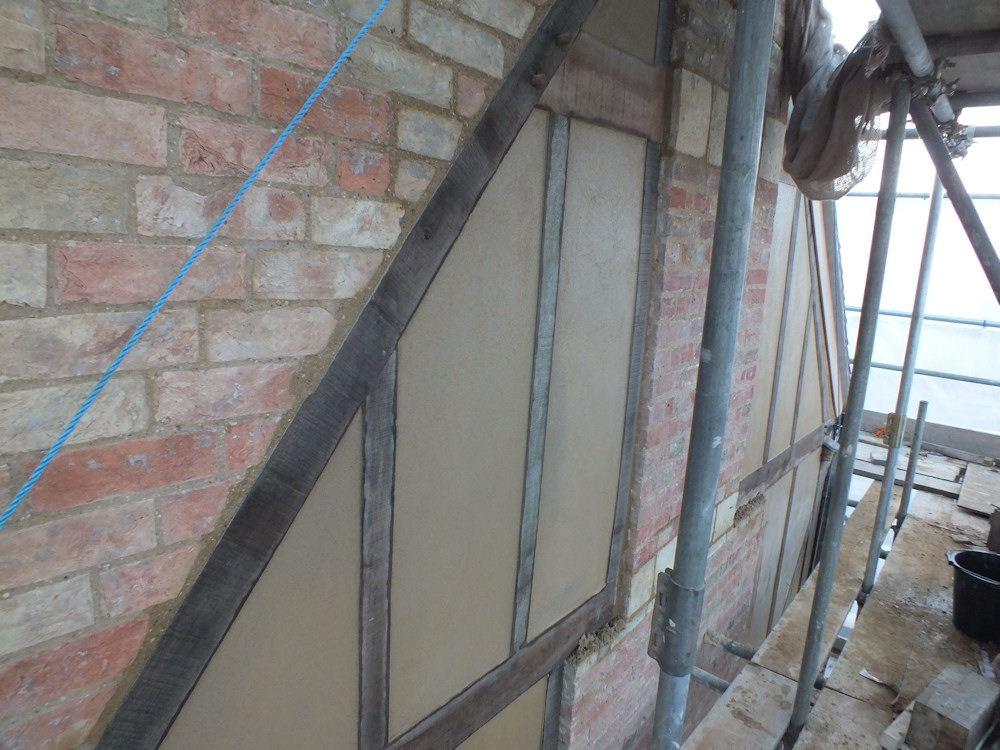
The bricks immediately above the oak frame were not supported and had come loose so needed to be removed and replaced again. I have fitted a slate undercloak between the bricks and the frame.
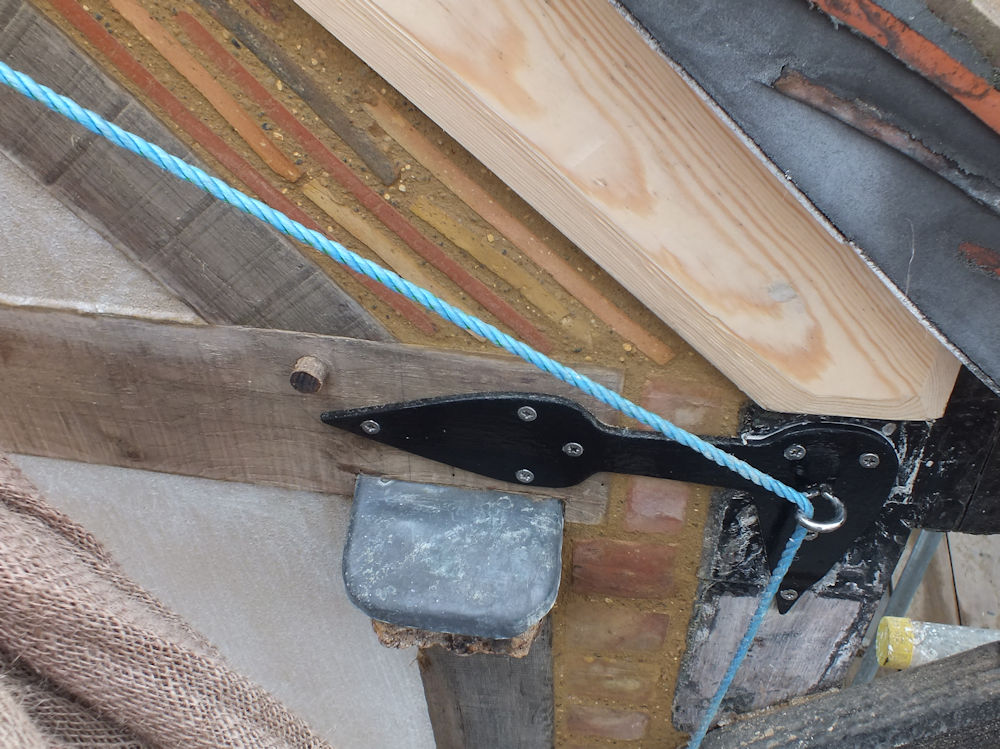
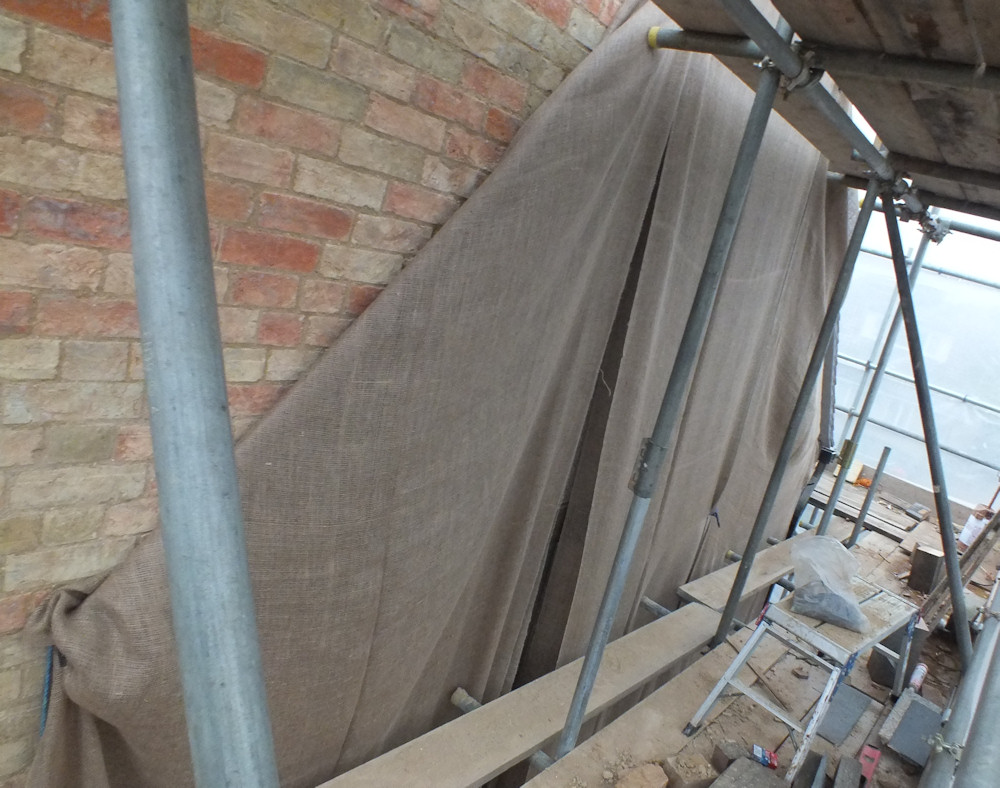
Hessian is my plan to reduce the chance of frost damage. It should prevent dew forming on the surface of the lime and freezing, and will hopefully insulate a little to retain heat from the wall. It is supported on eye bolts drilled into the brickwork with a rope threaded through. I’m hoping to come up with a plan which will allow the rope to be withdrawn from ground level after the scaffolding has come down.
More than half of the first coat went on in a day. My current recipe for render is a bucket of rendering sharp sand, a bucket of soft sand, and a bucket of lime (NHL 3.5 to help avoid frost damage). 1:2 lime to sand is quite a strong mix, but tests with less lime proved crumbly. The surface will be roughed and scratched when it becomes firmer tomorrow. I had planned to whitewash the infill to match the front of the house, but the earthy colour of render looks nice. I might try adding some pigment to the limewash.
Late October turned out to be warm and the render is drying well. It is still drying slower than it did in the summer but that is handy as it allows me to use lime late in the afternoon and finish it the next day. It should be possible to apply the final coat around 5 days after the scratch coat (which has been scratched). I brushed the remaining smooth bits after the photo to help the next coat stick.
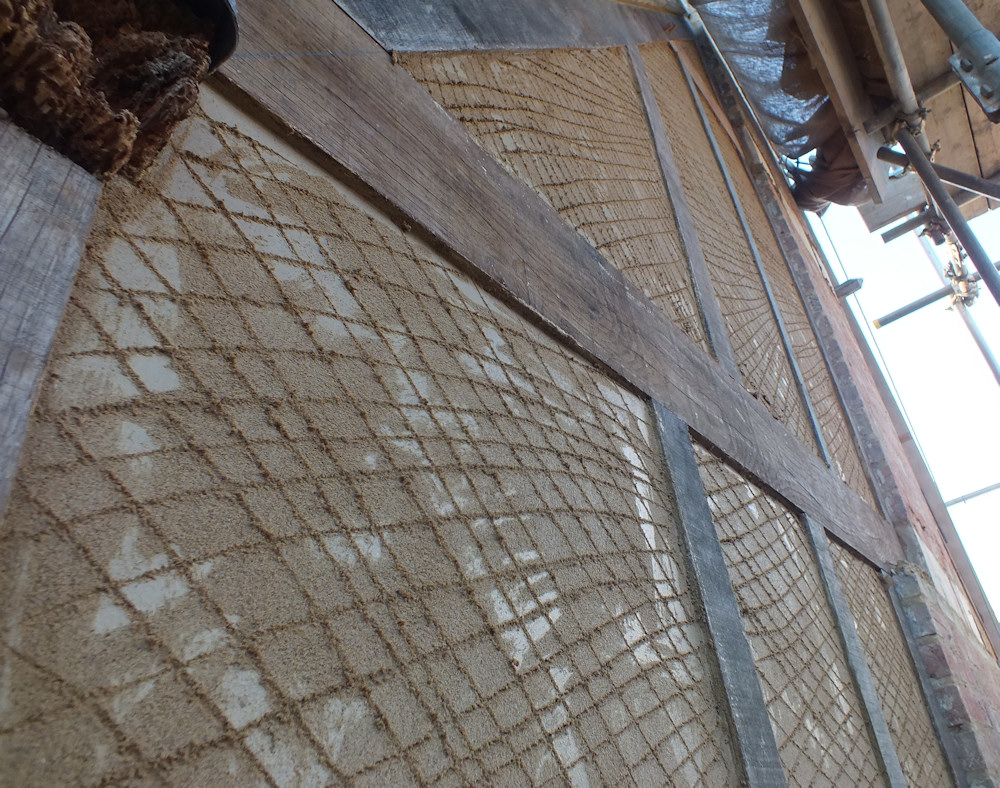
The final coat of render seems to be taking about twice the time of the first coat. I troweled on the lime trying to make it smooth and level, then after a few hours used a polyurethane float to flatten it, filling in low spots with more lime. Next day I went over it with the polyurethane float again, then lightly wiped it with a damp sponge to fill in the imperfections. This left a flat sandy finish which I will claim is traditional.
The finished render is recessed about 5mm behind the frame which will make it easier to lime wash.
It’s about time the scaffolding came down. The lime work is finished. I used a mix of brick and tile to infill between the new and old frames and have fitted some steel to hold them together.