Monthly Archives: May 2015

Front Roof

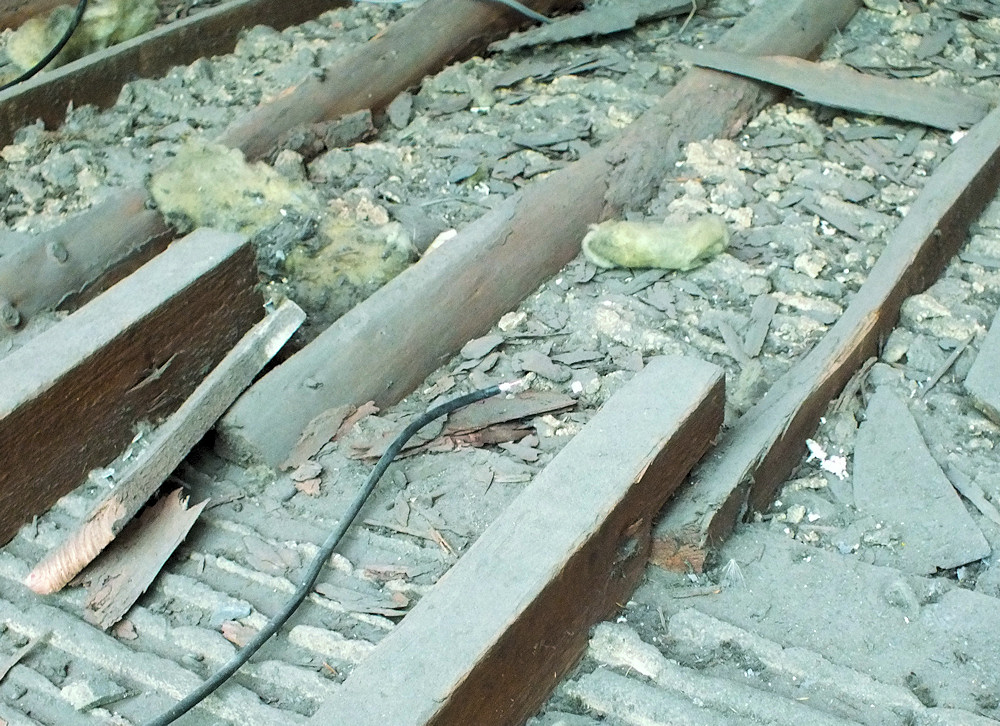
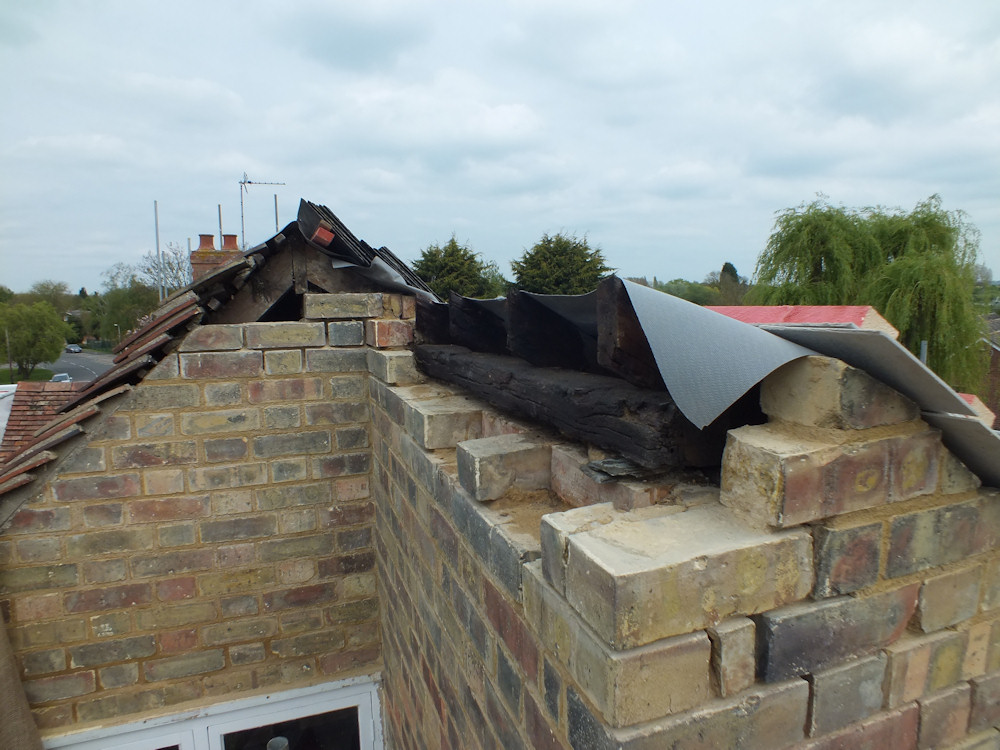
The front roof appears to have last been re-covered in 1910 using tiles reclaimed from an earlier roof.   The tiles were mounted on steel nails which had corroded causing the tiles to slip.  The roof leaked but local repairs weren’t sensible because of the risk of disturbing surrounding tiles.

old-front-roof

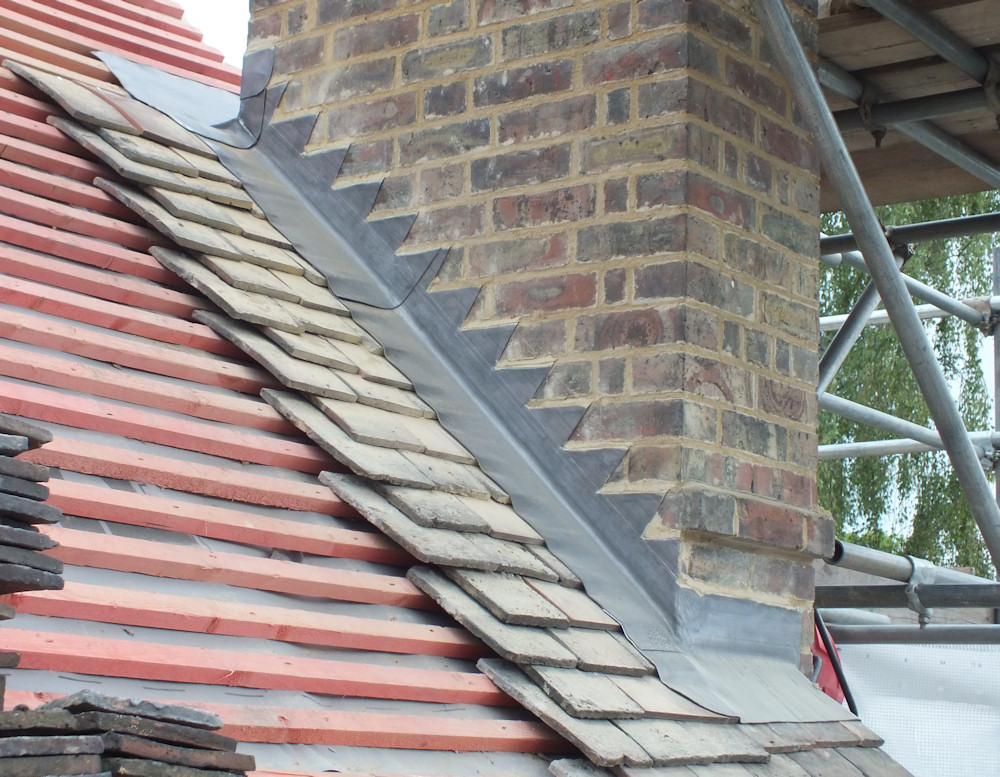
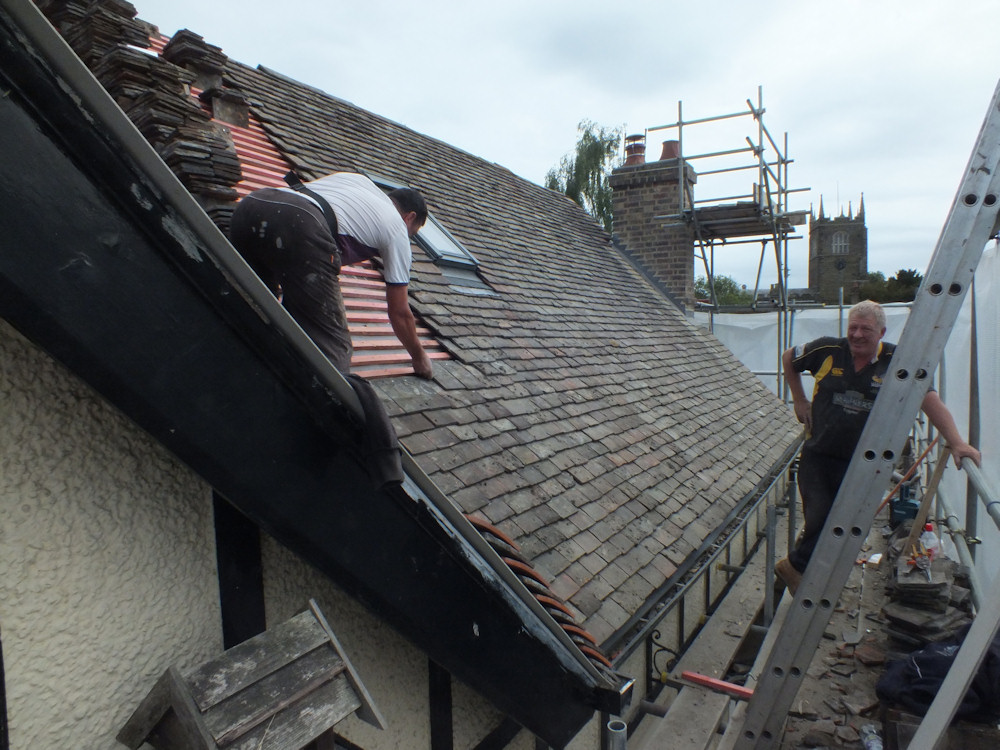
The tiles and batons were removed in a day, and the roof covered with a tarpaulin to keep the rain out.  The tarpaulin made a lot of noise in the wind but was quickly replaced with felt and new batons.

front-roof-tarp

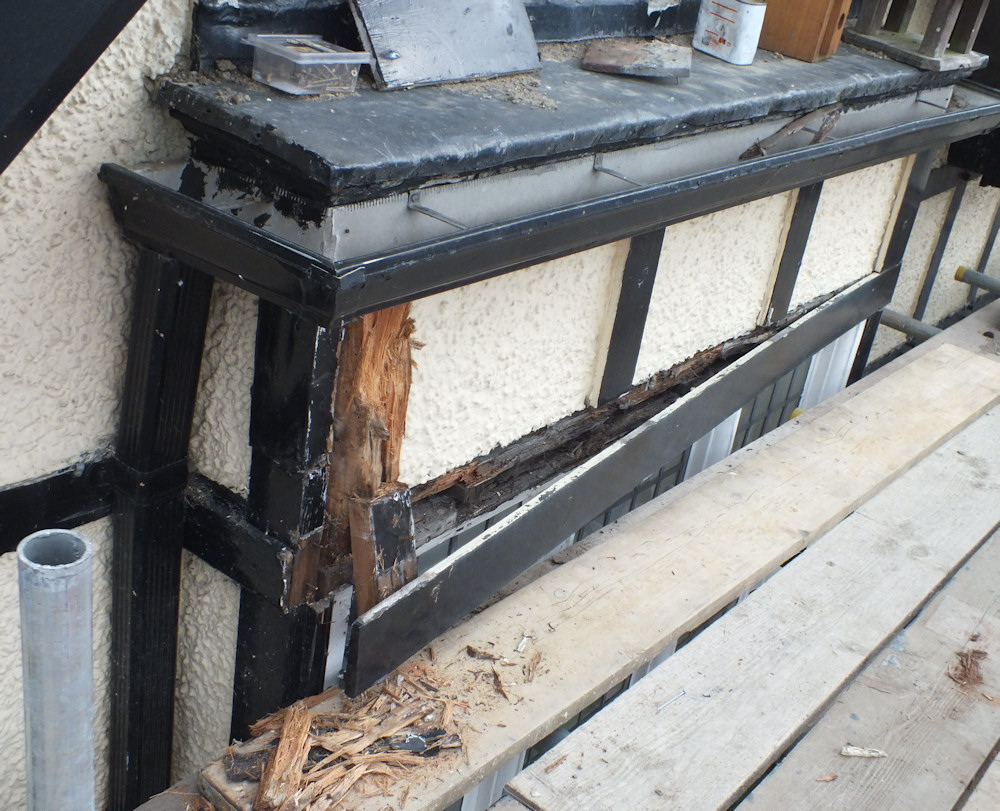
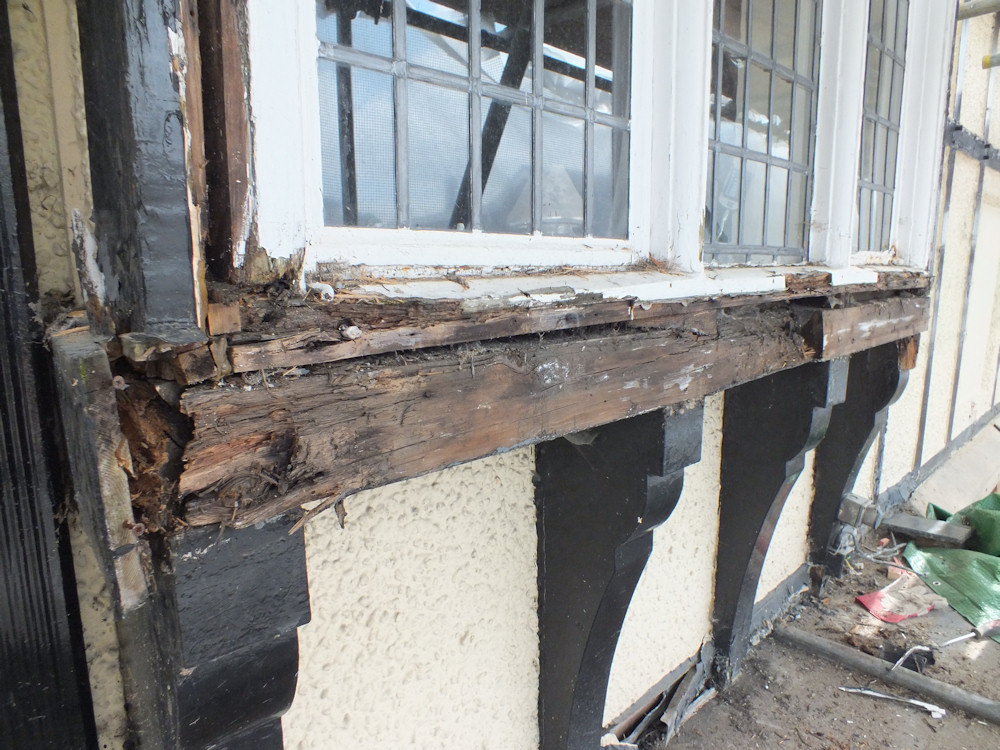
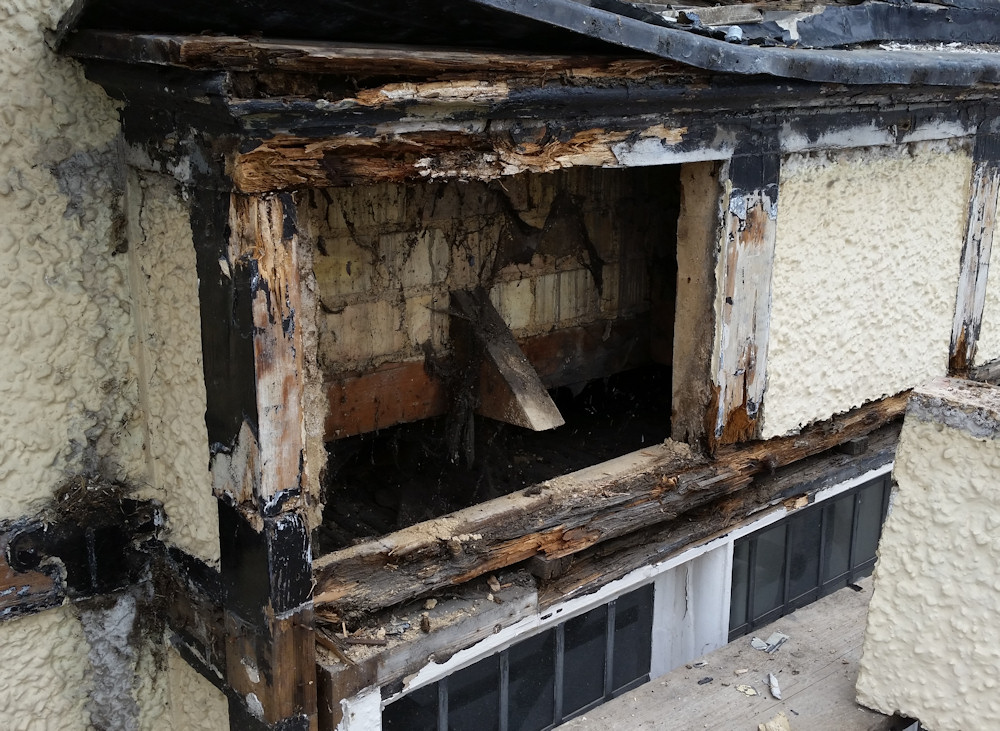
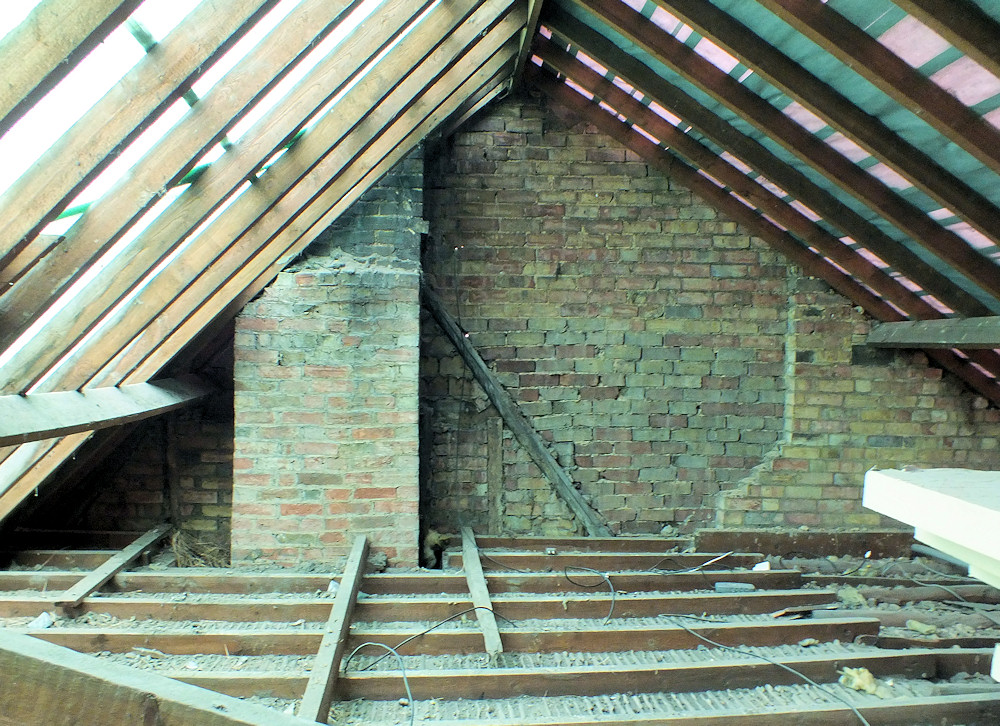
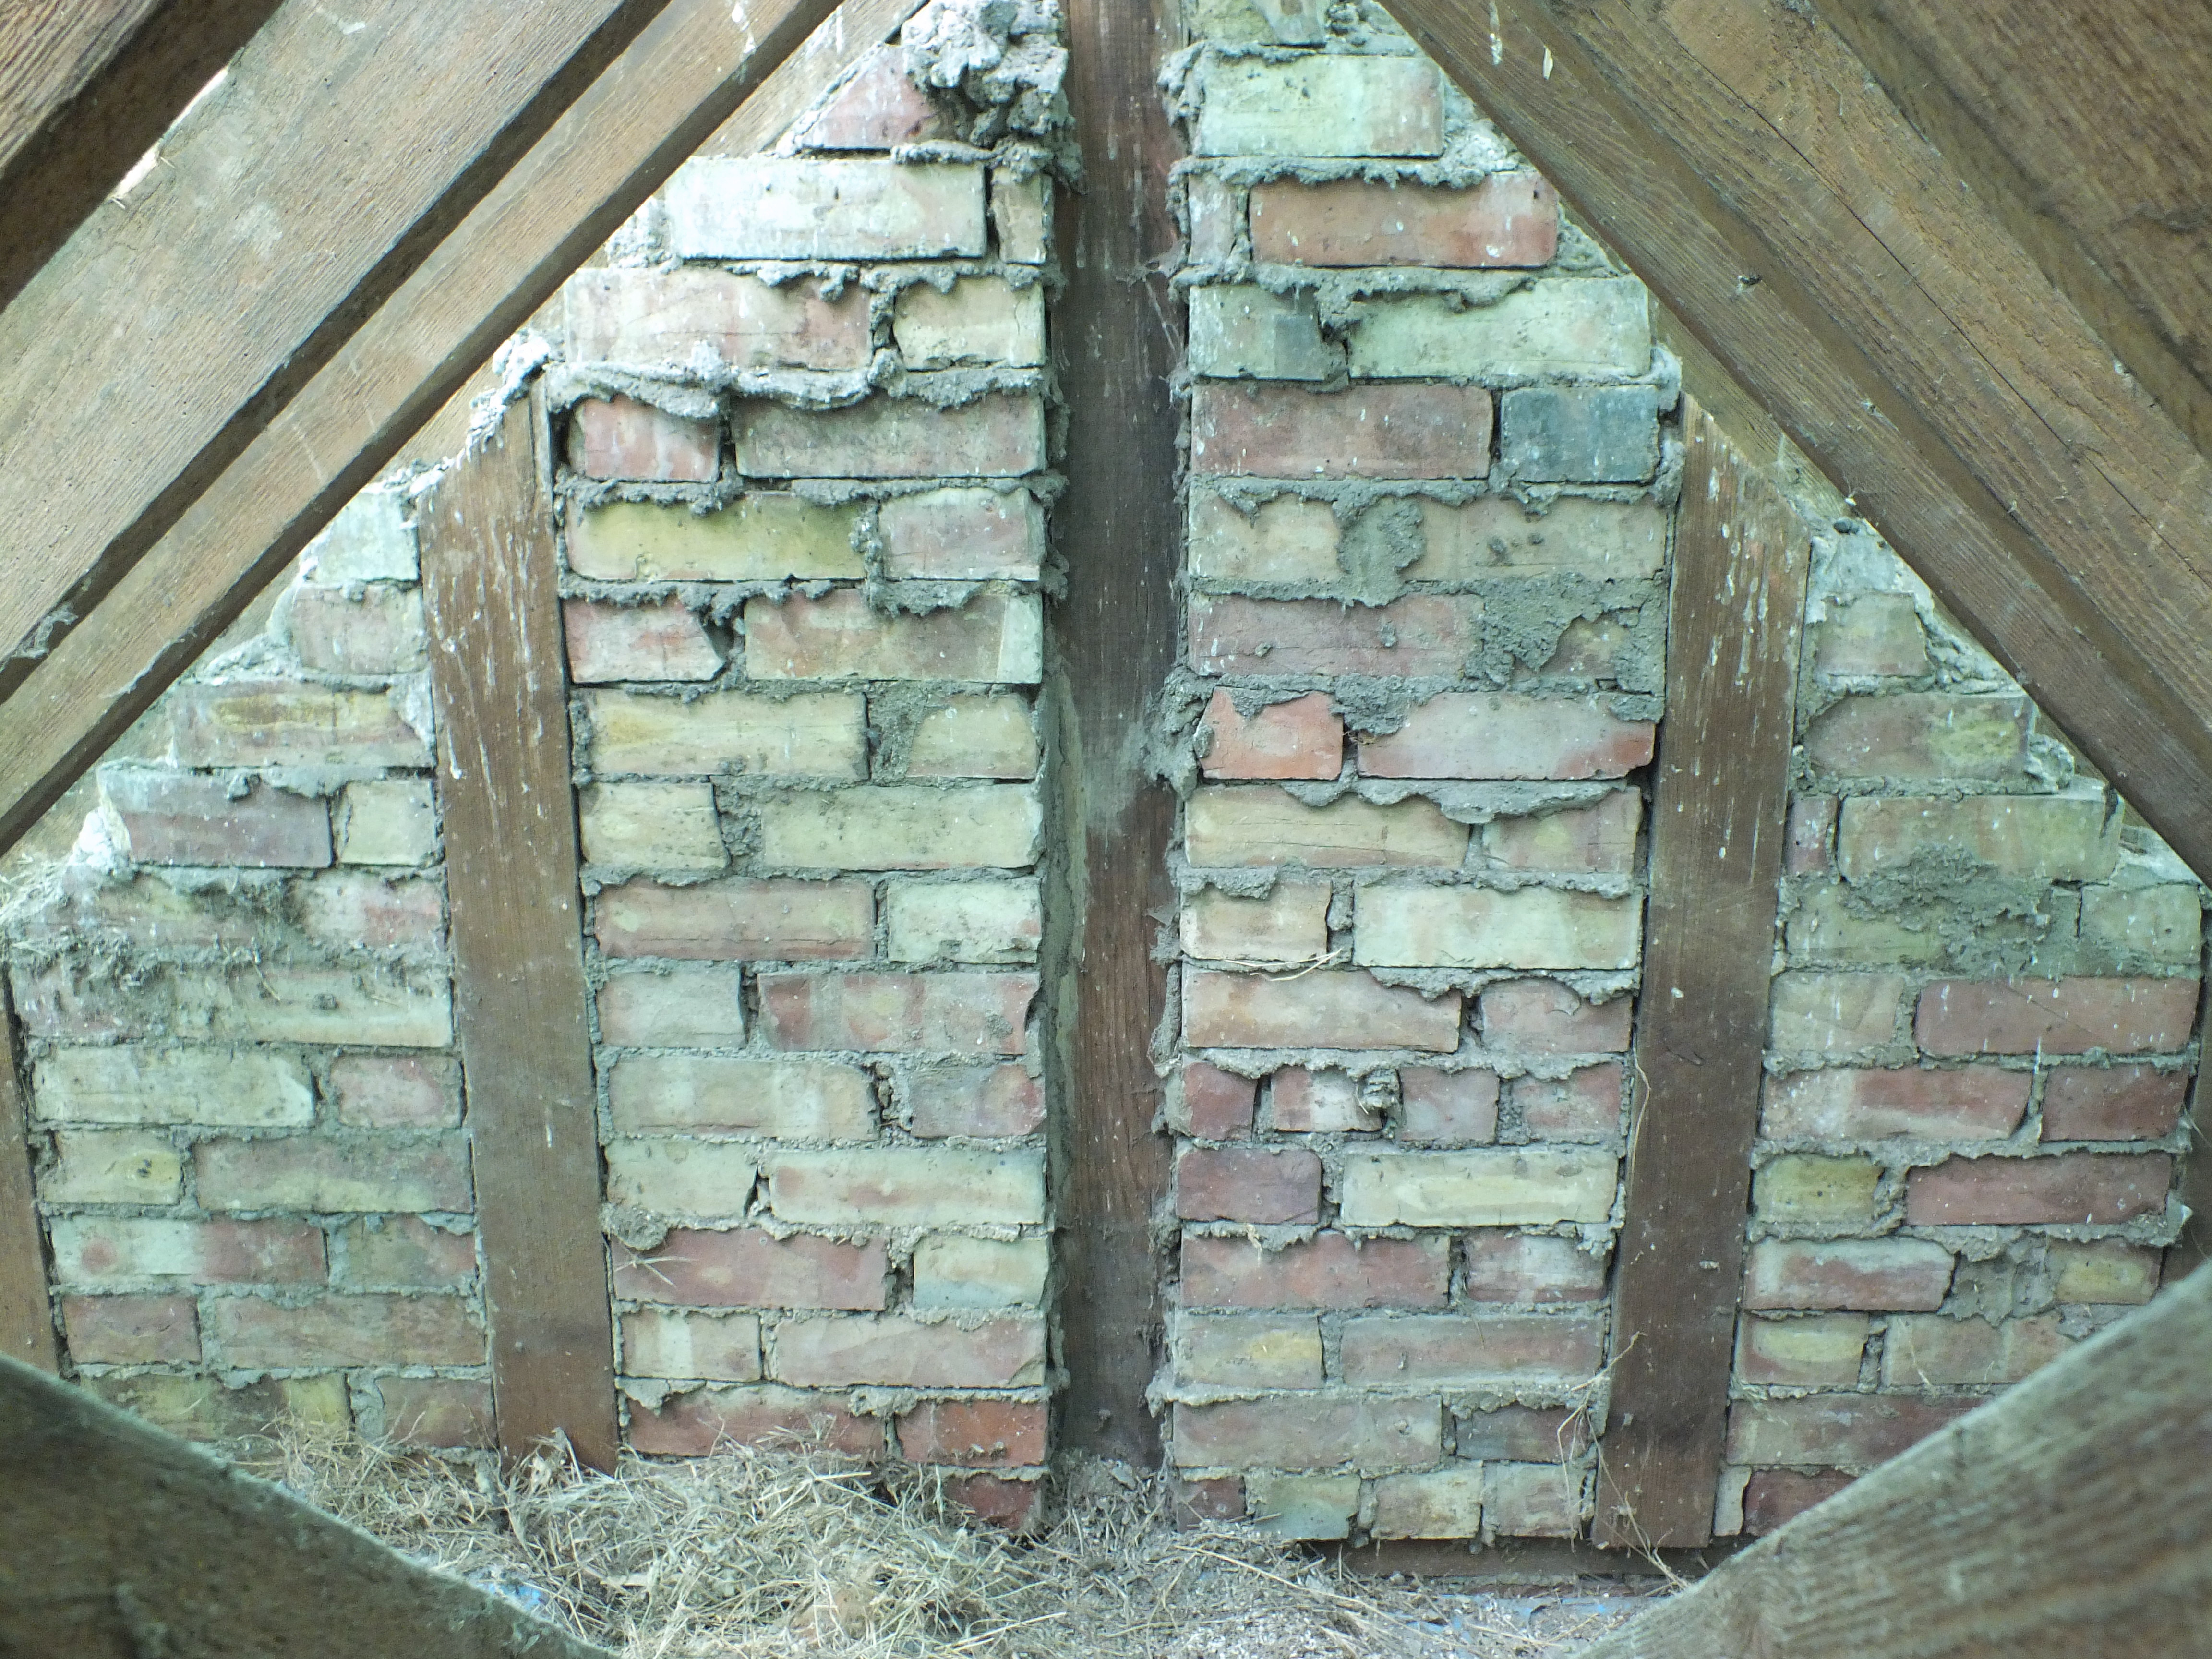
The roof structure was good.  Part of the facia board was replaced but the main timbers were fine. The roof was very well ventilated and the leaks must have dried quickly.

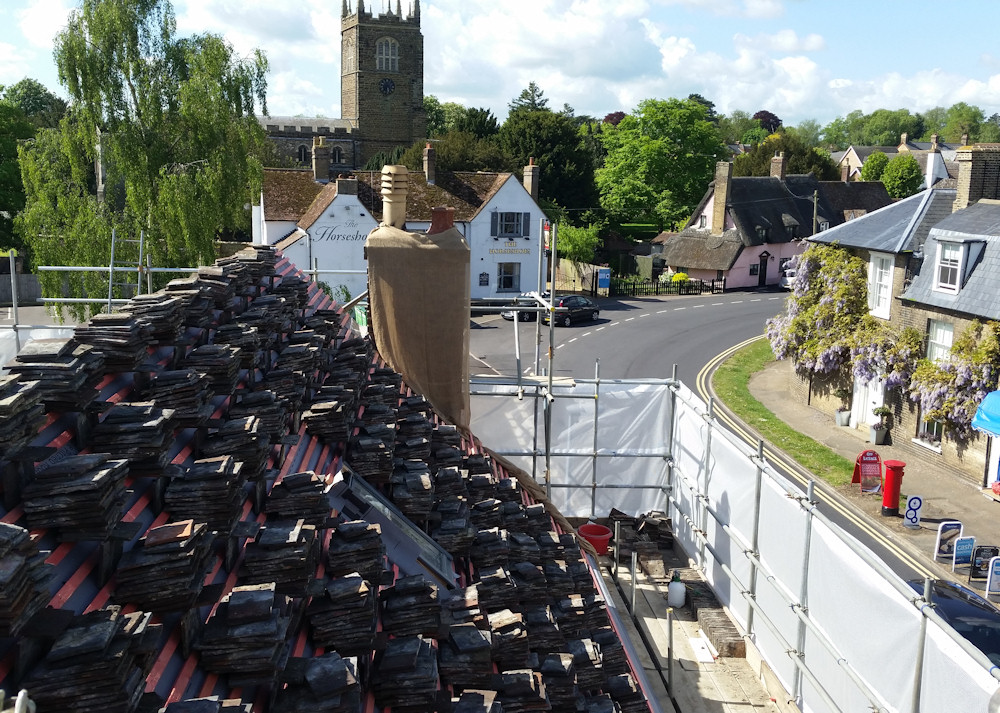
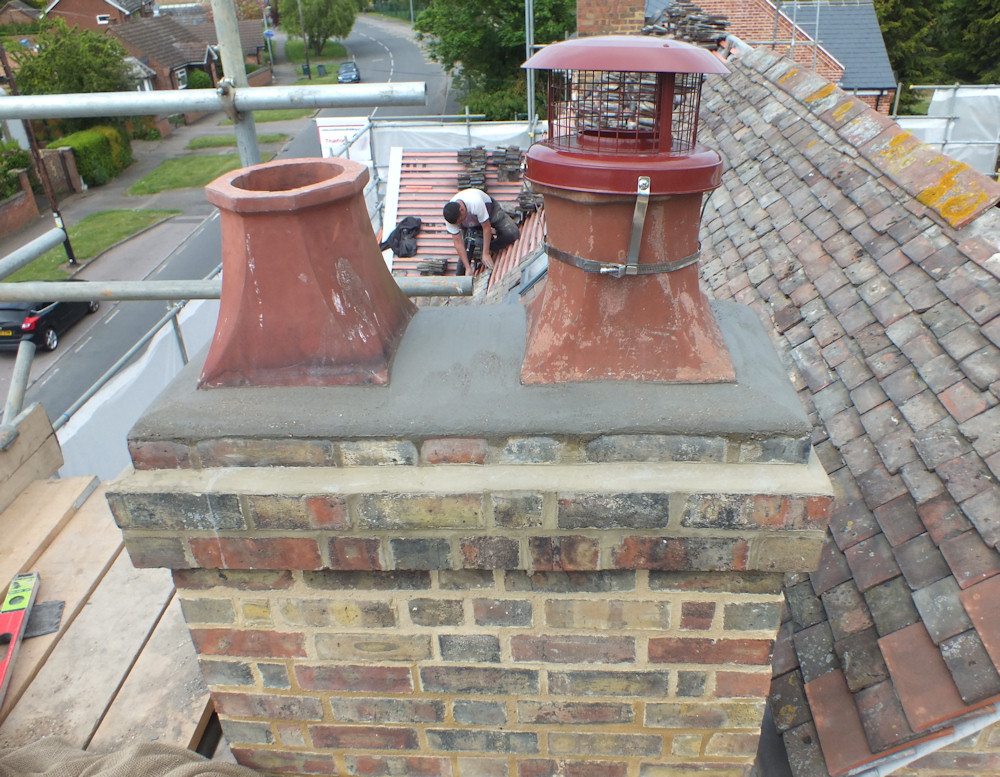
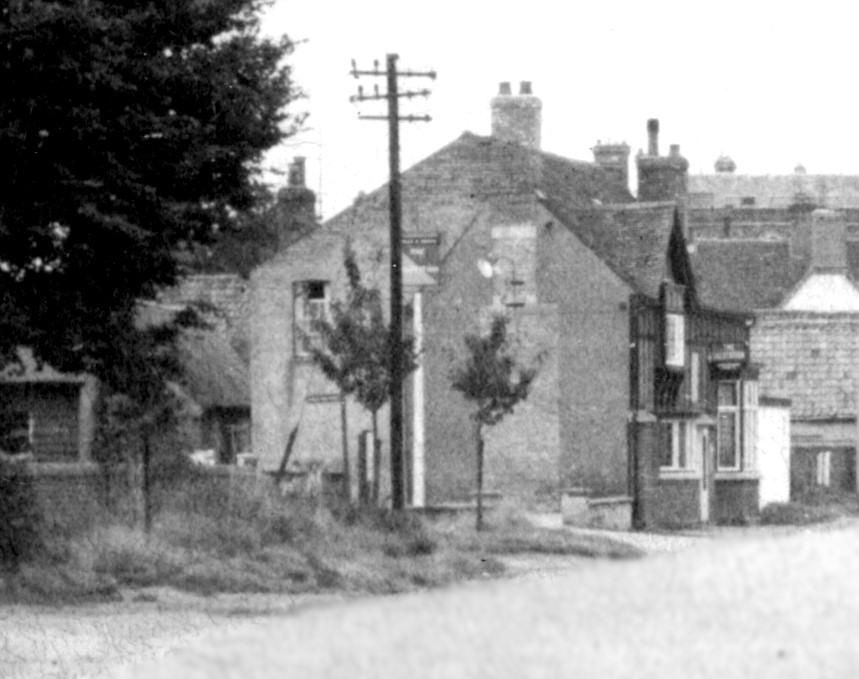
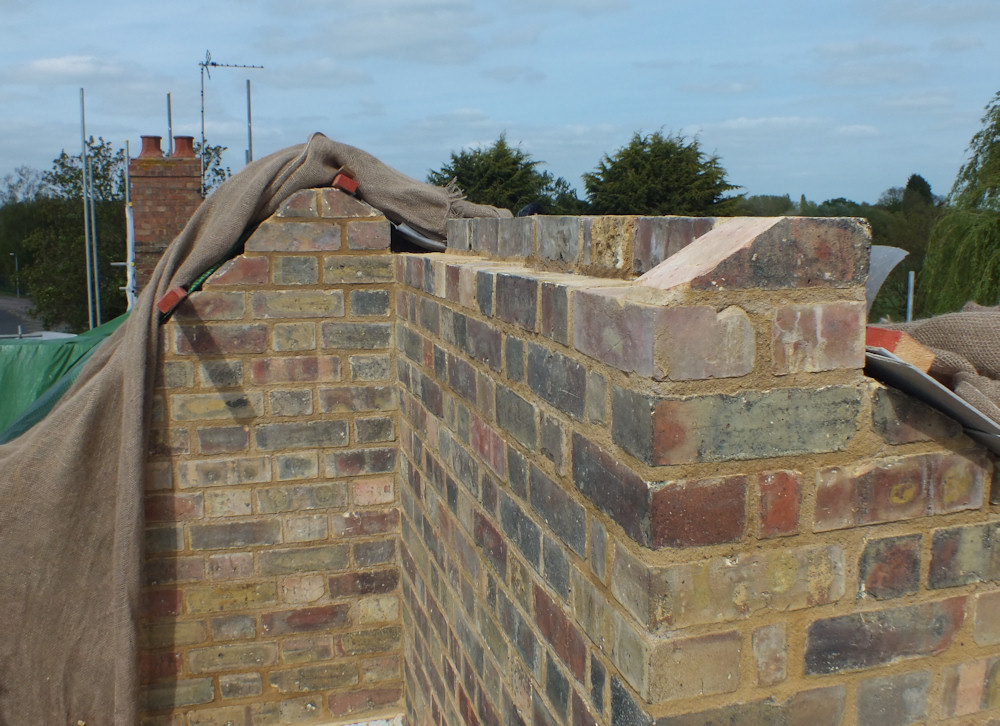
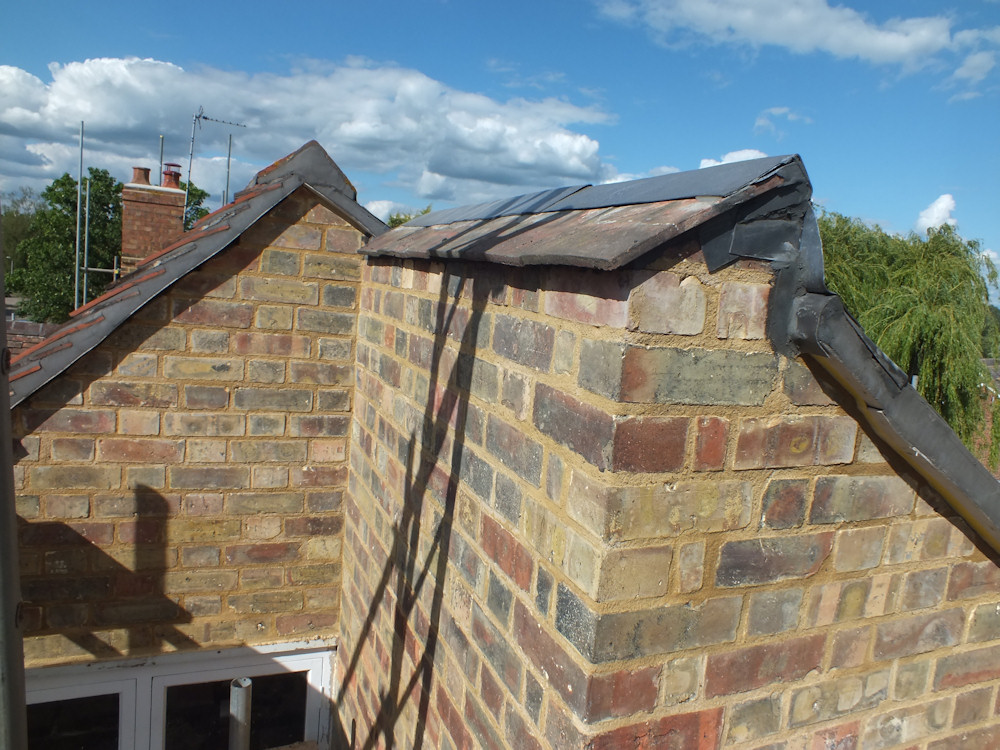
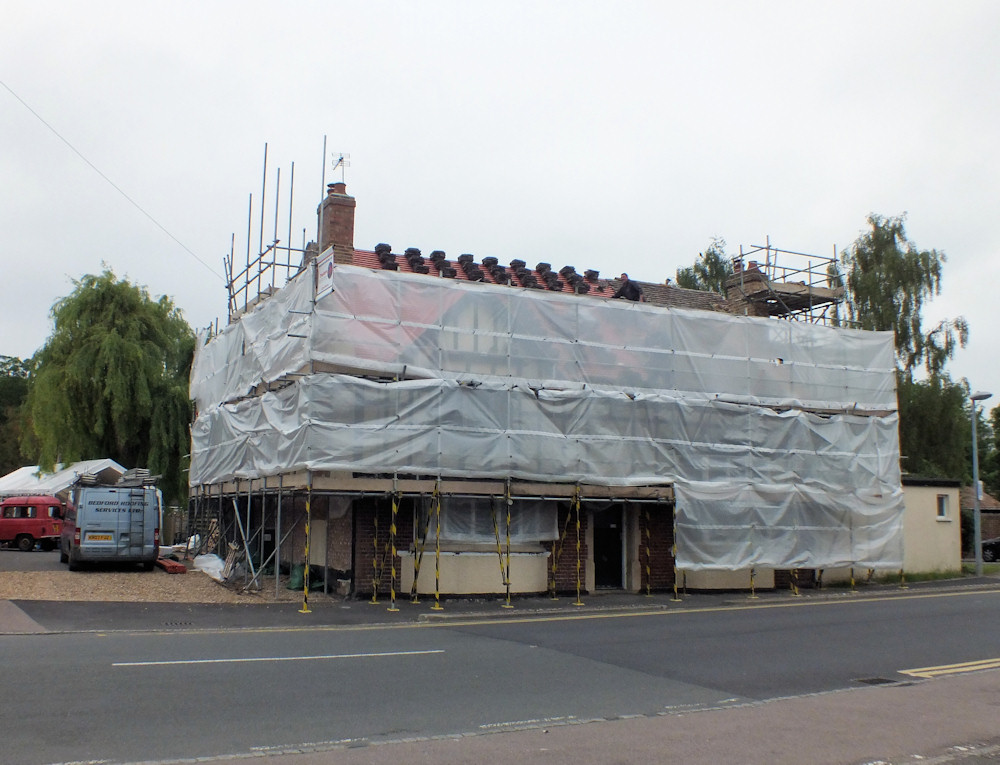
From the street the house looks as sorry as it is likely to get.  Later with the roof and chimneys fixed the house has started to look finished above the plastic sheeting.

roofing-in-progress

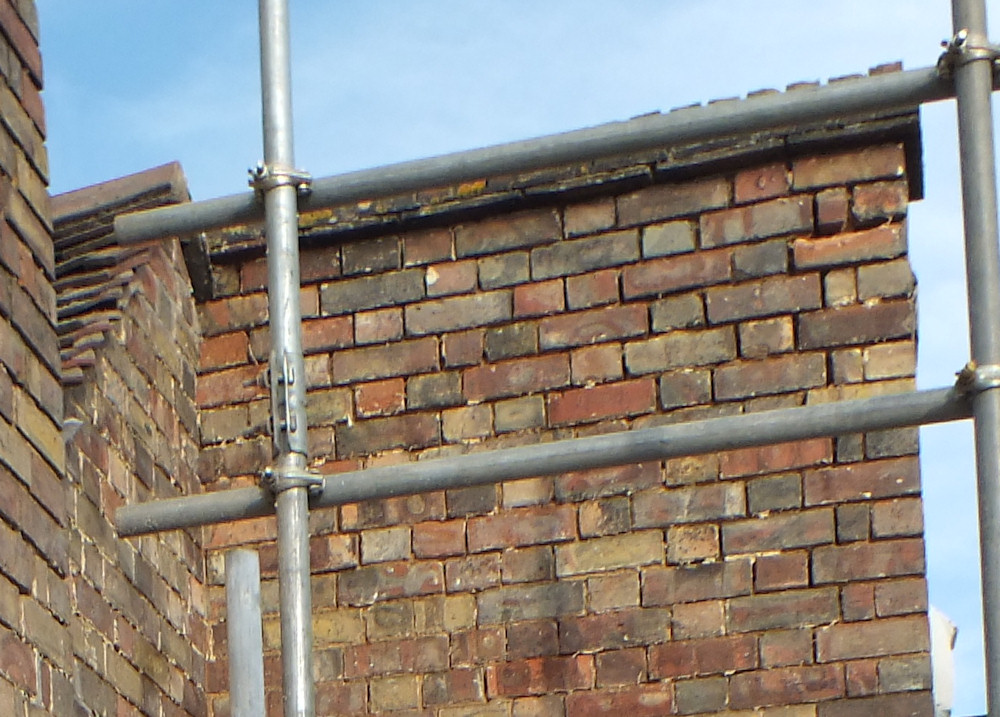
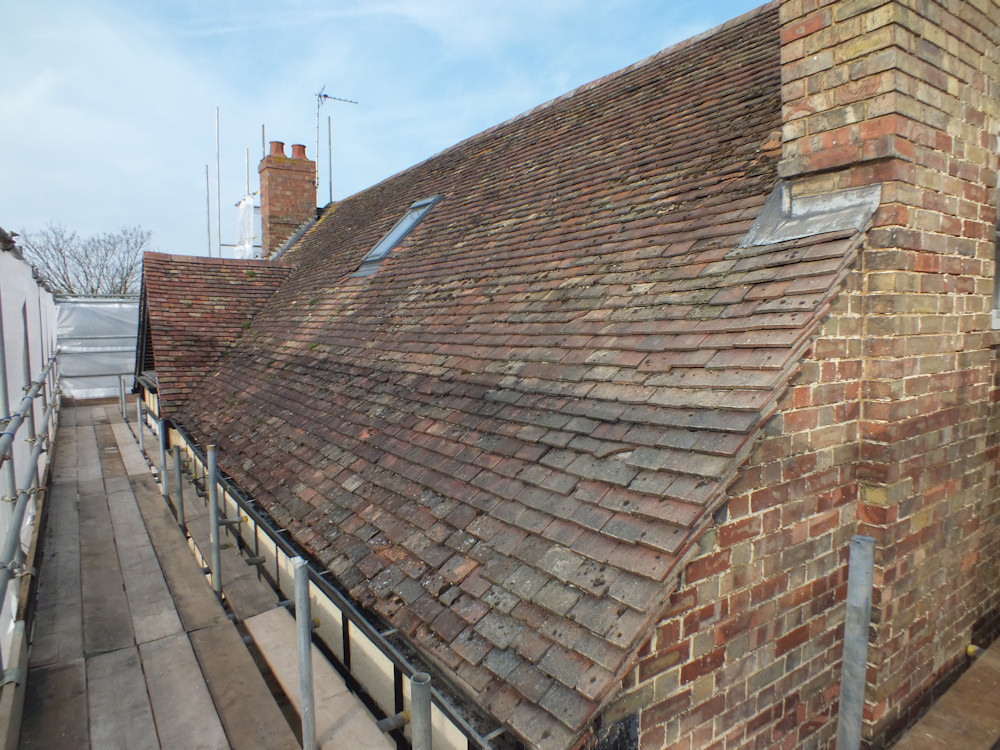
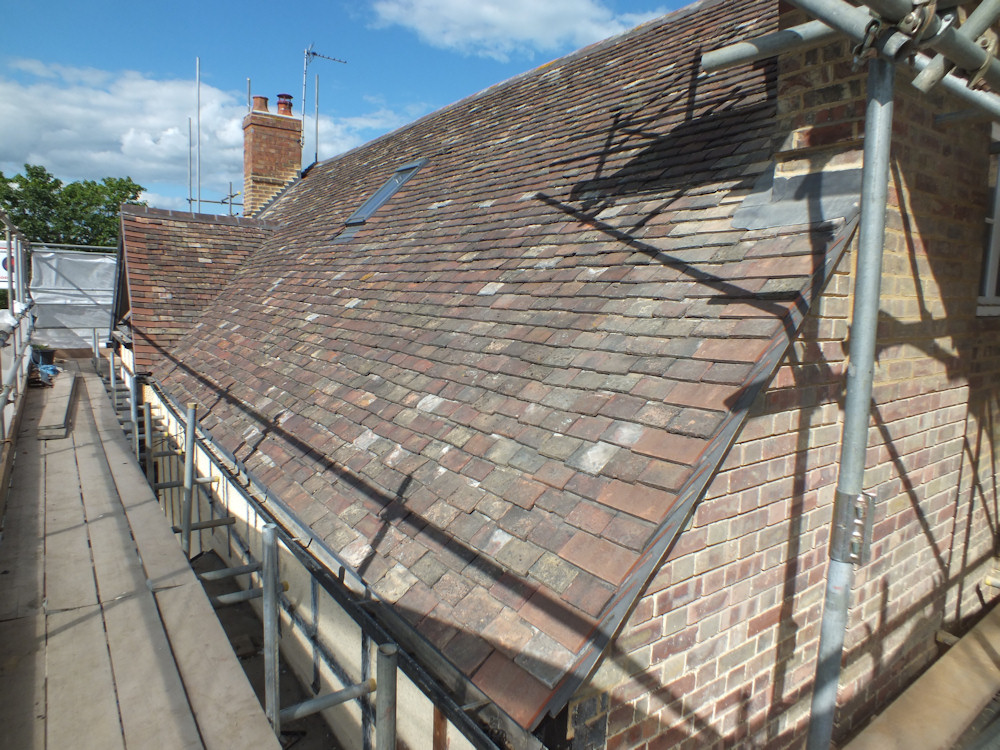
The original tiles have been retained where possible, but around 10% were replaced with reclaimed tiles mixed in with the existing.   There were already three different types of tile mixed together on the roof from where people had done much the same thing in the past.

front-roof-tiling

People will be wondering what we did as the roof looks like it did before.  Hopefully it won’t leak and shed tiles any more.

new-roof

We have breathable felt below the tiles, and the tiles are secured with aluminium pegs with the slates at the rear secured with copper nails.

Rot in the Bay Window

I’ve had countless calls (well, none is countless) saying we’re bored of the brickwork, roof, and random history.  Can we see a bit of timber for a change, and in particular was it a good idea for someone to tidy up the beautiful timber on the first floor bay window by nailing planks of wood to it in such a way that water was directed in but couldn’t get out again?  Then for good measure mess up the leadwork to make sure any water travelled behind the gutter.

planked-over-timber

It wasn’t an especially good idea to nail the planks of wood to the bottom of the bay either.  The main timbers behind the bay look good, but the window will need to come out to be rebuilt, and the bay window timber frame will need to be rebuilt.    I want to keep the window as it matches the grand bay windows on the ground floor, but I’m not sure I’ll be able to keep very much of it.

rot-bottom-of-bay

The joinery on the bay window looks fairly straightforward.  There don’t seem to be any fancy joints, just bits of wood cut and nailed together.  The timber frame holding up the roof behind is fine but the bay will need to be re-made.

render-panel-removed

Some time later we removed the windows for restoration and installed a new bay window frame.

Chimneys

Another lovely sunny day.  The roof has been felted and battened and tiles stacked ready to go back on.  But the roofers are not here.

village-from-roof

We noticed some problems with the chimneys which will be much easier to sort out while we can still climb on the roof.

The top of the north chimney had been rebuilt in cement at some point and I guess the bricks became too wet and spalled when the flaunching failed. I’m replacing them with modern bricks and cement.

spalled-bricks-north-chimney

I didn’t have any bricks that matched so the barbecue is now a course of bricks lower. The Jackdaw who lives in the chimney was very tolerant and her chicks are still getting on well.  I had to be very careful to prevent debris from falling into the nest.

flaunching-north-chimney

I am not entirely sure what was holding up the south chimney, but amazingly none of the bricks were loose.  One had spalled hence the hole.  I probably ought to have completely rebuilt this chimney in hindsight as it also leans by around an inch.  Instead I replaced most of the mortar with the bricks in place.

south-chinmey

The top of the south chimney had been repaired in cement but the bricks were loose rather than spalled and I can put them back in. We had a hold up due to a reclamation yard sending a chimney pot far different from their photos, and this caused a great deal of annoyance and last minute searching for chimney pots.

south-chimney-pots-removed

I had a bright idea and cut the top off the poorly matching chimney pot.  It’s a good match now.  Just some fiddling to get the cowl to fit properly and the chimneys will be finished.

south-chimney-top

The roofers had lead specialists came in for a morning to weld the fiddly bits of leading above the chimneys with appropriate falls, then the roofers neatly cut and fitted the leading and pointed it in lime.  Though if you are doing the same thing look up soakers on the internet – they might have been a better way to do this leading.

chimney-leading

We’ve not had enough historical chimney interest in this post.   In photos taken from the church you can see the chimney in the previous couple of photos had been removed and rebuilt on the other side of the attic window in 1910.   I turns out the bricks from the original building were re-used.  I found a very sooty brick behind a facing brick that had spalled in the gable.  The size and colour of the brick match the opposite chimney.

sooty-brick

Archaeology in the Attic

The roofers have stripped the front of the roof so there is plenty of light in the roof space for photos.   I’ve being trying to date different parts of the building.

You can see the evolution of the building from inside the attic.  To the left on both sides of the chimney is the top of the gable end timber frame of what we assume is the original building first noted in 1646.  I think 1640s would be the Jacobean period, the one just before Cromwell.  The wood is tree shape rather than cut like modern wood and has since been in filled with brick.

arric-end-wall

To the right of the timber frame the lower, darker bricks are from the original low roof extension, and the upper bricks and purlin support were built in 1910 when the roof was raised to it’s current height.

Here is a blurry photo from the 1950s.  You can see the form of the original building to the right of the gable, and the change in brick shade between the two extensions.   You can also see a chimney to the rear of the house which isn’t there any more.  There is still evidence of the chimney removal in the roof timbers.

The chimney closest to the photo looks slightly ghosted above the roof line.  That’s not a photographic effect – the top of the chimney had been rebuilt with slightly lighter bricks.

1950s-north-gable

The ceiling joists are interesting.   With their ends sitting on the spine wall, the joists to the bottom of the photo are nice Edwardian ones that you can stand on.  The ones to the top of the photo are made from bits of tree again and are part of the early low roof extension.

I had assumed the extension was built somewhere between 1800 and 1850.  The timbers suggest the cost saving was not only in the lack of foundations, but combined with the thin glazing bars on the last original sash window I’m now guessing the extension is closer to 1800 which makes it Georgian!  Makes sense as the later Victorians were better at building.

ceiling-joists

The front of the house (Edwardian) has a structural timber frame with brick infill.  The bricks are hand made and what I had assumed was grey cement mortar turns out to be lime covered in loft dust. I think the render outside might be lime, but it is coated in waterproof paint which can’t be removed without damaging the render.

brick-infill-front-wall

I’m learning that I’m not very good at dating buildings, but it is fun to see the different phases.  Dating is made easier by the almost complete rebuild in 1910.  Anything done to a decent standard is Edwardian.  The shonky stuff in lime is earlier, and the shonky stuff in cement is later.

Rebuilding the Parapet Wall

I asked the roofers if there was anything I needed to be doing over the May bank holiday weekend and they asked me to rebuild the parapet wall.  Roofers only like to tuck their lead into walls with a clear connection to the ground, so my magic levitating bricks were no good.

roof-wall-front

The pointing had eroded so badly that the bricks had become loose.  The top few courses could be lifted off with no resistance.   So could the next few courses.  By the time I got down to bricks that stuck a bit to the course below  I was down about 6 or 7 courses.

The timber that became exposed had started to rot where it had been embedded in mortar between the loose leaky bricks, but it was still sound enough to work as a roof.  I have treated the timber and I’m rebuilding the wall as a cavity wall around the timber with ventilation from the roof space.

roof-wall-taken-down

I’ll update this post later.  I’m a very slow bricklayer and haven’t finished yet.

Here we go.  The top courses had been rebuilt previously in cement and the bricks couldn’t be saved.   Rather than use new bricks I’ve gone for a slight design change.  The  parapet wall will be slightly lower and capped with tiles making it secondary to the main ridge line.  Hopefully that will also help keep water off the brickwork.

parapet-wall-bricks

Much later the roofers put a little hat on the top of the wall.   We didn’t really think it through and there is a lot of lead on there from various evolutions of the design.  The timbers underneath should at least be well protected.

tiles-on-parapet