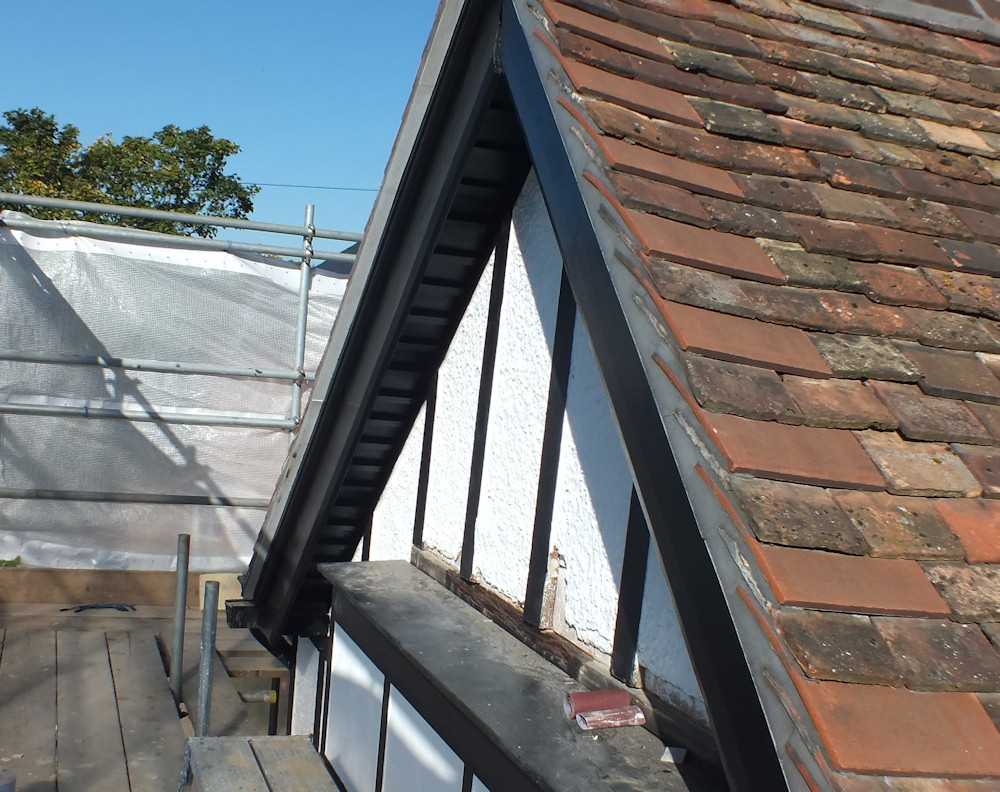
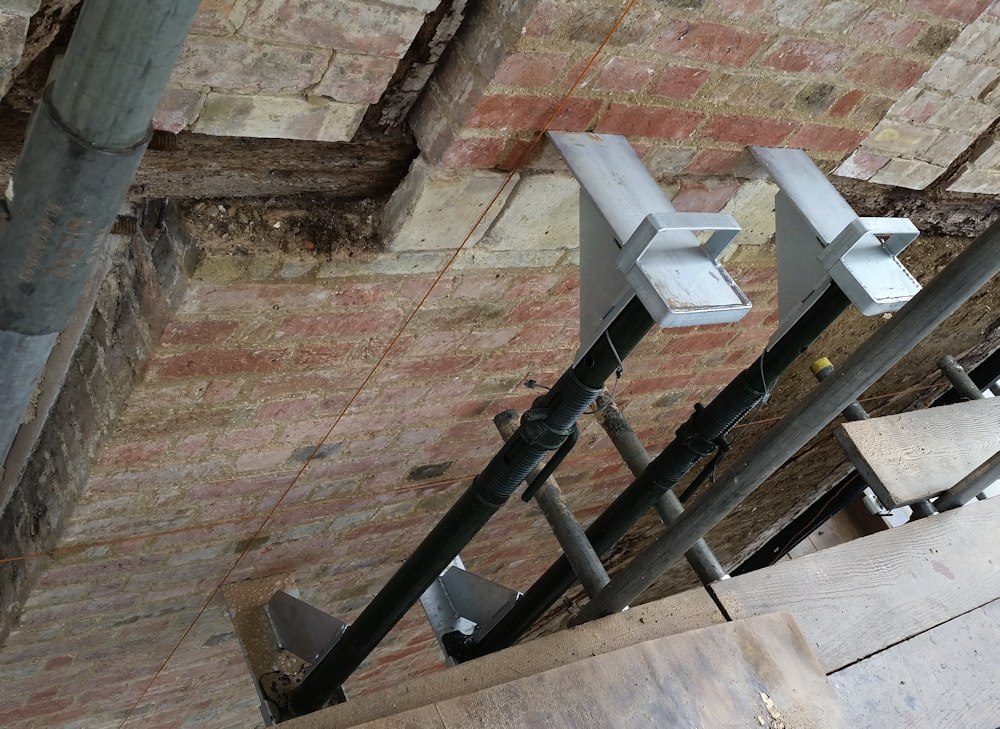
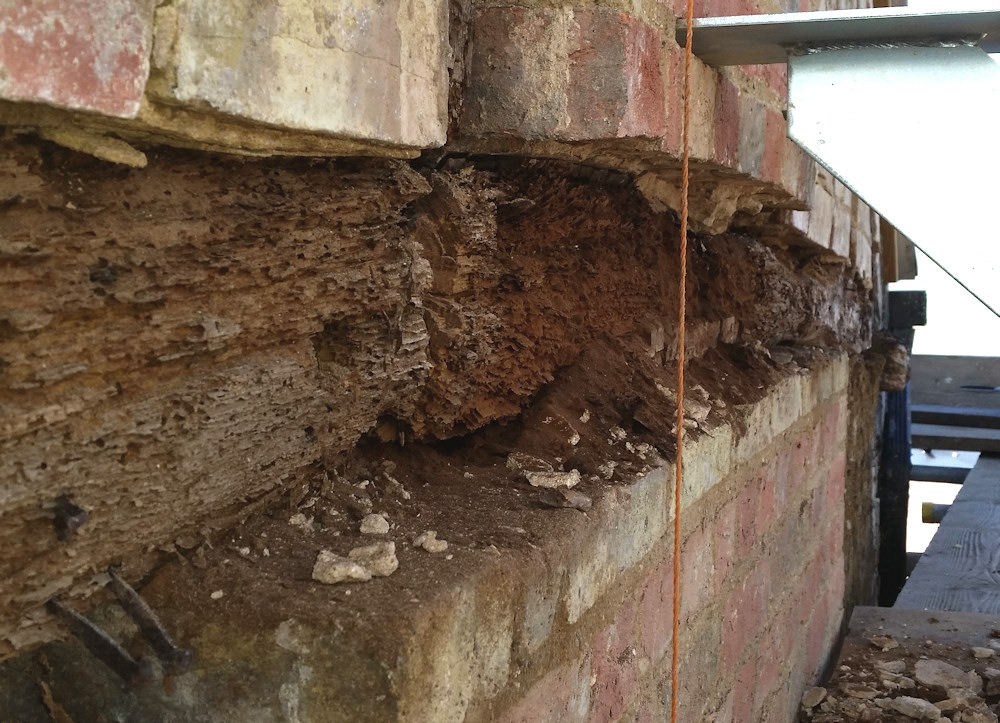
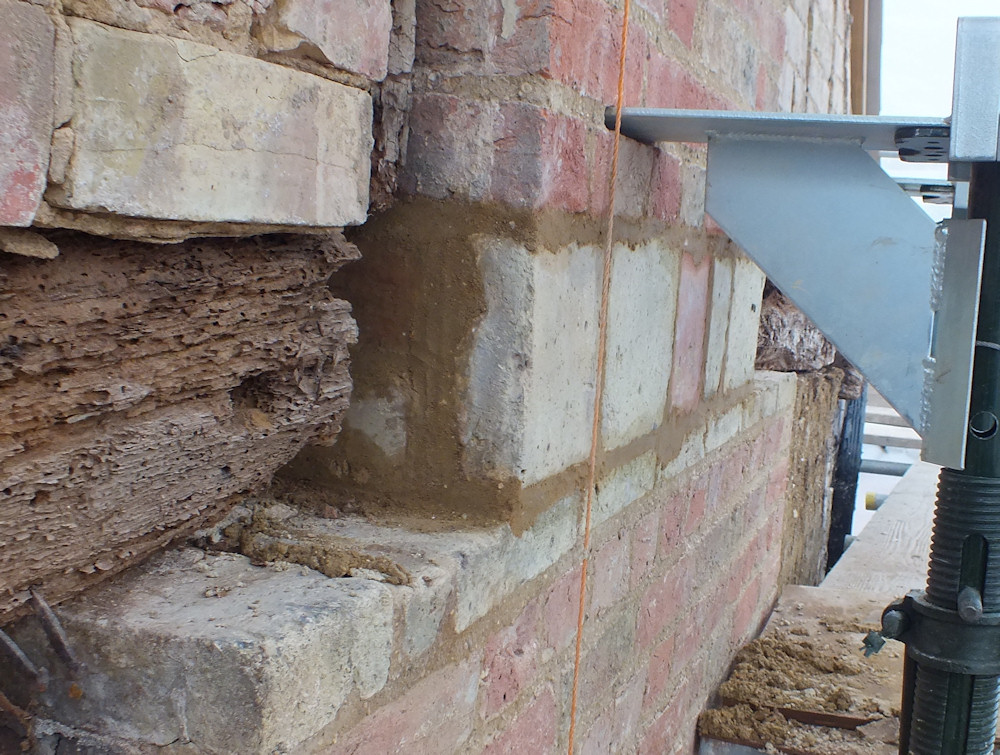
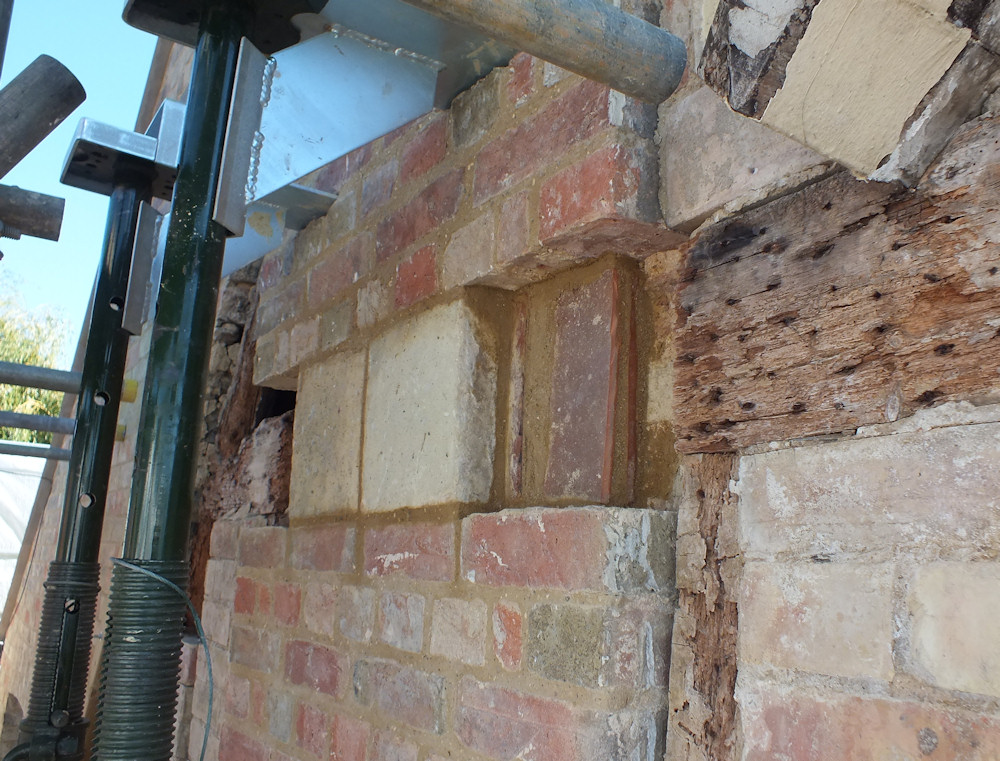
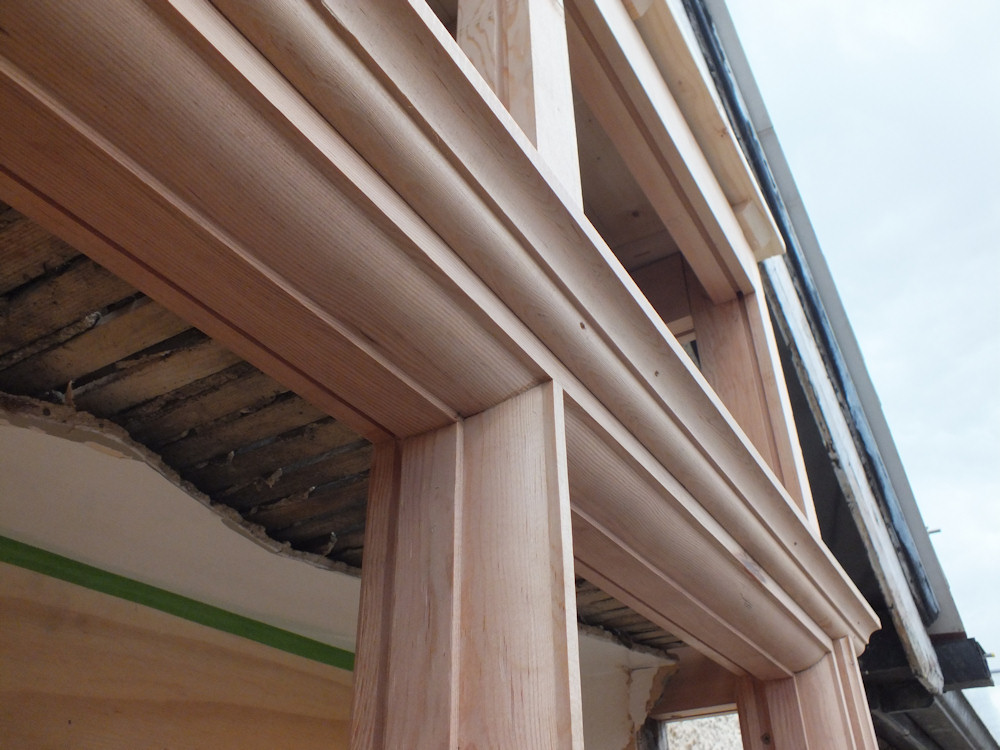
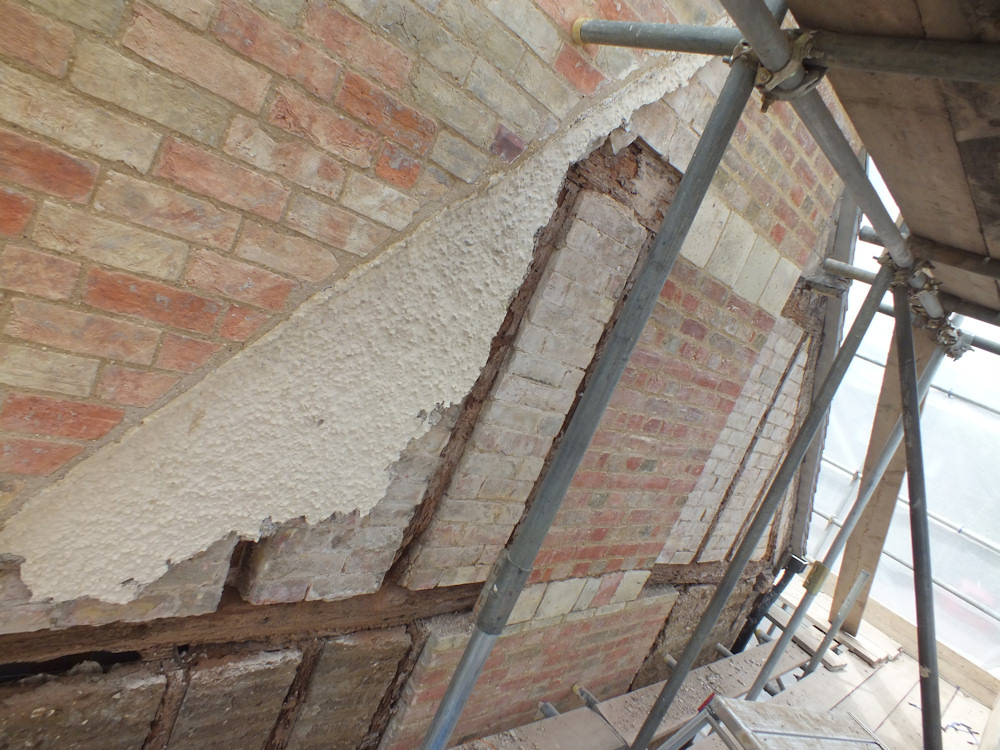
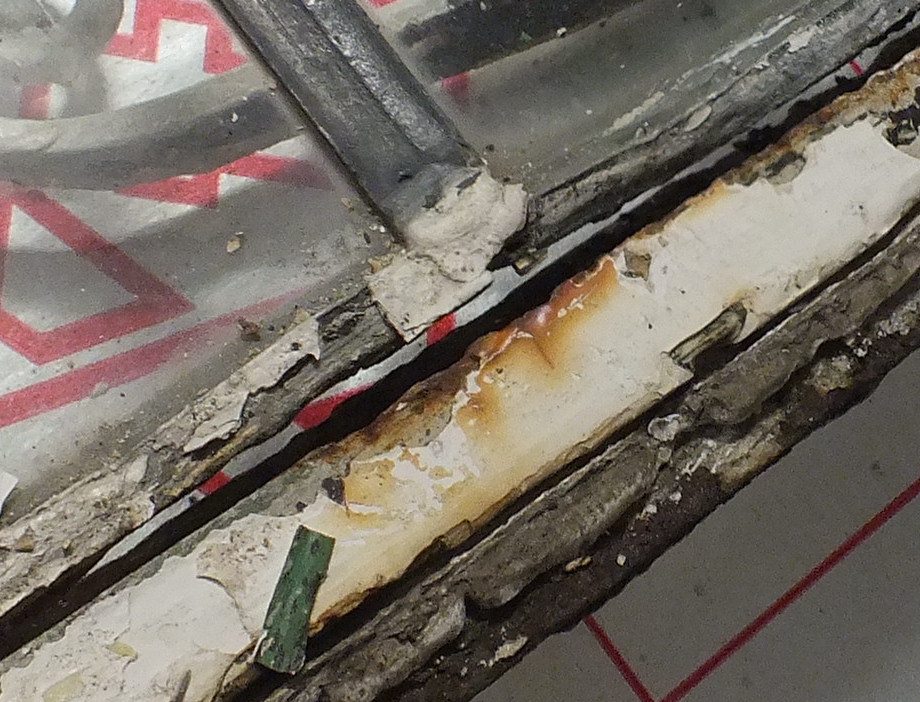
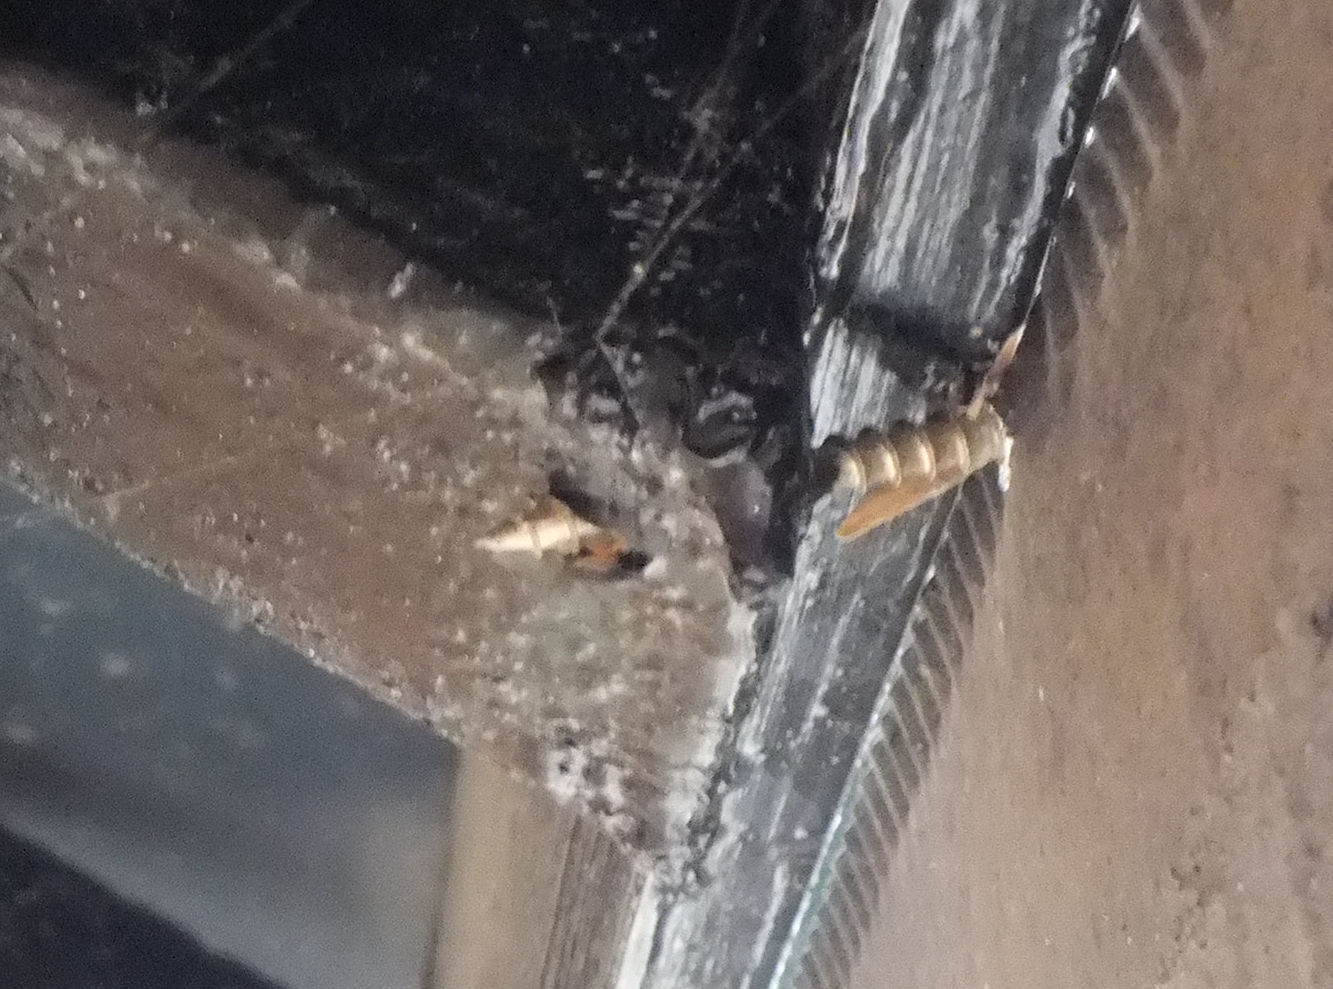
The rear gutter wasn’t mounted well – some screws miss both the gutter brace and the the facia board and just manages to engage in the tip of the rafter. There is a long row of these. I think I’ll have the gutter and facia board off and do it properly as it’s not a job that can be done later from a scaffold tower.
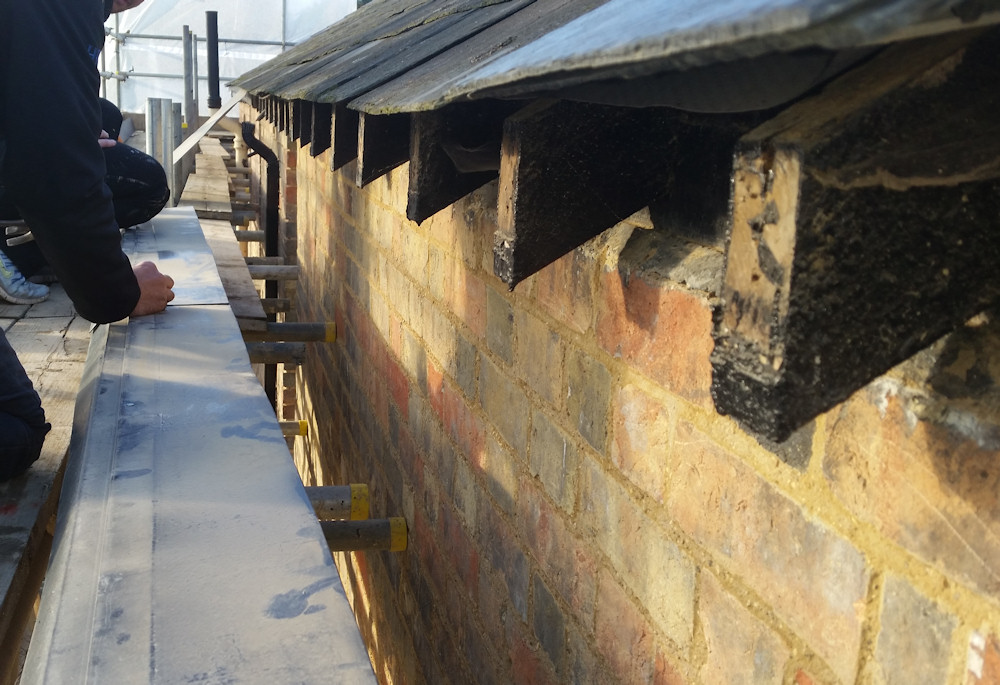
With the ends of the slates supported by the facia board there was a fair risk that we would break some. We were lucky. The new facia board is 2 inches taller than the old one. The plastic eaves protector came out with the old facia board and needed to be nailed to the new one before fitting.
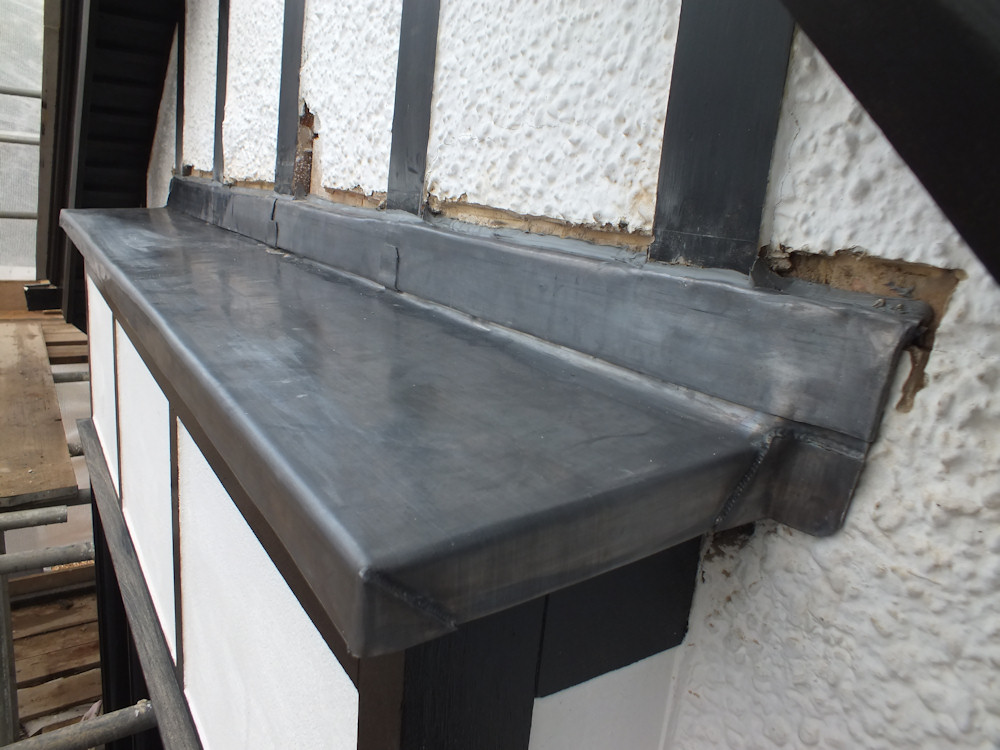
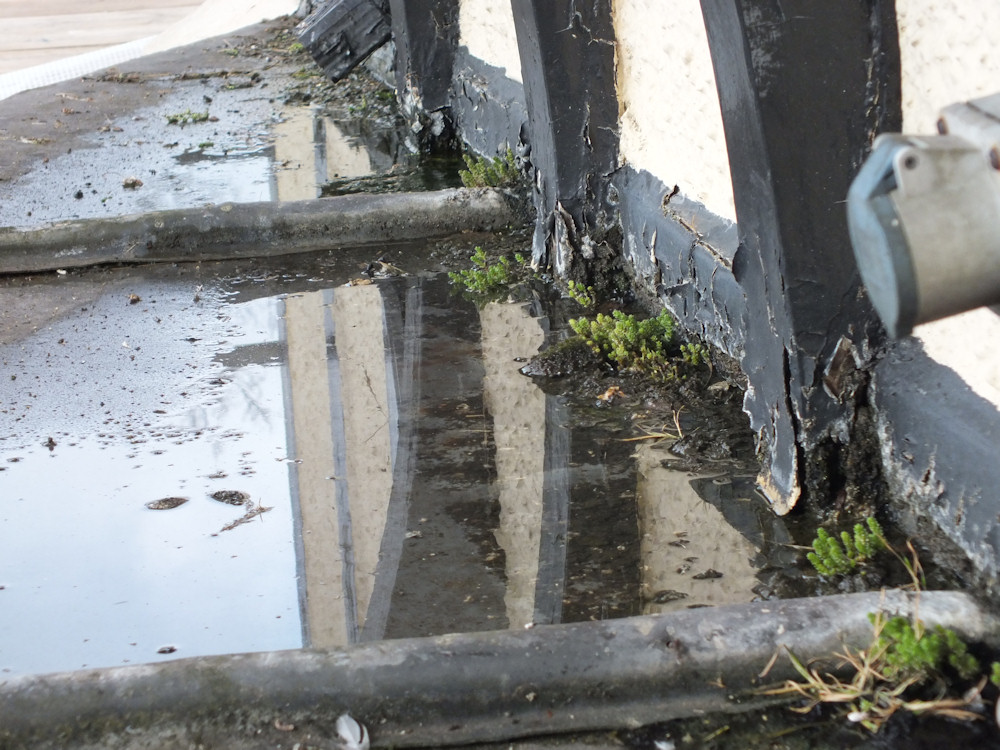
The north corner of the house is slightly lower than the south so there isn’t as much fall as there looks in the photo. We placed a hosepipe at the end and adjusted the gutter height so there weren’t any puddles. It was quite a fiddle to set accurately.
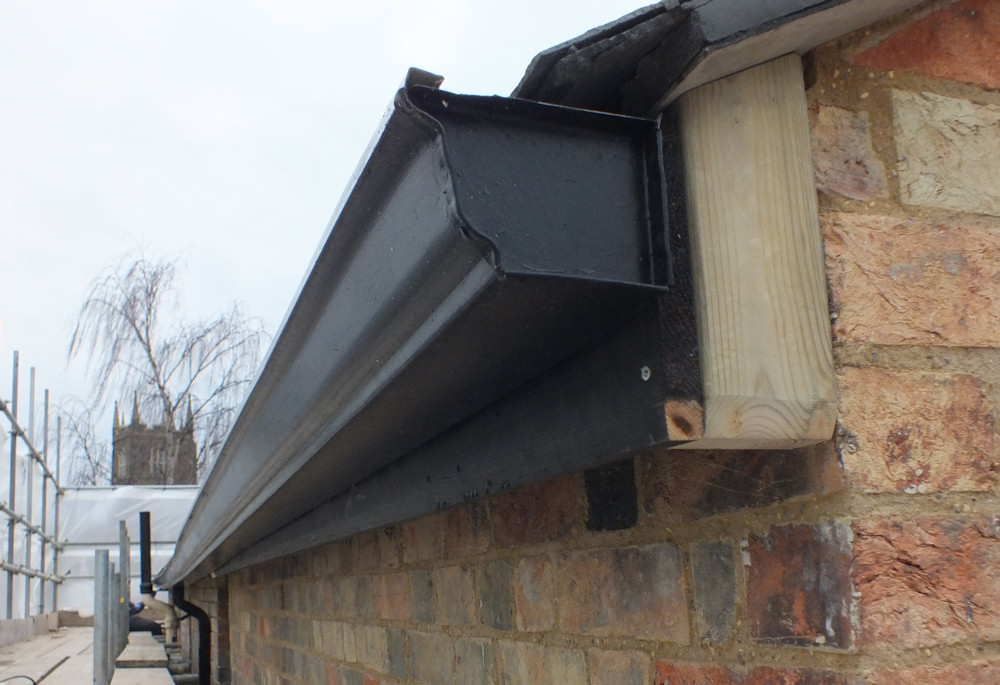
This is probably the first time that water doesn’t puddle in the gutter – it had always followed the line of the roof which isn’t straight. The eaves protector has been trimmed at the gutter mounting points to avoid forcing the gutter down.
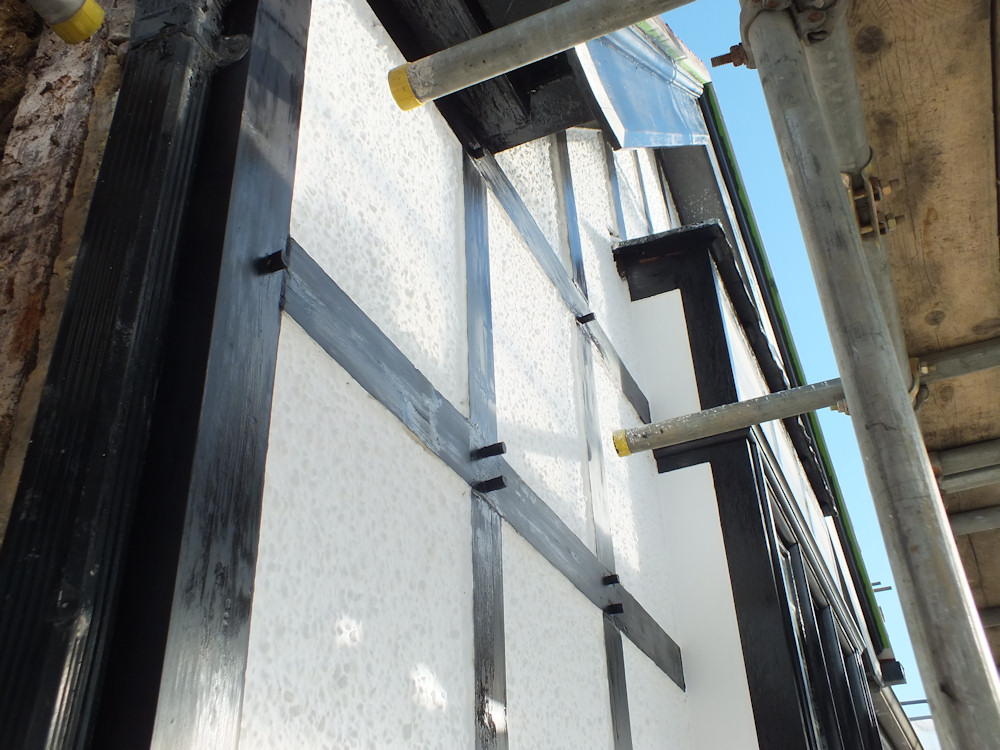
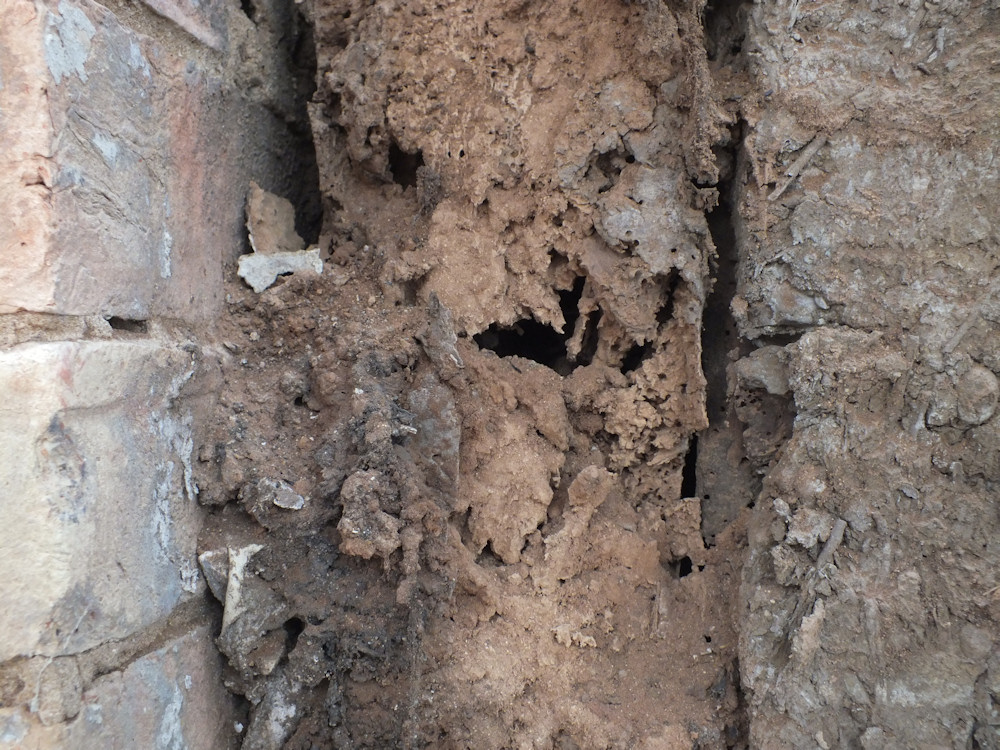
A few cracks had appeared in the verge caused by the cement being pushed past the battens. Also the undercloak has separated from the cement. I’m planning to seal the gaps with lime.
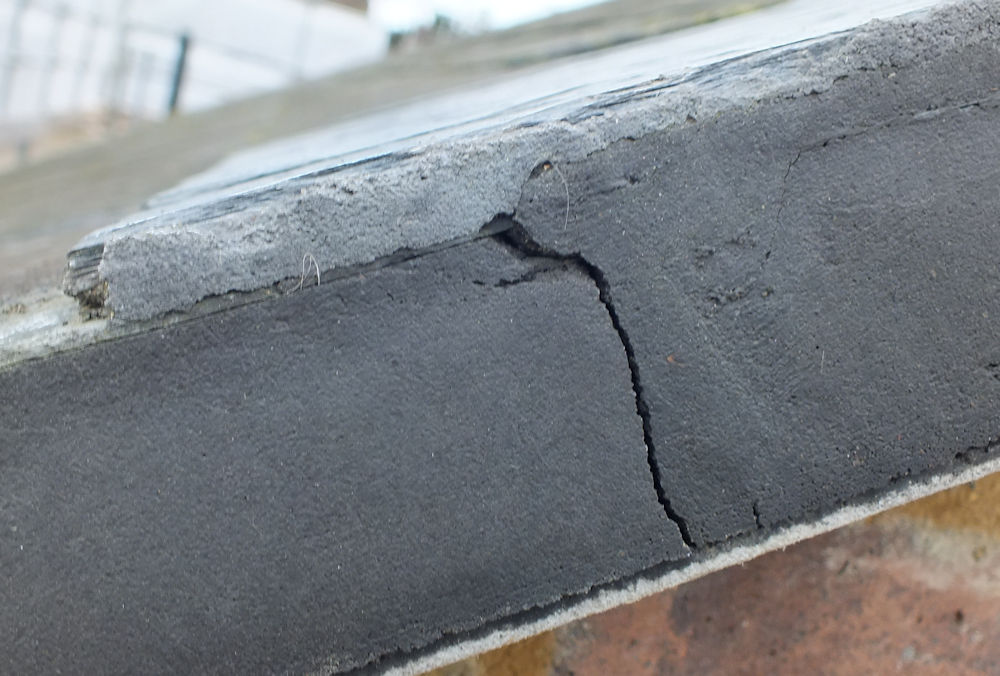
I made up a 1:1 lime to soft sand mix with some black cement colour powder and worked it into the cracks. Hopefully that will make it fail less quickly in the future.
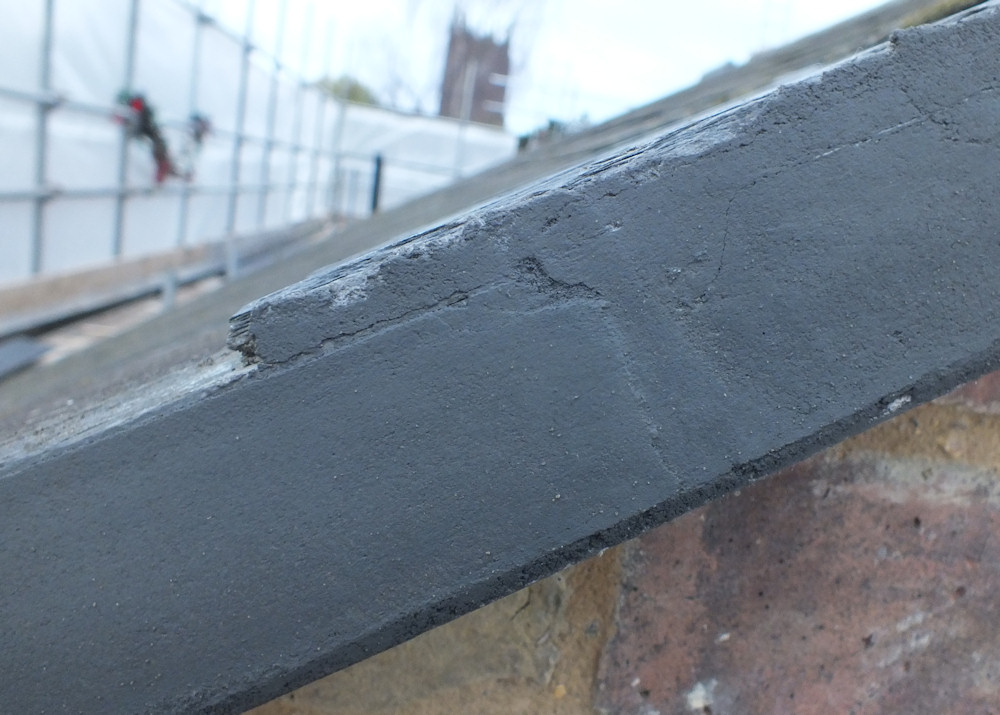
The rest of the roof is OK – it doesn’t leak any more, there are no condensation problems inside, and nothing has fallen off.