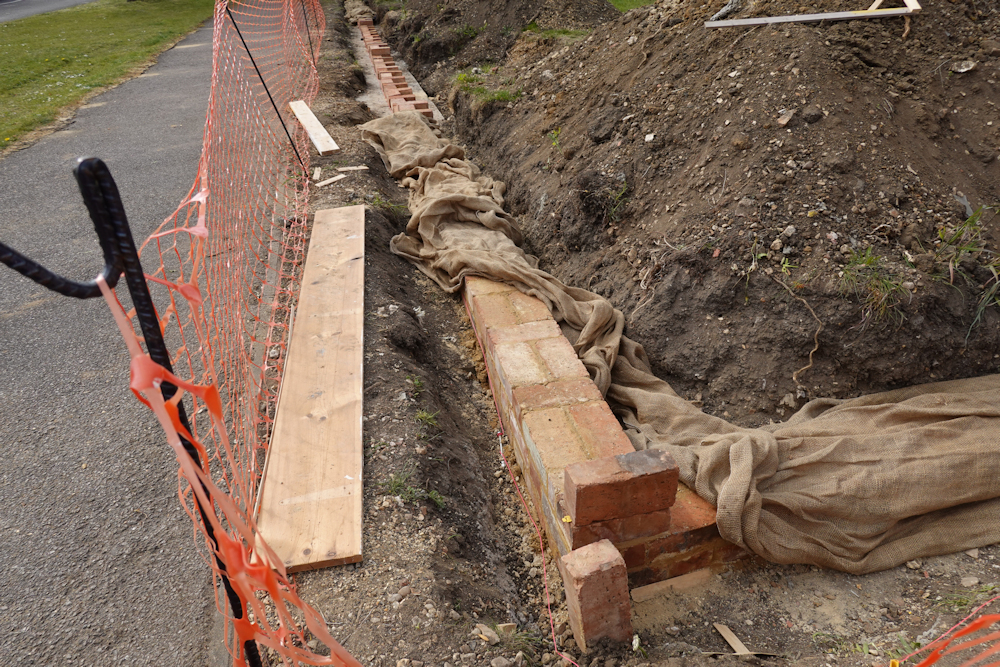
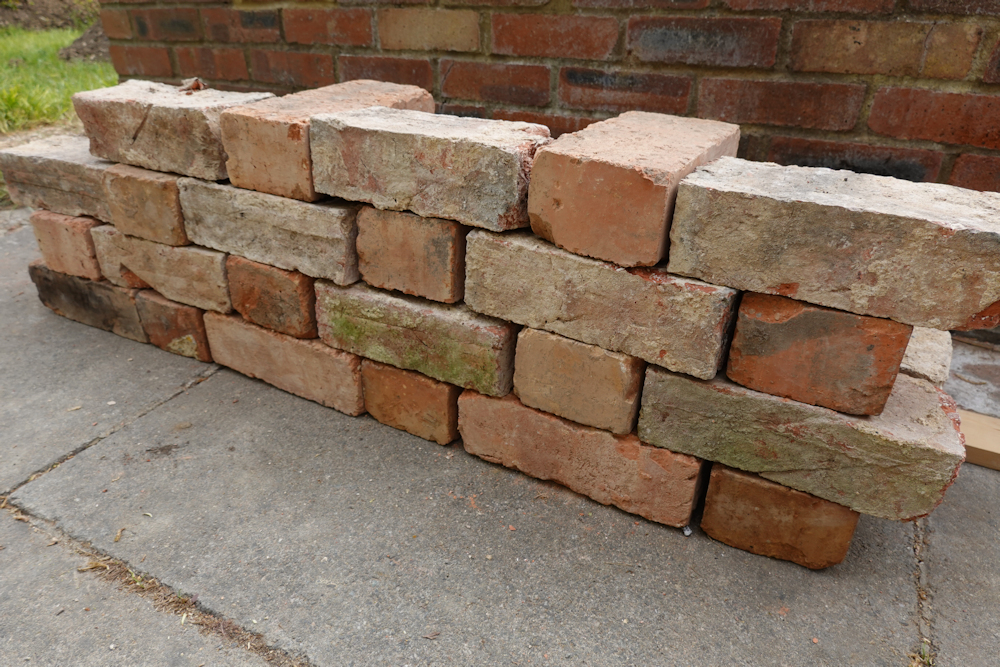
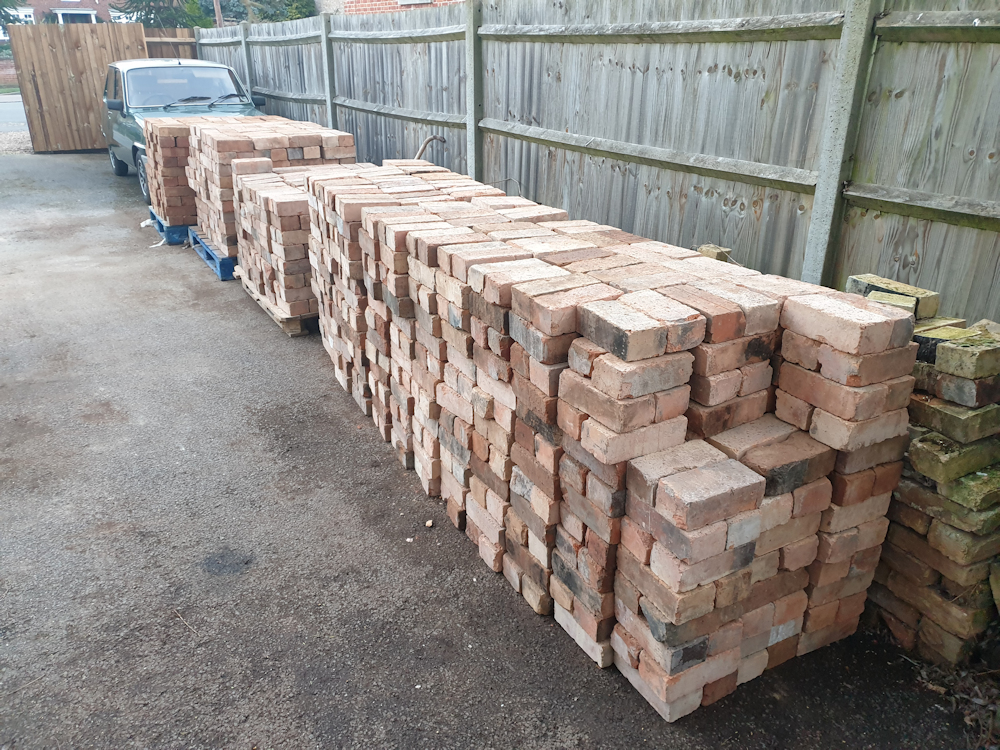
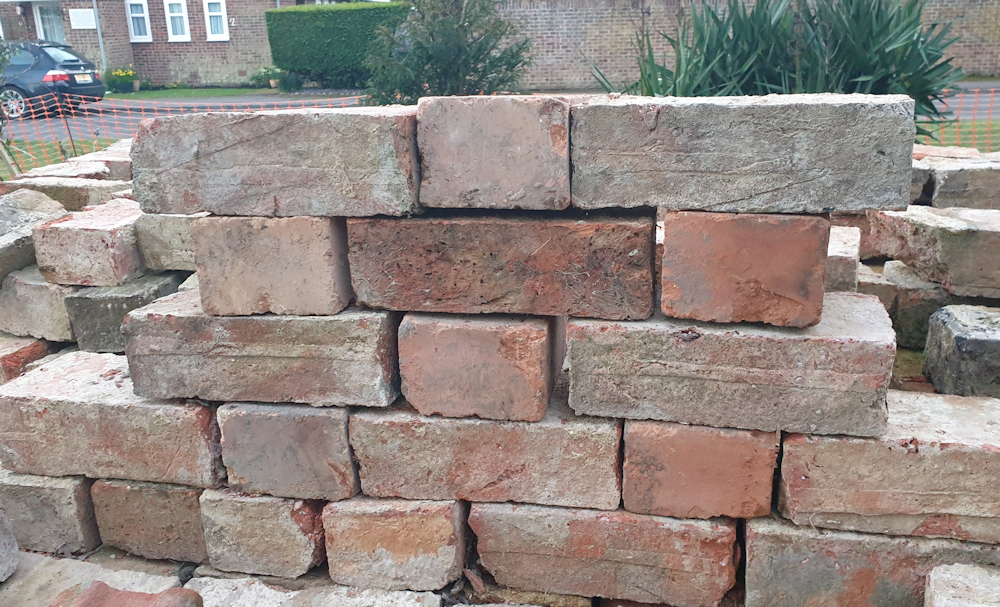
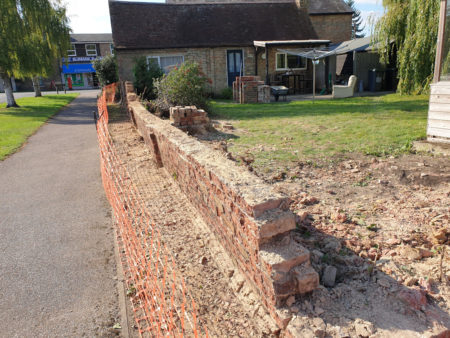
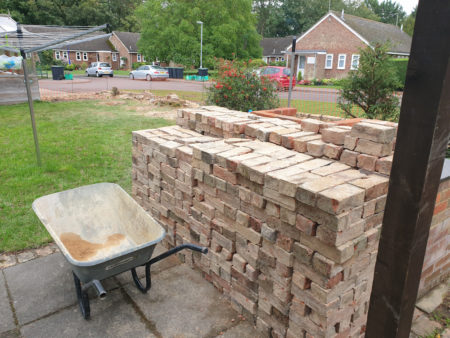
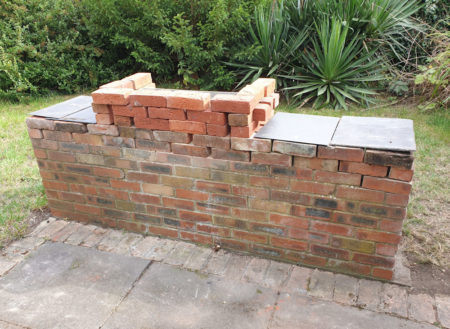
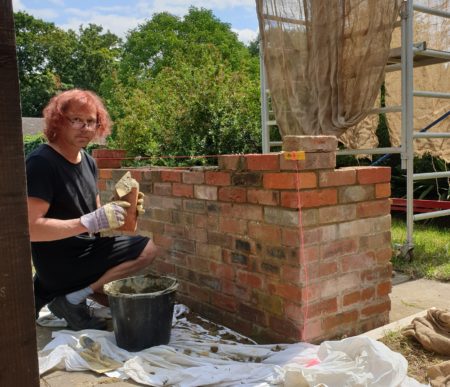
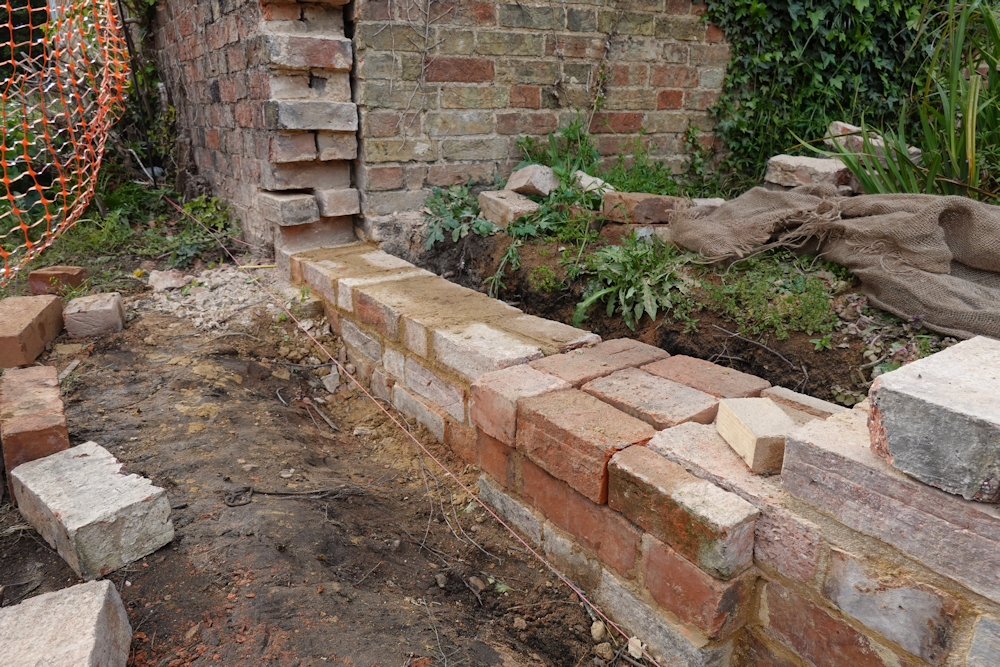
The wall is progressing at a slow pace. I’ve built the back of the wall up to 9 bricks just to see how it will look. The stretchers are the original bricks turned around and look a bit white at the moment as they’ve had lime on that face. They should become more colourful and blend in after rain cleans the bricks.
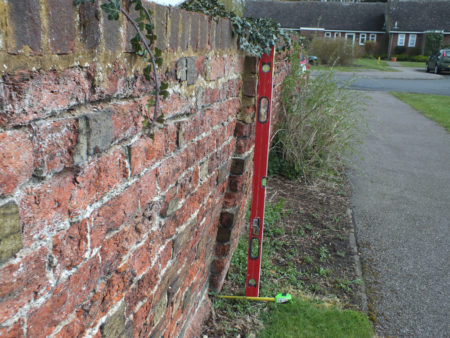
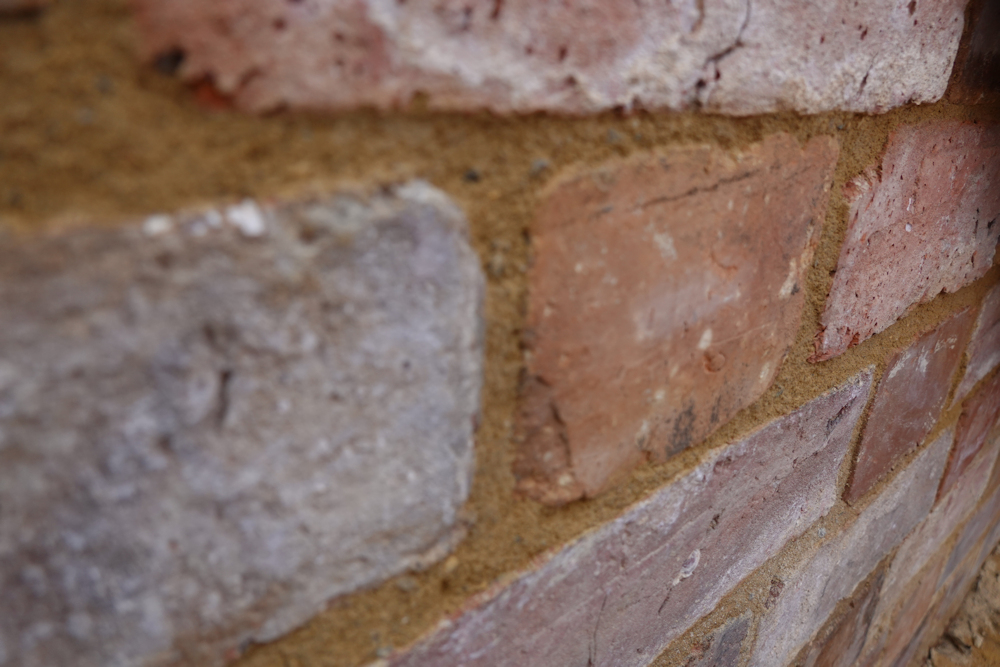
The original bricks are Bedford Clamps – they have a distinctive raised line along the stretcher face where the bricks were stacked after moulding which adds texture to the wall. They are slightly curved which adds further texture. I’ve been setting out from the new bricks I’m using as headers as they are much more straight.
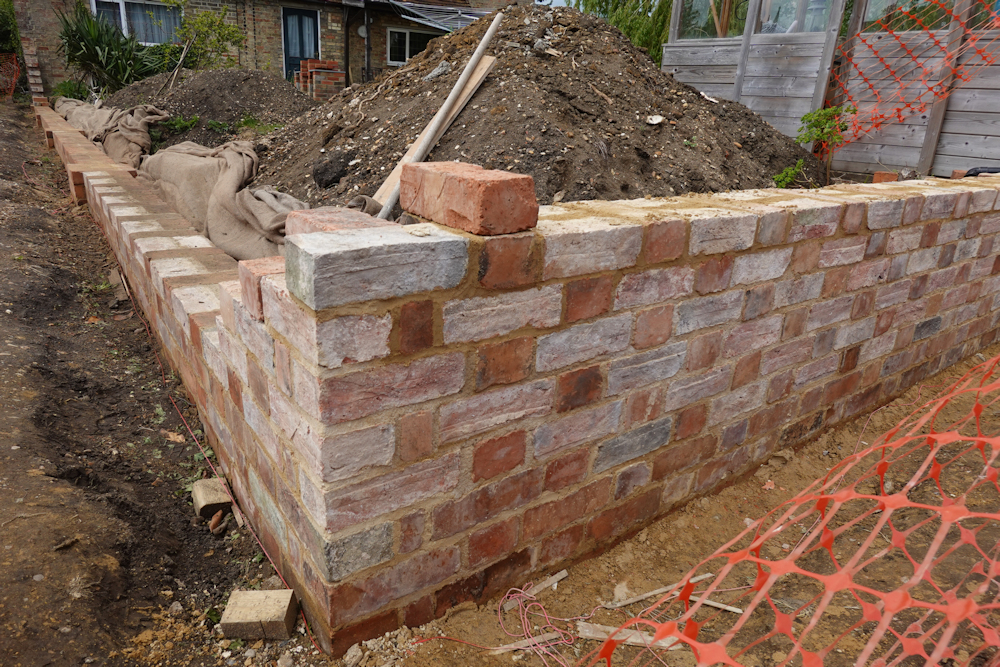
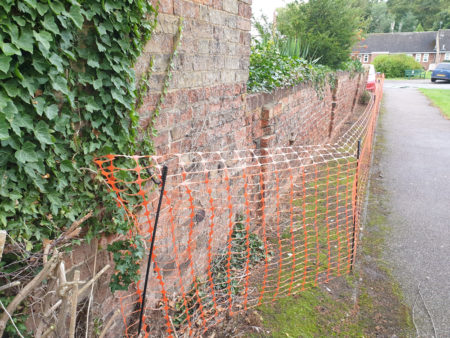
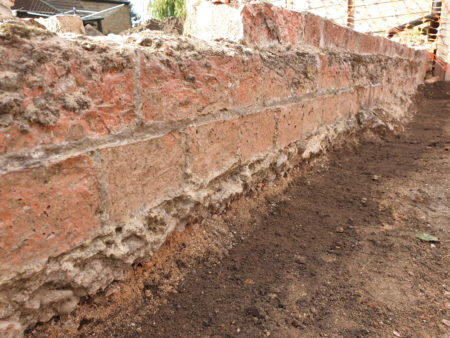
The bricks are the ones used in the original wall but they look very different because they have ben turned around and have lime stains on the face. Photos of the original wall in Starting the garden wall rebuild
The pointing is the same as the rest of the house. It is trowelled flat, then after drying for a few hours struck with a masonry cleaning brush, then lightly brushed. The brushing recesses the pointing exposing the edge of the bricks and some aggregate in the sharp sand.
I’m speeding up. My record is 120 bricks a day so far. But it’s been very wet at the weekends so progress is still slow.
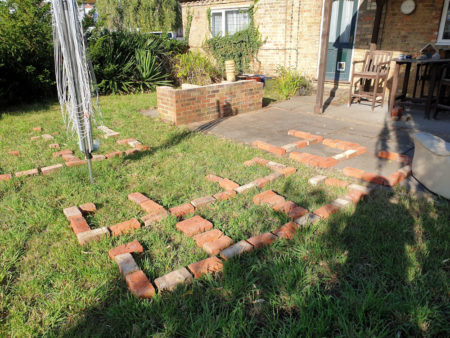
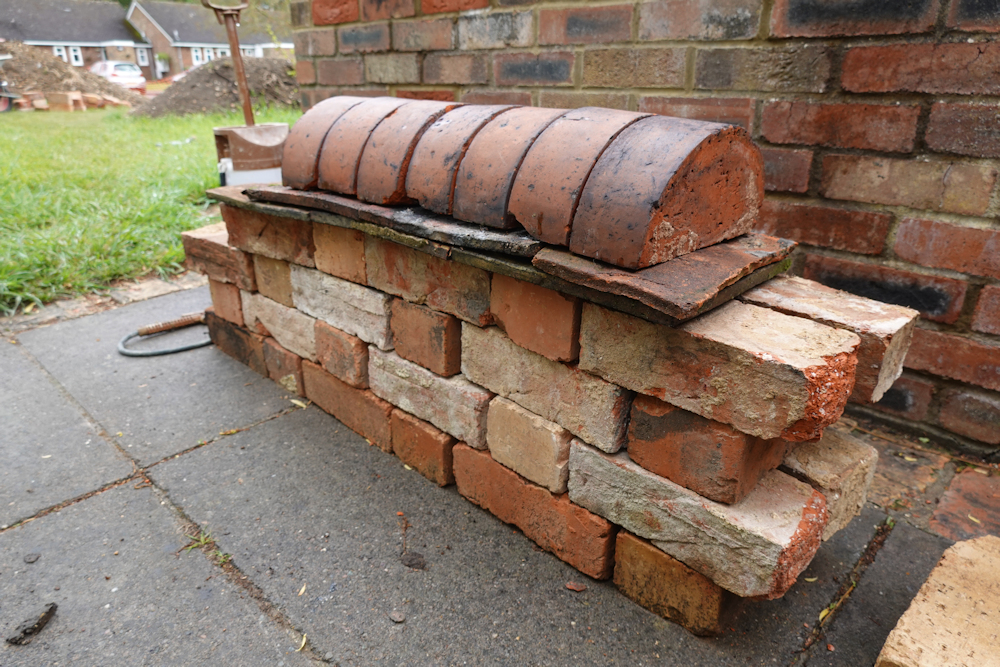
The rain helped make sure the coping and drip tiles work on the test wall. I’ve picked up 260 half round bricks from a wall that had fallen over in Nottingham.
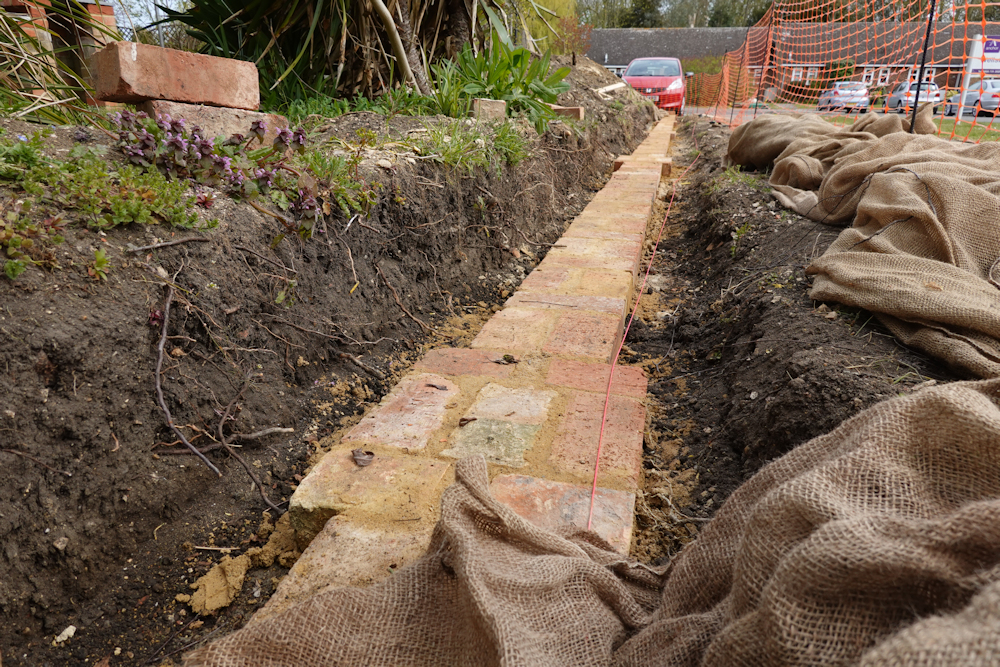
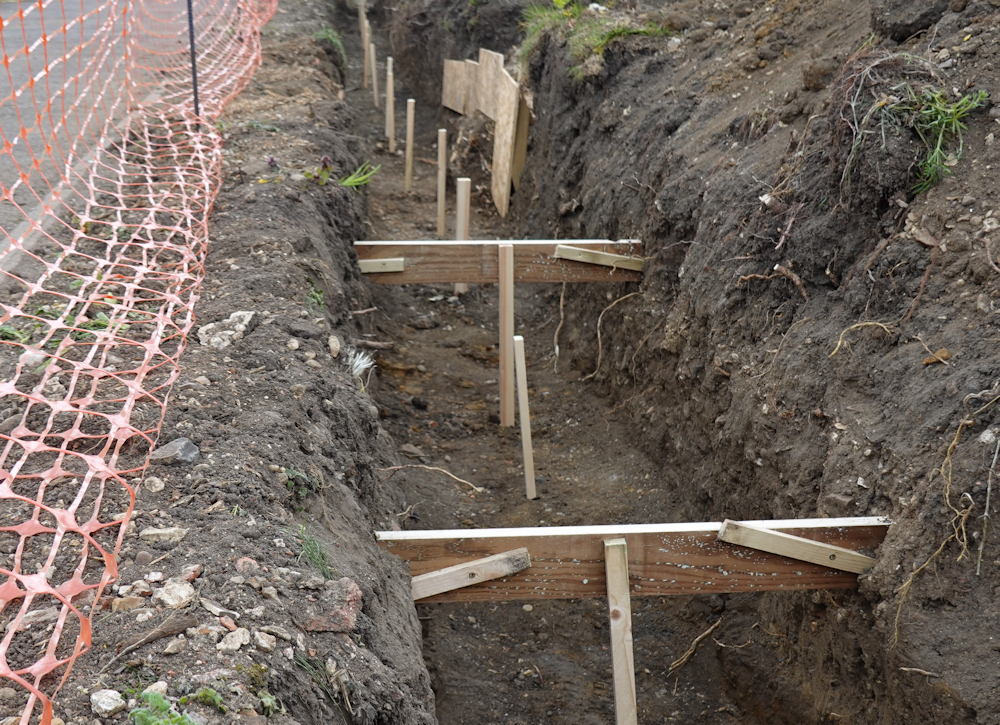
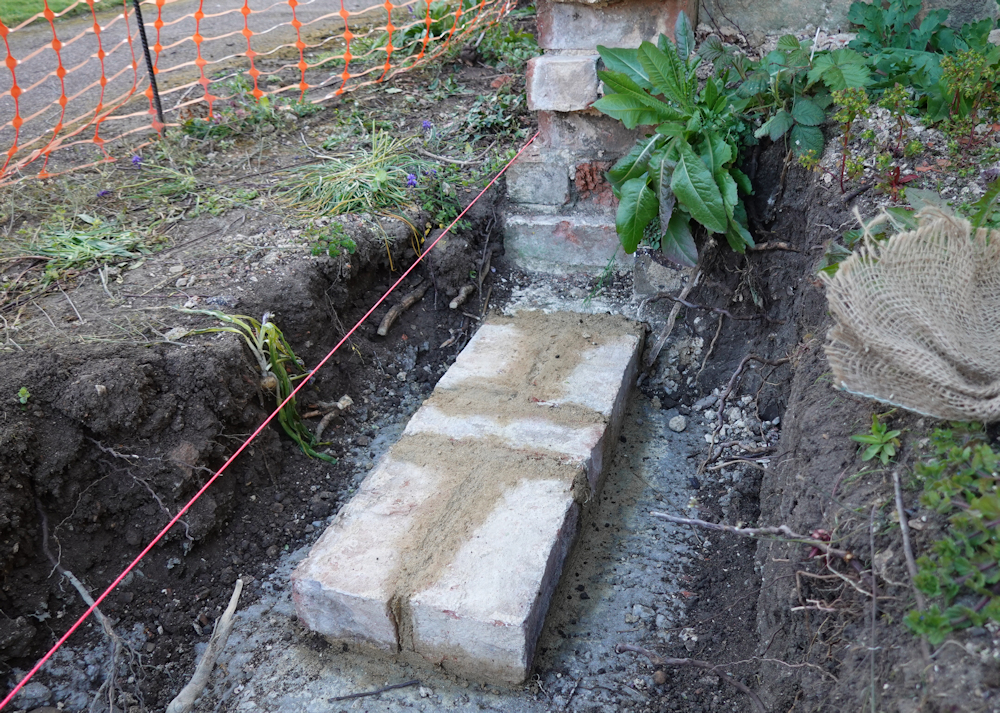
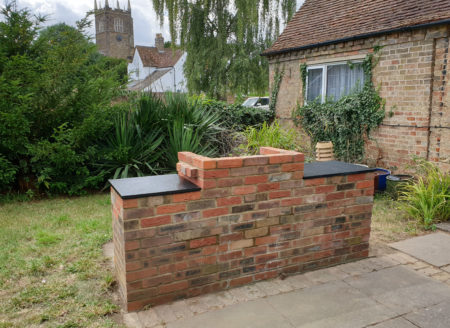
I messed up on the join to the old wall. I built the pier 1/4 brick too far along because I was working off foundation bricks that weren’t aligned with the wall. I spent a day measuring up and knew about this but forgot. No problem – I adjusted the third course to compensate.
I compensated in the wrong direction and that caused problems with the joint to the pier so I’ve removed one of the strange double headers from the original wall and now I’m 3/4 brick out on the fourth course which gives me a better bond with the (redesigned) pier. Most of the misaligned courses should be hidden underground so it should look like I messed up once not twice. The transition from the existing wall is now seamless.
Working 7 day weeks towards the end of May to help catch up on money from last year so nothing more will get done on the wall in May. I’ll post again in June. I like to have a post every month to remind myself I’ve done something useful. EDIT – Weather wasn’t great for garden walls in June but I got a week in. I’ll keep at it and post when it starts looking different.